








Master Bedroom Wardrobe Ideas for New Town Action Area I Flats
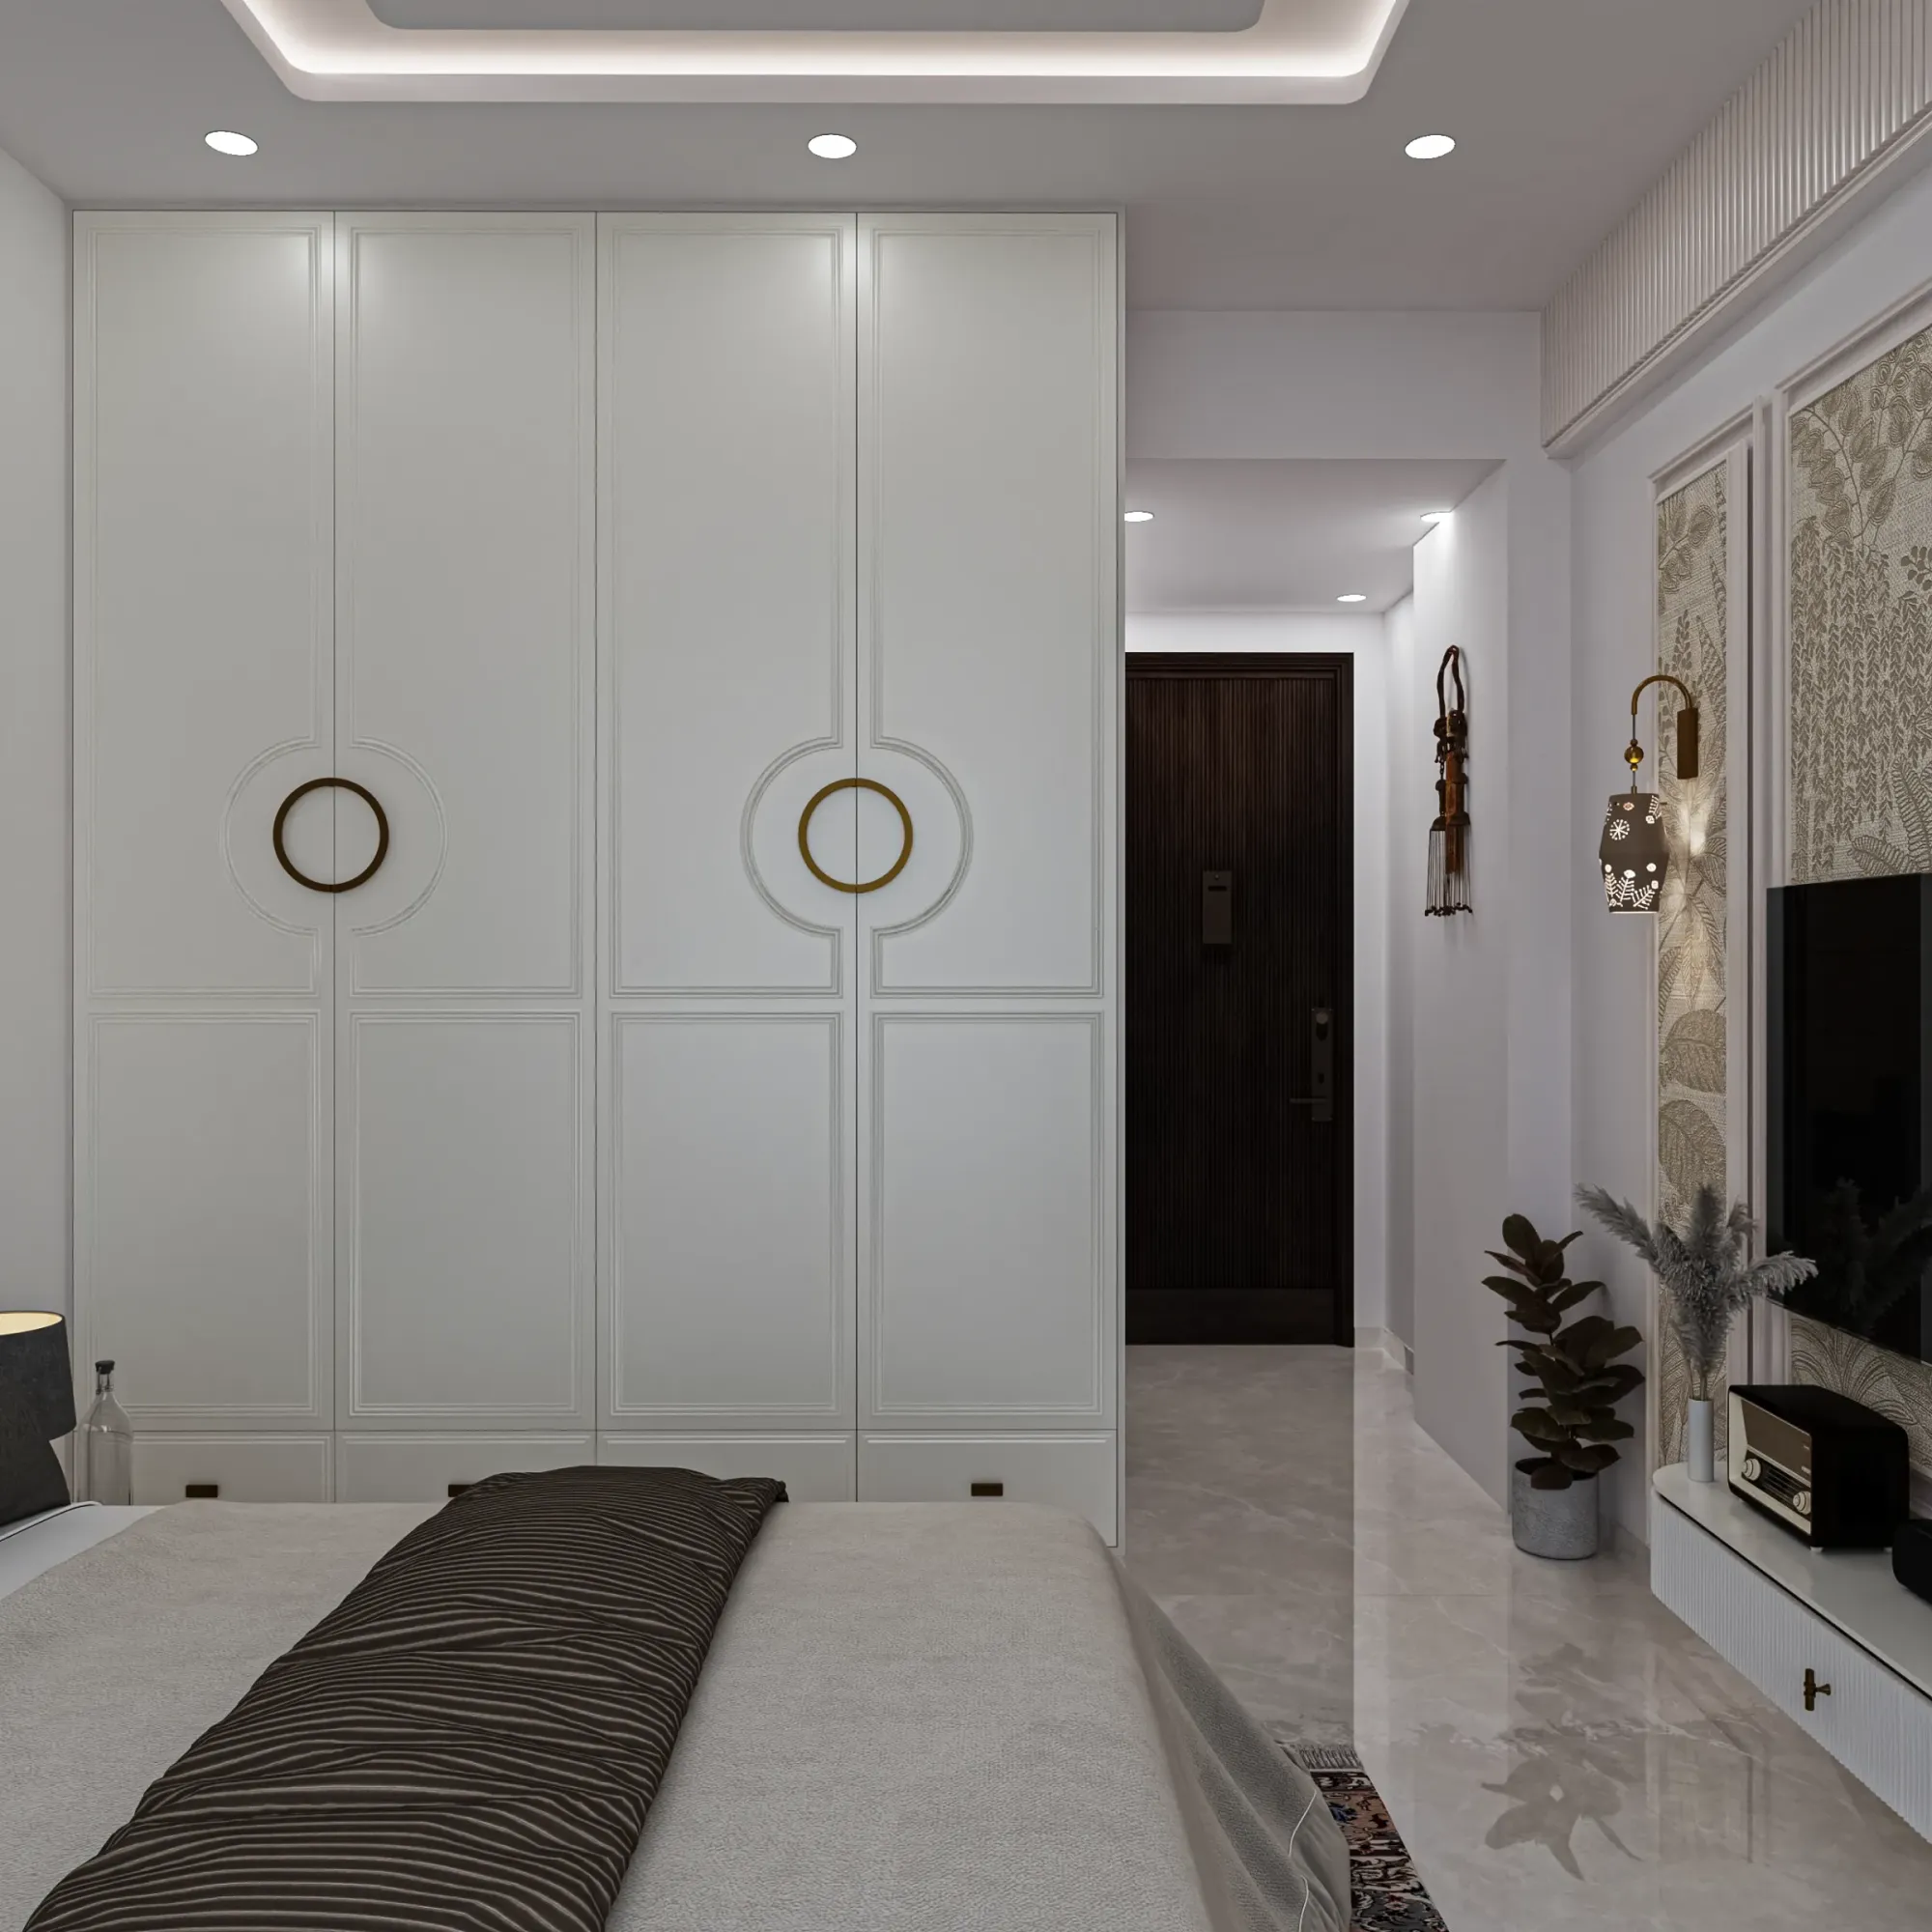
If you have walked through a few Action Area I flats over the last year, you will have noticed the same problem repeating itself in almost every master bedroom, which is that the wardrobe wall was designed by whoever poured the slab, not by anyone who thought about how a Kolkata family actually stores clothes across a humid June and a dry December. Builders in this pocket of New Town tend to hand over a boxy niche, sometimes 7 feet wide and sometimes 9, with a beam running across the top that nobody accounted for and a window placed close enough to the corner that a standard modular unit simply will not sit flush. So the wardrobe becomes the first real design decision a homeowner makes after possession, and it is also the one that is hardest to undo once carpenters have measured wrong and cut the shutters.
We have designed and executed master bedroom wardrobes across more Action Area I and II flats than we can count in the last decade, working directly with the layouts that AA1 towers actually ship with, from the G+3 independent houses along the inner sectors to the mid-rise apartment blocks closer to the arterial roads. This piece is about what actually works in this specific micro-market, right down to which finishes survive a Kolkata monsoon and which loft heights make sense given the ceiling drops most flats here carry. If you are budgeting a renovation or fitting out a fresh handover, this should save you a few expensive mistakes.
Before we get into finishes and layouts, it helps to understand why New Town wardrobes need a slightly different brief than what you would specify in, say, a drier city. Humidity here regularly sits above 80% for four to five months of the year, and a wardrobe that looks identical to one built in Pune or Bangalore will behave very differently after two monsoons if the core material and edge banding were chosen without that in mind.
Shutters, Core Material, and Hardware: What Actually Survives an Action Area I Bedroom Long-Term
Once the interior layout is sorted, the second big decision, and the one most homeowners in Action Area I get pushed into rushing because the carpenter needs an answer by Friday, is what the wardrobe is actually made of and how it opens. We treat this as two separate conversations, the shutter mechanism and the core material, because they get chosen for different reasons and a wrong call on either one shows up on the wardrobe wall within two to three years, right when the family has stopped thinking about the renovation and moved on with life.
Sliding versus hinged is a room-geometry decision, not a taste decision. Most of the AA1 layouts we work in have the wardrobe wall opposite a window or a walk path to the attached bathroom, and a hinged shutter that swings open needs roughly 24 to 30 inches of clear floor space in front of it to open fully, which a lot of these master bedrooms simply do not have once the bed, a side table, and a dresser are placed. So for any wardrobe wall under about 11 feet of usable floor clearance in front, we default to sliding shutters on a top-hung track, and we specify a soft-close mechanism on the track itself rather than relying on the shutter's own weight to stop it, because the cheaper bottom-rolled tracks that some local vendors still push collect dust and lint from the floor within a monsoon season and start sticking, and by the second year the shutter is being dragged rather than glided. Hinged shutters do come back into the picture for narrower single-person wardrobes or dressing alcoves where a slide track cannot be recessed into the ceiling due to a beam, and honestly hinged doors give you a cleaner internal layout since you are not losing depth to a sliding channel, so the choice really is about what the specific wall allows rather than a blanket rule either way.
Core material is where most of the humidity failures we get called out to fix actually start. Plain particle board, which is still what a lot of budget carpenters in this belt quote by default because it is the cheapest sheet material available, swells and delaminates at the edges once it takes on moisture, and in a New Town flat with four to five months of sustained high humidity, that is basically a guarantee rather than a risk. We specify BWP grade plywood, that is boiling water proof grade, for anything touching the floor of the wardrobe carcass or sitting near the window wall, and we allow MDF only for the shutter faces where it is fully sealed on all edges, because MDF actually machines cleaner for routed or grooved shutter designs than ply does, so it is not that MDF is bad material, it is that it needs edge sealing discipline that a lot of local execution simply skips to save a day of labour. The detail that actually separates a wardrobe that lasts twelve years from one that needs replacing in five is the edge banding thickness, and we specify a minimum 2mm PVC edge band on every exposed cut, not the 0.4mm tape that peels at the corners within eighteen months, because that thin edge is exactly where moisture gets into the core first.
Finish choice then has to answer to Kolkata's specific light and dust conditions, not a showroom sample under LED lighting. Laminate remains the honest workhorse choice for AA1 budgets, and a good 1mm laminate in a matte finish resists the fine construction dust that is still floating around a lot of these new towers even years after possession, far better than a high-gloss acrylic does, because gloss shows every fingerprint and dust settle under the angled afternoon light most master bedrooms here get from the west-facing windows. Acrylic and PU finishes look genuinely striking in the sample book and photograph beautifully, and we do use them for feature panels or the loft shutters where hands rarely touch, but for a wardrobe wall that a family opens and closes forty times a day, we generally steer clients toward laminate for the working shutters and reserve the glossier finish for one accent panel, which gives the room the visual lift without the maintenance headache.
Hardware corrosion is the detail nobody budgets for and everybody regrets. Standard zinc-plated hinges and channel hardware start showing rust spots within two monsoons in this climate, and once a hinge starts rusting it also starts sagging, which is why so many wardrobes across New Town flats we have inspected have a slightly crooked shutter by year three even though the carcass itself is fine. We now spec stainless steel or at minimum a nickel-plated, moisture-resistant hardware line on every project regardless of budget tier, because the price difference between standard and corrosion-resistant hardware across one wardrobe wall is genuinely a few thousand rupees, and replacing sagging hinges or a stuck track two years in costs more in labour alone than the upgrade would have. The catch here is that this is invisible at handover, a rusting hinge and a good hinge look identical on installation day, so it is entirely on the designer or vendor to spec it correctly upfront because no client is going to catch this in a site walkthrough.
| Budget Particle Board Build | BWP Ply + 2mm Edge Band Build |
|---|---|
| Edges swell within 1-2 monsoons | Edges stay sealed 8-10+ years |
| 0.4mm tape peels fast | 2mm PVC band resists moisture ingress |
| Standard zinc hinges rust by year 2-3 | Nickel/SS hardware holds finish long-term |
| Bottom-rolled slide tracks jam with dust | Top-hung soft-close tracks stay smooth |
What Actually Goes Inside: Designing the Interior Layout Around How Kolkata Families Store Clothes
Most conversations about wardrobes stop at the shutter, the finish, and the handle, and honestly that is where a lot of New Town homeowners stop thinking too, right up until the carpenter hands over the keys and they realize the inside is just three flat shelves and a hanging rod that does not match how anyone in the house actually dresses. We have sat through enough site handovers in Action Area I to say this with confidence, the internal layout is where a wardrobe either earns its cost or becomes a place where clothes get folded once and never touched again, so we treat the interior brief as seriously as we treat the shutter finish, and we start by asking what the family actually owns rather than what a standard modular catalogue assumes they own.
A typical AA1 master bedroom we design for has two people sharing one wardrobe wall, and the split is rarely 50-50 in practice, so we build in a dedicated saree and dupatta section with narrow, deep drawers around 4 to 5 inches tall stacked six or seven high, because a saree folded flat needs depth more than height and cramming them into a standard 9-inch drawer means the bottom few get crushed and creased within a season. For the other side, we run a mix of long-hang for kurtas and shirts and a mid-height double-hang for trousers and folded tops, and we deliberately keep at least one shelf bay completely open and adjustable rather than fixed, because every family we have worked with in this belt ends up needing to reshuffle the layout within the first year as kids grow or someone's wardrobe habits change, and a fixed interior makes that reshuffle expensive.
Loft storage is the other piece that gets treated as an afterthought and should not be, because Action Area I ceiling heights after false ceiling work usually land between 9 and 9.5 feet, which gives you a genuinely usable loft zone above the main wardrobe carcass instead of the token 18-inch strip you see in older Kolkata construction. We push clients to use that loft for seasonal rotation rather than permanent storage, so blankets and razais go up during the monsoon months and come down in November, while the woollens that only get four to six weeks of actual use each winter live up there the rest of the year, and we always spec a pull-down basket or a simple ladder-accessible shelf rather than asking anyone to climb on a stool, because that is genuinely how these lofts stop getting used within two years.
- Deep saree drawers (4-5 in) instead of standard 9-in shelving
- One adjustable open bay per wardrobe for future reshuffle
- Loft zoned for seasonal rotation, not permanent dead storage
- Anti-tarnish lining in jewellery/accessory trays
- Ventilated back panel behind hanging sections, not sealed ply
The detail that gets skipped most often, and the one that costs the least to fix at the design stage, is ventilation inside the carcass itself. A sealed wardrobe back panel in a New Town flat basically becomes a slow-cook chamber for humidity between June and September, and we have opened up wardrobes barely three years old where the rear ply has started delaminating simply because moist air had nowhere to move, so on every project now we either spec a perforated back panel behind the hanging zones or leave a small ventilated gap at the plinth and cornice level, and it costs next to nothing at the carpentry stage but it is the difference between a wardrobe that smells fine in August and one that does not. At the end of the day, the shutter is what a guest notices when they walk into the room, but the interior layout is what the family actually lives with every single morning, and getting that wrong is a far more expensive mistake to reverse than picking the wrong laminate.