








Cheap Interior Upgrades That Look Expensive in a Salt Lake Flat
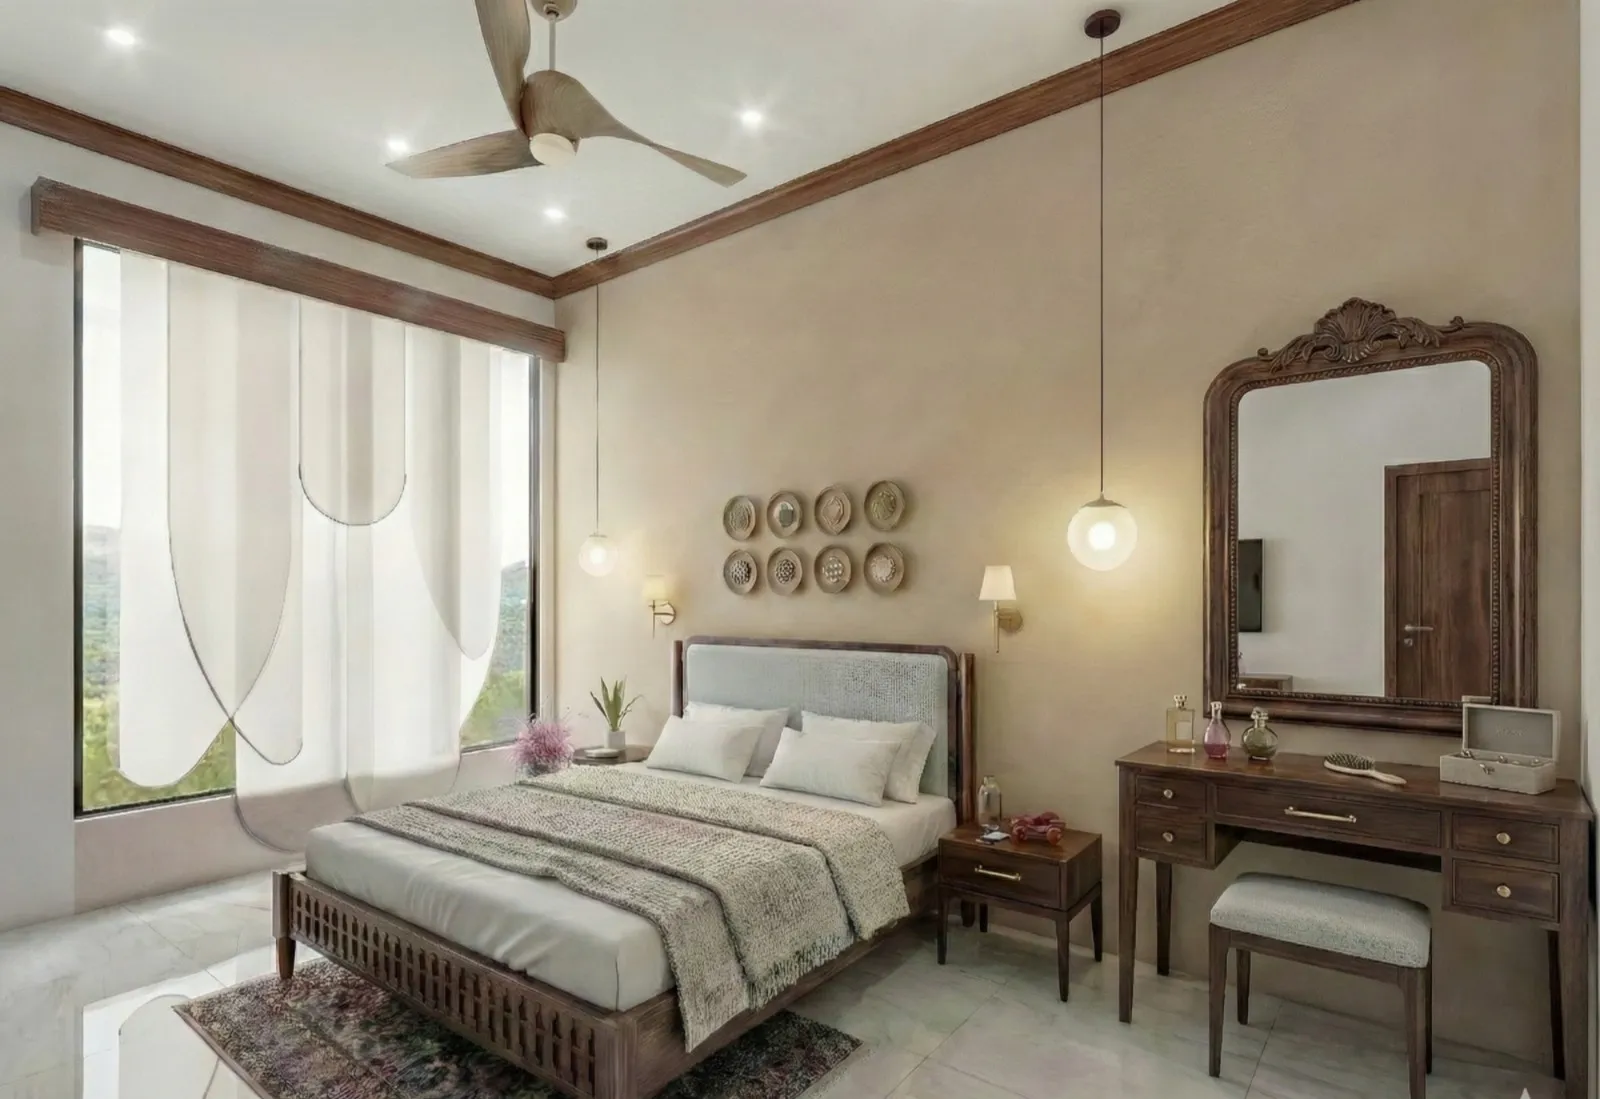
Walk through any older block in Salt Lake, whether it is AC Block or CJ Block or one of the cooperative societies off the main sectors, and you will see the same thing we see on almost every site visit here: a genuinely well-built flat, solid brick and RCC, generous room sizes by today's standards, that has been sitting untouched since the original handover sometime in the 1980s or 90s. The bones are good. The finishes are tired. And the owner, understandably, does not want to spend renovation-level money on a flat that was never meant to be a forever-project.
That gap between "the flat feels dated" and "I don't want to spend fifteen lakhs fixing it" is where most of our Salt Lake interior work actually happens, and it is a genuinely different brief from what we do in New Town, where we are usually starting from a bare shell. In Salt Lake we are almost always working around existing flooring, existing plumbing lines, existing electrical points that were laid out for a different era of appliances, so the upgrades that move the needle are the ones that change how a room reads without touching what is underneath it.
This piece is basically our working list of what actually looks expensive in a Salt Lake flat without costing like a full renovation, the order we would tackle them in, and where we have seen homeowners waste money chasing the wrong upgrade first. We have delivered 330+ buildings since we started in 2014, a good chunk of them interior projects in Salt Lake and New Town, so this is less theory and more what we keep doing on repeat because it keeps working.
Shutters, Hardware, and Wall Texture: The Second Wave of Upgrades After Lighting
Shutter swaps carry the kitchen and the wardrobes without touching the carcass. Once lighting is sorted, the next thing that gives a Salt Lake flat away as untouched is the kitchen, and specifically the shutters, because in most of these flats the underlying carcass, the granite or marble counter, and even the plumbing are still perfectly serviceable, it is only the shutter faces that have gone dull, chipped at the edges, or yellowed from years of cooking steam. We almost never recommend ripping out a working kitchen carcass in Salt Lake unless there is actual water damage or the layout genuinely does not work, because a full modular kitchen replacement runs anywhere from three to six lakhs depending on the run length, whereas swapping just the shutter faces to a new laminate or acrylic finish, keeping the same hinges and channels where they are still sound, typically runs somewhere between forty and seventy thousand rupees for a standard L-shaped kitchen of ten to twelve feet. The catch here is that the shutter material matters more than owners expect, because a high-gloss acrylic front on the same old carcass reads as a genuinely new kitchen from three feet away, while a matte laminate at the same price point looks noticeably more budget, so we push clients toward the eight hundred to twelve hundred rupee a square foot acrylic range specifically for this reason, even when plain laminate would technically save money, because the whole point of this exercise is the expensive read per rupee spent, not the lowest absolute cost.
Wardrobe fronts follow the same logic, and this is where we see the second-biggest jump in perceived value per rupee after the kitchen. A Salt Lake bedroom wardrobe from the 80s or 90s is almost always a built-in with a plywood or particle board carcass that has held up fine structurally, sitting behind laminate shutters that have warped slightly at the edges or gone a shade of beige that was never actually the original white. Swapping these shutters to a clean matte or soft-touch finish, adding a slim aluminium profile handle instead of the old dome-shaped brass knob, and running a strip of warm LED tape along the top edge if the wardrobe faces the room rather than a wall, together cost roughly twenty-five to thirty-five thousand rupees for a standard nine to ten foot run across two bedrooms, and it consistently reads as new furniture even though the plywood box behind it has not moved.
Hardware on its own is the detail most owners skip because it feels too small to matter, and that is exactly why it works. Worn brass hinges, loose cabinet knobs, and the original chrome-plated door handles that have gone dull and slightly pitted are things a hand actually touches every single day, so their condition registers subconsciously even when a visitor could not name what is wrong with the room. A full hardware pass across a two or three bedroom Salt Lake flat, meaning new door handles and locksets on the main entrance and bedroom doors, replacement hinges wherever the old ones have started to sag, and new cabinet and wardrobe pulls throughout, usually costs between fifteen and twenty-two thousand rupees depending on whether you go with standard SS finish or the slightly pricier matte black and brushed brass options that have become the default we spec now because they photograph and read better under warm lighting than plain chrome. At the end of the day this is one of the cheapest line items on this entire list and it is also one of the two or three things clients mention unprompted when we do a walkthrough three months after handover, right alongside the lighting, because it is the upgrade people feel with their hands before they consciously see it with their eyes.
Wall texture is the third lever, and it is the one most likely to be done badly if it is rushed. A flat coat of fresh paint fixes the obvious problem of dirty, patchy walls, but it does not on its own make a room look designed, and this is where a single accent wall done in a textured finish, a stone veneer panel behind the TV console, or PU-coated wood slats behind the bed headboard earns its cost. We generally restrict this to one wall per room, never the whole space, because texture applied everywhere reads as trying too hard and also gets expensive fast, whereas one considered accent wall against three flat-painted walls creates the contrast that makes the whole room look finished. Stone veneer panels run roughly one hundred and eighty to two hundred and eighty rupees a square foot depending on the pattern and whether it is a natural or engineered veneer, and PU wood slat panelling runs somewhat higher at two hundred and fifty to four hundred a square foot, so for a typical hundred and twenty square foot bedroom wall behind a headboard, budget somewhere in the twelve to eighteen thousand rupee range including the backing MDF and installation.
Sequencing this correctly matters as much as the individual choices, and this is where we have seen budgets go sideways. The order we run on almost every Salt Lake project is lighting first because it changes how every subsequent decision reads, then kitchen and wardrobe shutters together since both are hardware-and-carpentry jobs that can share a carpenter's site visit, then hardware as a quick pass once the shutters are hung and you can see exactly which handles and hinges need replacing versus which are still fine, and wall texture last because by that point the paint colour, the lighting temperature, and the furniture placement are all locked, so the accent wall choice is being made against the actual finished room rather than an empty shell. Owners who reverse this order, buying the veneer panel first because it feels like the exciting decision, almost always end up redoing it once the lighting goes in and the warm tone shifts how the stone or wood reads against the wall paint, which is money spent twice on what should have been spent once.
Lighting Layers: The One Upgrade That Changes How Every Other Upgrade Reads
If we had to pick a single lever that does the most work for the least money in a Salt Lake flat, it would be lighting, and specifically the switch from one central tube light or a single CFL fixture per room to a layered scheme with at least two, ideally three, sources at different heights. Almost every flat we walk into in Salt Lake sectors and the older cooperative blocks was wired for exactly one ceiling point per room, sometimes two, because that was the standard when these buildings went up, and the effect of a single overhead source is flat, clinical, slightly institutional light that makes even a freshly painted room look unfinished. The catch here is that most owners assume fixing this means rewiring the whole flat, and it genuinely does not, because a false ceiling perimeter with a concealed LED strip, one or two surface-mounted spotlights over a console or art wall, and a warm-toned floor or table lamp in the sitting area can usually be run off the existing points with a simple extension and a couple of new switch legs, not a full rewire.
The part that actually makes the difference is color temperature, and this is the one thing we correct on almost every site regardless of budget. Salt Lake flats that still have their original fittings are running anywhere from cool white 6500K tube lights to daylight CFLs, and both read as hospital light against warm wood tones, cream walls, or the terracotta and ochre palettes that work so well in Bengal homes. Dropping every fixture to 3000K warm white, or at most 4000K in the kitchen and bathroom where task visibility matters more than mood, costs nothing extra at the point of purchase since warm and cool LED bulbs are priced the same, and it is the single fastest way to make a room look considered rather than merely lit. We have had clients push back on this because 6500K feels brighter and therefore more expensive-looking to the untrained eye in a showroom, but in a lived-in room warm light at slightly higher lumens reads as far more premium, and we would rather spec a stronger warm bulb than a cooler one at the same price point.
A false ceiling cove is worth calling out on its own because it is the one item on this list that people assume is a big-ticket renovation item and it genuinely is not, at least not at the scale we are talking about here. A perimeter drop of six to eight inches around a living room or bedroom, running an LED strip behind it, typically runs somewhere in the range of ninety to a hundred and forty rupees a square foot depending on the gypsum grade and finish, against the full false ceiling treatments that can run two to three times that once you add cove profiles, POP work, and multiple light points across the whole ceiling plane. For a Salt Lake flat where the ceiling height is usually a comfortable nine to ten feet, a perimeter cove alone, done well, gives you almost the entire visual lift of a full false ceiling at a fraction of the material and labour cost, and it leaves the centre of the ceiling untouched, which also means less disruption to existing wiring and less dust for a flat that is still occupied during work.
| Single Overhead Light | Layered Cove + Spot Scheme |
|---|---|
| One fixture, one switch, flat shadowless light | Perimeter cove plus 1-2 spots plus a lamp, dimensional light |
| Reads as unrenovated even after fresh paint | Reads as designed even with the same paint and furniture |
| Usually already installed, zero extra cost | Rs 90-140/sqft for a perimeter cove, spots priced per point |
The sequencing matters too, and this is where we see homeowners waste money. Lighting should come after paint and flooring decisions are locked but before furniture and soft furnishings are bought, because the same sofa fabric or wall shade can look completely different under 3000K cove light versus the original cool white tube, and buying furniture under the old lighting often means a second round of second-guessing once the new fixtures go in. On a typical Salt Lake living-plus-dining space of around two hundred and fifty square feet, we budget somewhere between twenty-five and forty thousand rupees for a full lighting relayer including the cove, spots, switch legs, and fixtures, and it is consistently the line item that gets the strongest reaction from owners once the work is done, more than the paint, more than the furniture, right at the top alongside the kitchen shutter swap we usually do next.
This kind of lighting relayer is one of the smaller jobs we take on through our false ceiling and lighting design service, usually alongside a broader renovation scope for the flat. Getting colour temperature and beam angle right is what makes a modest lighting budget read as an expensive upgrade rather than just brighter. Reach out if you want us to walk your Salt Lake flat and flag the two or three upgrades that will actually move the needle.