








How to Fix Ceiling Seepage from an Upstairs Neighbour's Bathroom in a Kolkata Flat

If you have noticed a damp, yellow-brown patch spreading across your bedroom or living room ceiling in a New Town, Salt Lake, or Rajarhat flat, and the room directly above you shares roughly the same layout as your own bathroom or kitchen, the leak is almost certainly coming from a failed waterproofing membrane or a cracked pipe joint one floor up, and not from anything wrong on your side of the slab. We have handled this exact complaint often enough across our decade of projects in greater Kolkata that we can usually tell within minutes of seeing a photo whether we are looking at condensation, a plumbing leak in the wall, or classic bathroom-above seepage, and the pattern for the third case is unmistakable: a stain that traces the outline of the bathroom or kitchen wet area upstairs, that darkens after the neighbour showers or does laundry, and that keeps returning no matter how many times it gets painted over.
Confirming the Source Before You Touch Anything
The instinct when a ceiling stain appears is to call a painter and cover it up, but that only hides the symptom for a few months before the patch returns, often larger. The first real step is confirming where the water is actually entering, because seepage can travel sideways along a slab for a metre or more before it shows up as a visible stain, which means the wet patch on your ceiling is not necessarily directly below the leak point upstairs.
We start by mapping the stain against the room layout above using the building plan or, when that is not available, simply matching room-to-room by counting from a shared stairwell or lift lobby. A moisture meter reading across the affected ceiling area tells us how far the dampness has actually spread within the slab, which matters because a small localised patch responds very differently to treatment than a slab that has absorbed water across several square feet. We also ask the household above to run their bathroom taps or flush a few times while we watch the ceiling below, since active seepage during use versus a slow ongoing drip tells us whether the source is a leaking trap, a cracked floor drain connection, or a waterproofing membrane that has simply worn through after years of standing water.
Documenting the Problem for Your Housing Society
Because the fix has to happen inside a neighbour's flat, most societies in New Town and Salt Lake require a formal complaint before the managing committee will push the upstairs owner to allow access and undertake repair. We tell clients to build a simple paper trail from day one: dated photographs of the stain taken every week or two so the progression is visible, a written note to the society secretary or the RWA describing when the stain first appeared and any correlation with the neighbour's water use, and, where the society has a maintenance engineer or plumber on retainer, a written inspection note from them confirming the seepage originates from above rather than from an external wall or a common riser pipe.
This documentation matters for two reasons beyond just convincing the society. First, most housing society bye-laws in Bidhannagar Municipal Corporation and NKDA jurisdiction areas place the cost of internal waterproofing repair on the flat owner where the leak originates, so a clear paper trail protects you if the upstairs owner disputes responsibility later. Second, if the seepage has caused visible damage such as peeling paint, cracked plaster, or a sagging false ceiling, that documentation becomes useful if you ever need to claim against a home insurance policy or negotiate a cost split with the neighbour.
- 01Confirm the source with moisture readings and correlation testing
- 02Document with dated photos and a written society complaint
- 03Arrange interim containment while repair access is negotiated
- 04Complete permanent waterproofing above and ceiling repair below
Interim Fixes While You Wait for Access
Getting access to a neighbour's bathroom for a full waterproofing redo can take weeks, sometimes longer if the household is unresponsive or travelling, and in the meantime the moisture sitting in your slab keeps doing quiet damage to plaster, paint, and any embedded wiring or false ceiling framework nearby. We generally recommend two interim measures rather than a full ceiling repair at this stage, because repairing your ceiling before the upstairs leak is actually fixed almost always means redoing that same repair a second time.
The first is polyurethane (PU) injection grouting done from your side of the slab, where a specialist drills small ports along the affected area and injects a PU resin that expands to fill hairline cracks and voids within the concrete, effectively sealing the pathway from underneath even while the source above remains unfixed. This costs meaningfully less than a full waterproofing job and buys time without committing to cosmetic repair that will need redoing. The second is simply containing the damage, moving furniture and electronics away from the drip zone, and if the seepage is active rather than just a stain, placing a collection tray until the source is addressed.
What the Permanent Fix Actually Involves
Once you have access to the bathroom above, the permanent fix is not a quick patch, it is a proper waterproofing redo, and we would caution against accepting anything less because a partial fix on a bathroom floor almost always fails again within a year or two. The correct sequence starts with removing the existing floor tiles in the wet area, chipping back the screed to expose the structural slab, checking for cracks in the slab itself, and then applying a waterproofing membrane, typically a cementitious or polymer-modified coating applied in at least two coats with proper overlap at the walls and around every pipe penetration. The screed is then relaid with the correct slope toward the floor drain, and before any tiling goes back down, a flood test should be done, filling the bathroom floor with an inch or two of water and letting it sit for 24 to 48 hours to confirm nothing is seeping through before the space is sealed up again with tiles.
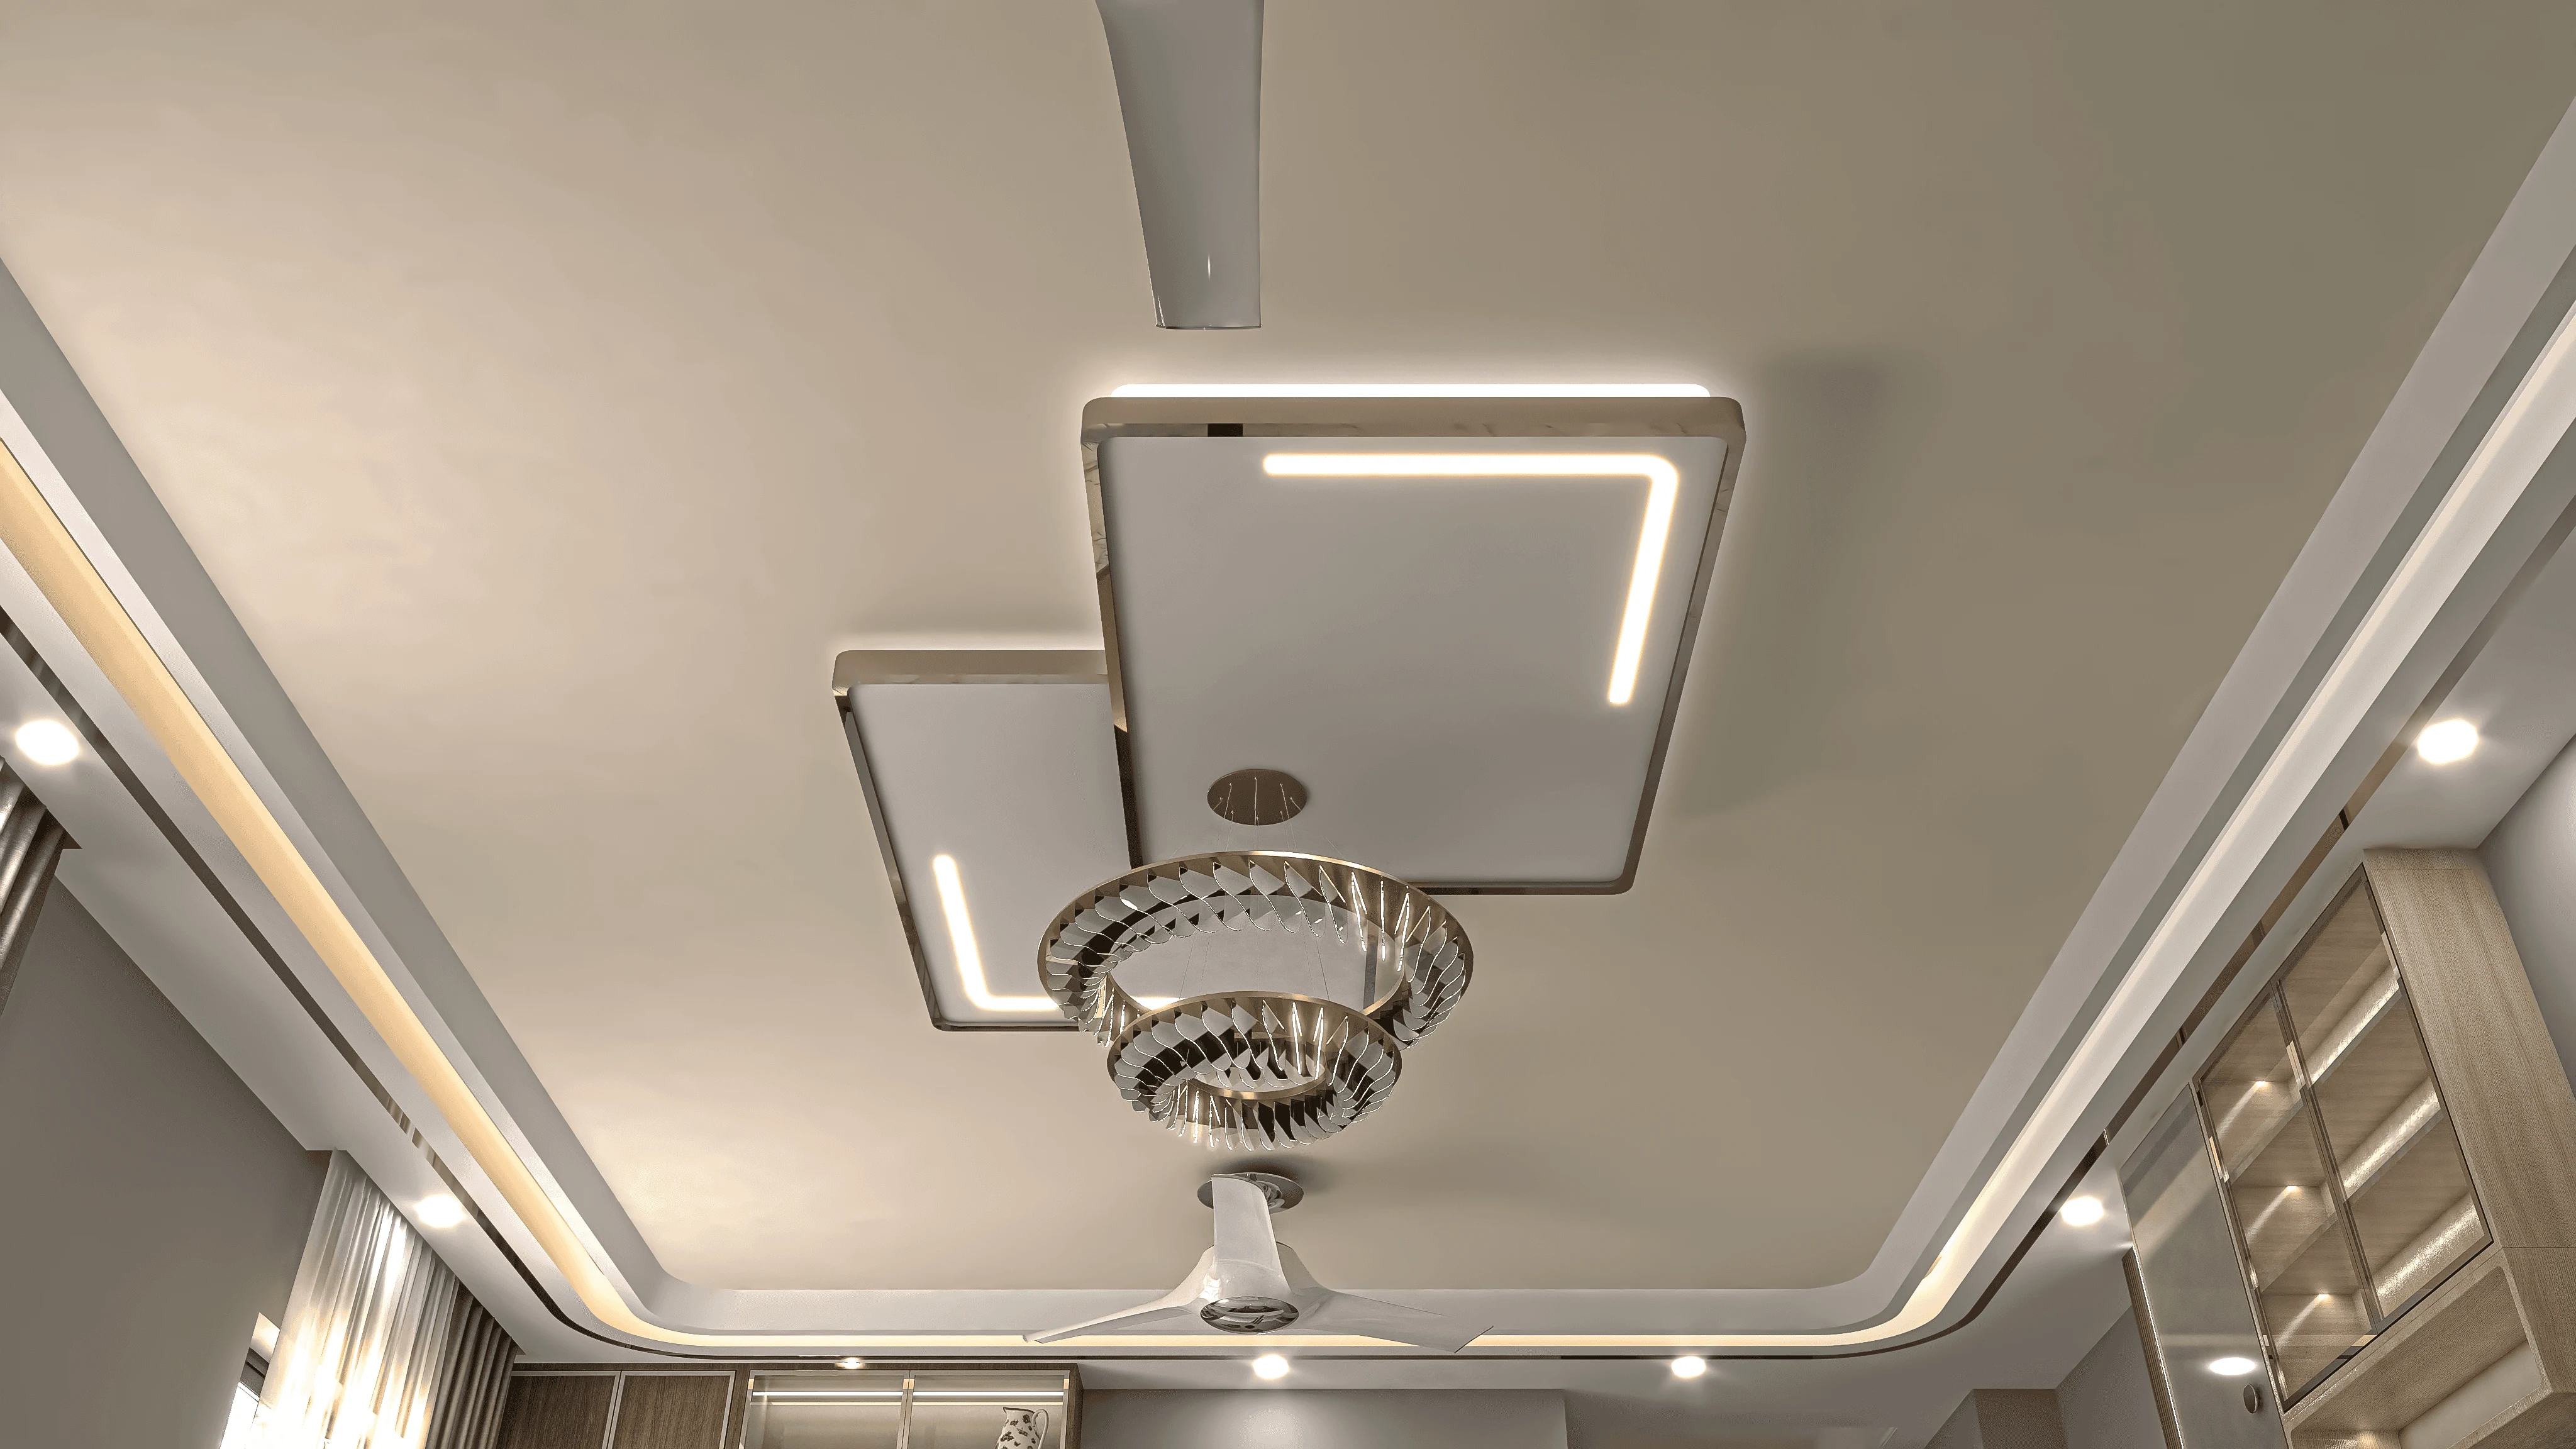
On your side, once the source is confirmed fixed and the slab has had time to dry out (we usually recommend waiting two to three weeks and rechecking moisture readings before closing anything up), the ceiling repair itself depends on how much damage occurred. A fresh stain with intact plaster often just needs a stain-blocking primer and repaint. Deeper damage, where plaster has bubbled or a section of false ceiling has gone soft, calls for cutting back the affected gypsum or POP, treating the exposed area for mold with an anti-fungal solution, and rebuilding that section before repainting. If you are already planning to redo the ceiling as part of a larger renovation, this is also a natural point to consider a proper false ceiling installation, and our false ceiling cost guide breaks down what that investment looks like by material and design.
| Feature | Interim Fix | Permanent Fix |
|---|---|---|
| Cost | Lower, ₹150 to ₹400 per running foot of PU injection | Higher, full bathroom redo runs ₹35,000 to ₹80,000 depending on size |
| Access needed | Minimal, done from your ceiling side | Full access to neighbour's bathroom for 5 to 8 days |
| Durability | Buys 6 to 18 months typically | Should last 8 to 12 years if done correctly |
| Best used when | Waiting on society or neighbour cooperation | Source confirmed and access secured |
When the Neighbour Refuses Access
Occasionally an upstairs owner disputes the finding or simply refuses to cooperate, and this is where the society's bye-laws and, if needed, the local municipal body become relevant. Both KMC and Bidhannagar Municipal Corporation recognise seepage disputes between adjoining flat owners as a legitimate grievance, and a persistent refusal can be escalated through the society's formal dispute process or, in stubborn cases, a consumer court filing, though in our experience the vast majority of these disputes resolve once the documentation is clear and the society management steps in directly. Keeping your paper trail organised from the very first photograph makes this entire path shorter if it becomes necessary.
Seepage problems rarely travel alone in Kolkata's older and newer towers alike, and if you are dealing with ceiling damage alongside other flat-specific issues, our guides on fixing poor cross-ventilation in a single-aspect Salt Lake flat, cooling down a west-facing flat that overheats every afternoon, and choosing UPVC versus aluminium windows for monsoon-facing balconies cover the other recurring complaints we see in these same buildings.
Getting the Ceiling and the Source Fixed Together
We treat seepage repair as one connected job rather than two separate ones, because a beautifully repainted ceiling means nothing if the waterproofing above it was never done properly, and a perfectly waterproofed bathroom upstairs still leaves you with a stained, weakened ceiling below that needs proper structural and cosmetic attention. If you are dealing with a seepage problem in your New Town, Salt Lake, or Rajarhat flat and want us to inspect the actual source, coordinate with your housing society on the documentation, and handle both the upstairs waterproofing coordination and the ceiling repair below as one project, get in touch with our team and we will walk the site with you before recommending anything.