








Pairing LED Lighting Strategy With Daylighting So You're Not Fighting the Sun
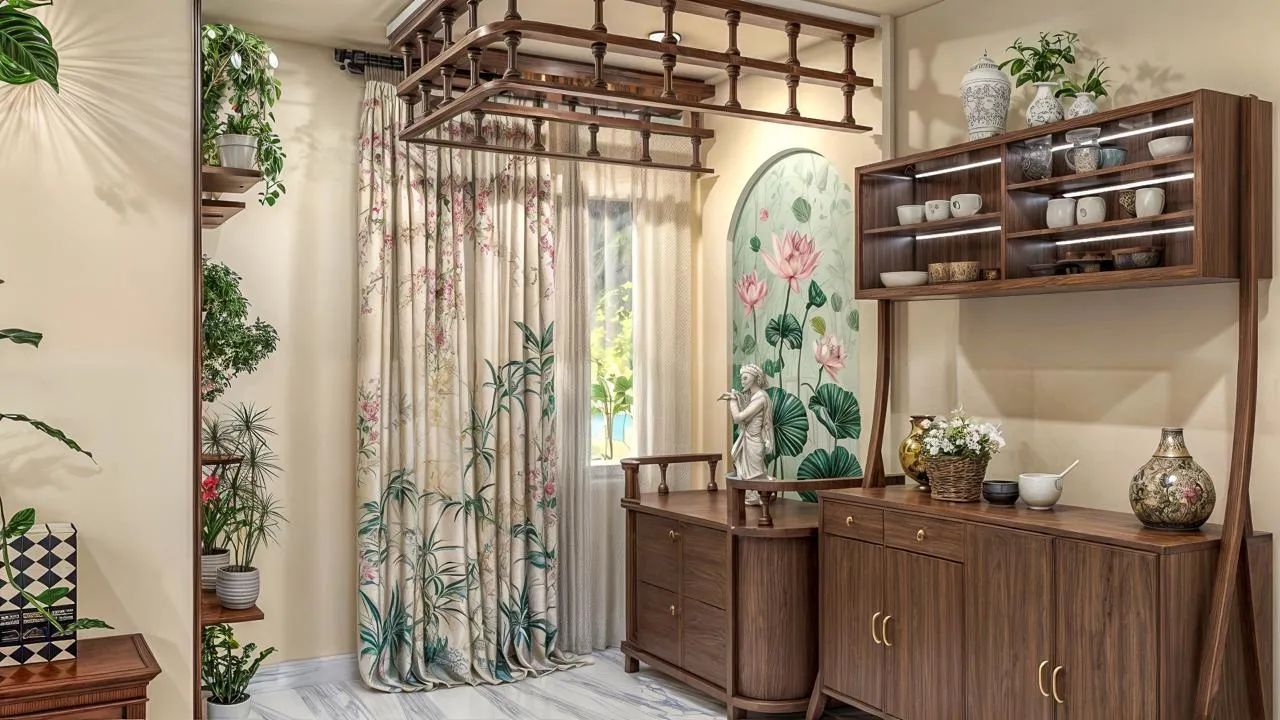
One habit we've had to actively correct in our own process over the years is treating daylighting and electric lighting as two separate design exercises handled by two separate parts of the brain, the daylighting decided early during the architectural massing and window placement stage, and the electric lighting layout worked out much later, often close to handover, as a lighting consultant or electrician's checklist of how many points go in each room. That separation is exactly how you end up with a living room that has a beautifully placed clerestory window flooding the north end with soft daylight all afternoon, sitting right next to a ceiling grid of downlights that all switch on together from one wall switch regardless of whether half the room is already lit by the sun, which means the family either burns electricity unnecessarily during the day or, more often in our experience, avoids using the switch at all and lives with uneven, patchy light instead. On every project we've taken on since we started paying closer attention to this, from independent houses in New Town to apartment interiors in Salt Lake, we now insist on mapping daylight and electric lighting on the same drawing, at the same time, because a lighting plan that doesn't know where the sun already is cannot make good decisions about where artificial light actually needs to go.
Starting With a Daylight Map, Not a Fixture Schedule
Before we specify a single LED fixture, we build what we call a daylight map for the home, which is essentially a floor plan annotated with how much usable daylight reaches each zone of each room across a typical day, accounting for window size and orientation, any overhangs or balconies that cut daylight penetration, and crucially, what's actually outside that window, because a window facing a neighbouring building's wall six feet away behaves very differently from the same size window facing an open side setback. In a typical New Town plot, where independent houses commonly sit on 3 to 5 katha plots with mandatory side setbacks of a few feet on each side, we've found the daylight penetration from a side window rarely extends more than about 6 to 8 feet into the room before it falls off sharply, while a south facing window with genuine open sky above a boundary wall can carry usable daylight considerably deeper into the same room. Mapping that out zone by zone, rather than assuming a room is either "daylit" or "not," is what lets us make the next decision correctly, which is where the electric lighting circuits actually need to sit.
Zoning LED Circuits to Match Daylight Zones, Not Room Boundaries
The single biggest shift in how we lay out lighting circuits once we started daylight mapping properly is that we stopped wiring an entire room to one or two switches and started zoning circuits to match the daylight gradient within that room, so the deep end of a living room fifteen feet from the nearest window sits on its own switch or dimmer, separate from the perimeter zone within six or eight feet of the window that gets strong daylight for a good part of the day. In practice, this means a room that might have gone on a single 8-point downlight circuit in a conventional layout instead gets split into two or sometimes three circuits, an inner zone that runs at full brightness whenever the room is occupied regardless of time of day, and an outer, daylight-adjacent zone that the family can leave off entirely during the hours the window is doing the work, switching it on only as the light fades toward evening. We spec warm white LED in the 2700K to 3000K range for most living and bedroom spaces to keep the transition between daylight and electric light visually seamless rather than jarring, and we've increasingly used daylight sensor modules, small ceiling or wall mounted photocell sensors wired to the perimeter zone circuit, that automatically dim or switch off that zone once ambient light crosses a set threshold, so the system does the zoning discipline automatically rather than depending on someone remembering to flip the right switch.
Where Daylight Sensors Earn Their Cost and Where They Don't
Daylight sensors add a real cost to a lighting installation, typically somewhere in the range of ₹1,500 to ₹3,500 per sensor point plus the compatible dimmable driver for that circuit, and we've learned to be selective about where that spend is worth it rather than specifying sensors across an entire home by default. They earn their keep clearly in spaces with strong, reliable daylight and long occupied hours, a living room with a good south or east window, a home office or study nook positioned near glazing, or a kitchen with a window over the counter where task lighting genuinely competes with daylight for a good part of the day. They're far less valuable in spaces with short occupancy or minimal daylight variation, a store room, a windowless internal bathroom, or a stairwell, where a simple manual switch or basic motion sensor does the job without the added complexity. On a recent Salt Lake apartment interior we worked on, we specified daylight sensing only for the living-dining zone and the main bedroom, both of which had generous window walls, while every other space in the flat used straightforward manual switching, and that selective approach kept the added cost to roughly 15 percent of the full lighting budget rather than the far higher figure a blanket sensor specification would have produced.
Layering Task, Ambient, and Accent So Daylight Isn't Fighting a Flat Wash
A mistake we see often in homes that do think about lighting zones is stopping at ambient ceiling light and daylight, without layering in the task and accent lighting that actually makes a room feel resolved once the sun goes down. Our approach layers three kinds of light into every main room: ambient light from ceiling fixtures or cove lighting that provides the baseline illumination and is the layer we zone against daylight as described above, task lighting positioned specifically over work surfaces, reading corners, and kitchen counters that stays independently switched regardless of the ambient zoning since task light needs to be reliably available whenever that specific activity happens, and accent lighting, often LED strip in a cove or under a shelf, that we treat as a mood layer switched separately again, since a room lit purely by ambient downlights, however well zoned against daylight, still reads flat and utilitarian once evening comes. Getting this layering right is closely tied to how false ceiling geometry is planned, since cove details and downlight placement both live in the ceiling plan, and it's worth reading alongside our broader thoughts on pairing false ceiling design with cove lighting if that's a piece of your brief too.
The Energy Numbers That Make This Worth the Extra Planning
None of this zoning effort matters much if the underlying fixtures are inefficient, so every project runs on LED throughout, typically in the 8 to 15 watt range for standard downlights depending on room and fixture type, against the 60 to 100 watt incandescent or even the 15 to 20 watt CFL fixtures that a lot of older Kolkata homes we retrofit are still running. The combination of switching to LED and zoning circuits against daylight compounds rather than adds, because a home that's already cut its per-fixture wattage by 70 to 85 percent by moving to LED then saves further by simply not running perimeter zones during the many daytime hours when the sun is already doing that job for free, and clients who've tracked their bills before and after a full retrofit have reported the lighting portion of their monthly electricity consumption dropping by roughly half again on top of the LED conversion savings alone, though the exact figure obviously depends on how much of the home's daytime lighting load was previously left running out of habit rather than need. If solar generation is also part of your plans for the roof, it's worth reading this lighting strategy alongside our piece on rooftop solar for New Town homes, covering panel sizing, shadow-free zones, and net metering, since a home that's already minimised its lighting load through good daylighting design needs a smaller, less expensive solar array to cover the rest of its consumption. The same roof, in a lot of the independent houses we design, is also carrying a solar water heater rather than just photovoltaic panels, and we plan the electrical routing for both on the same drawing where that's the case, a coordination question we go into in more detail in fitting a solar water heater into a New Town terrace without giving up usable outdoor space.
Bringing the Same Thinking to Commercial and Hospitality Spaces
The same daylight-first zoning logic applies just as directly to commercial interiors, though the priorities shift, since a retail or office space is usually optimising for consistent, glare-free illumination across working hours rather than the more atmospheric daylight-to-evening transition a home needs, and a hospitality space like a restaurant is managing mood and spend as much as raw lux levels, a topic we've explored separately in how Kolkata restaurants use light to control mood and spend for anyone working on a commercial fit-out alongside a residential one.
Getting Your Lighting Plan Talking to Your Windows
We'd genuinely encourage anyone starting a renovation or new build to raise the lighting conversation at the same stage as window and layout decisions rather than treating it as finishing-stage detail, because the two decisions inform each other far more than most lighting quotations assume, and a plan that zones electric light against where daylight actually falls in your specific home, on your specific plot, with your specific neighbours' buildings casting whatever shadows they cast, ends up both more comfortable to live in and meaningfully cheaper to run. If you're working through a new build or a renovation anywhere in New Town, Salt Lake, Rajarhat, or greater Kolkata and want your lighting plan built around your home's actual daylight rather than a generic fixture count, reach out to our studio and we'll walk the plot with you, map how the sun moves through the rooms across the day, and build a circuit layout from there.