








Sliding Wardrobe Installation in Salt Lake Sector I Homes
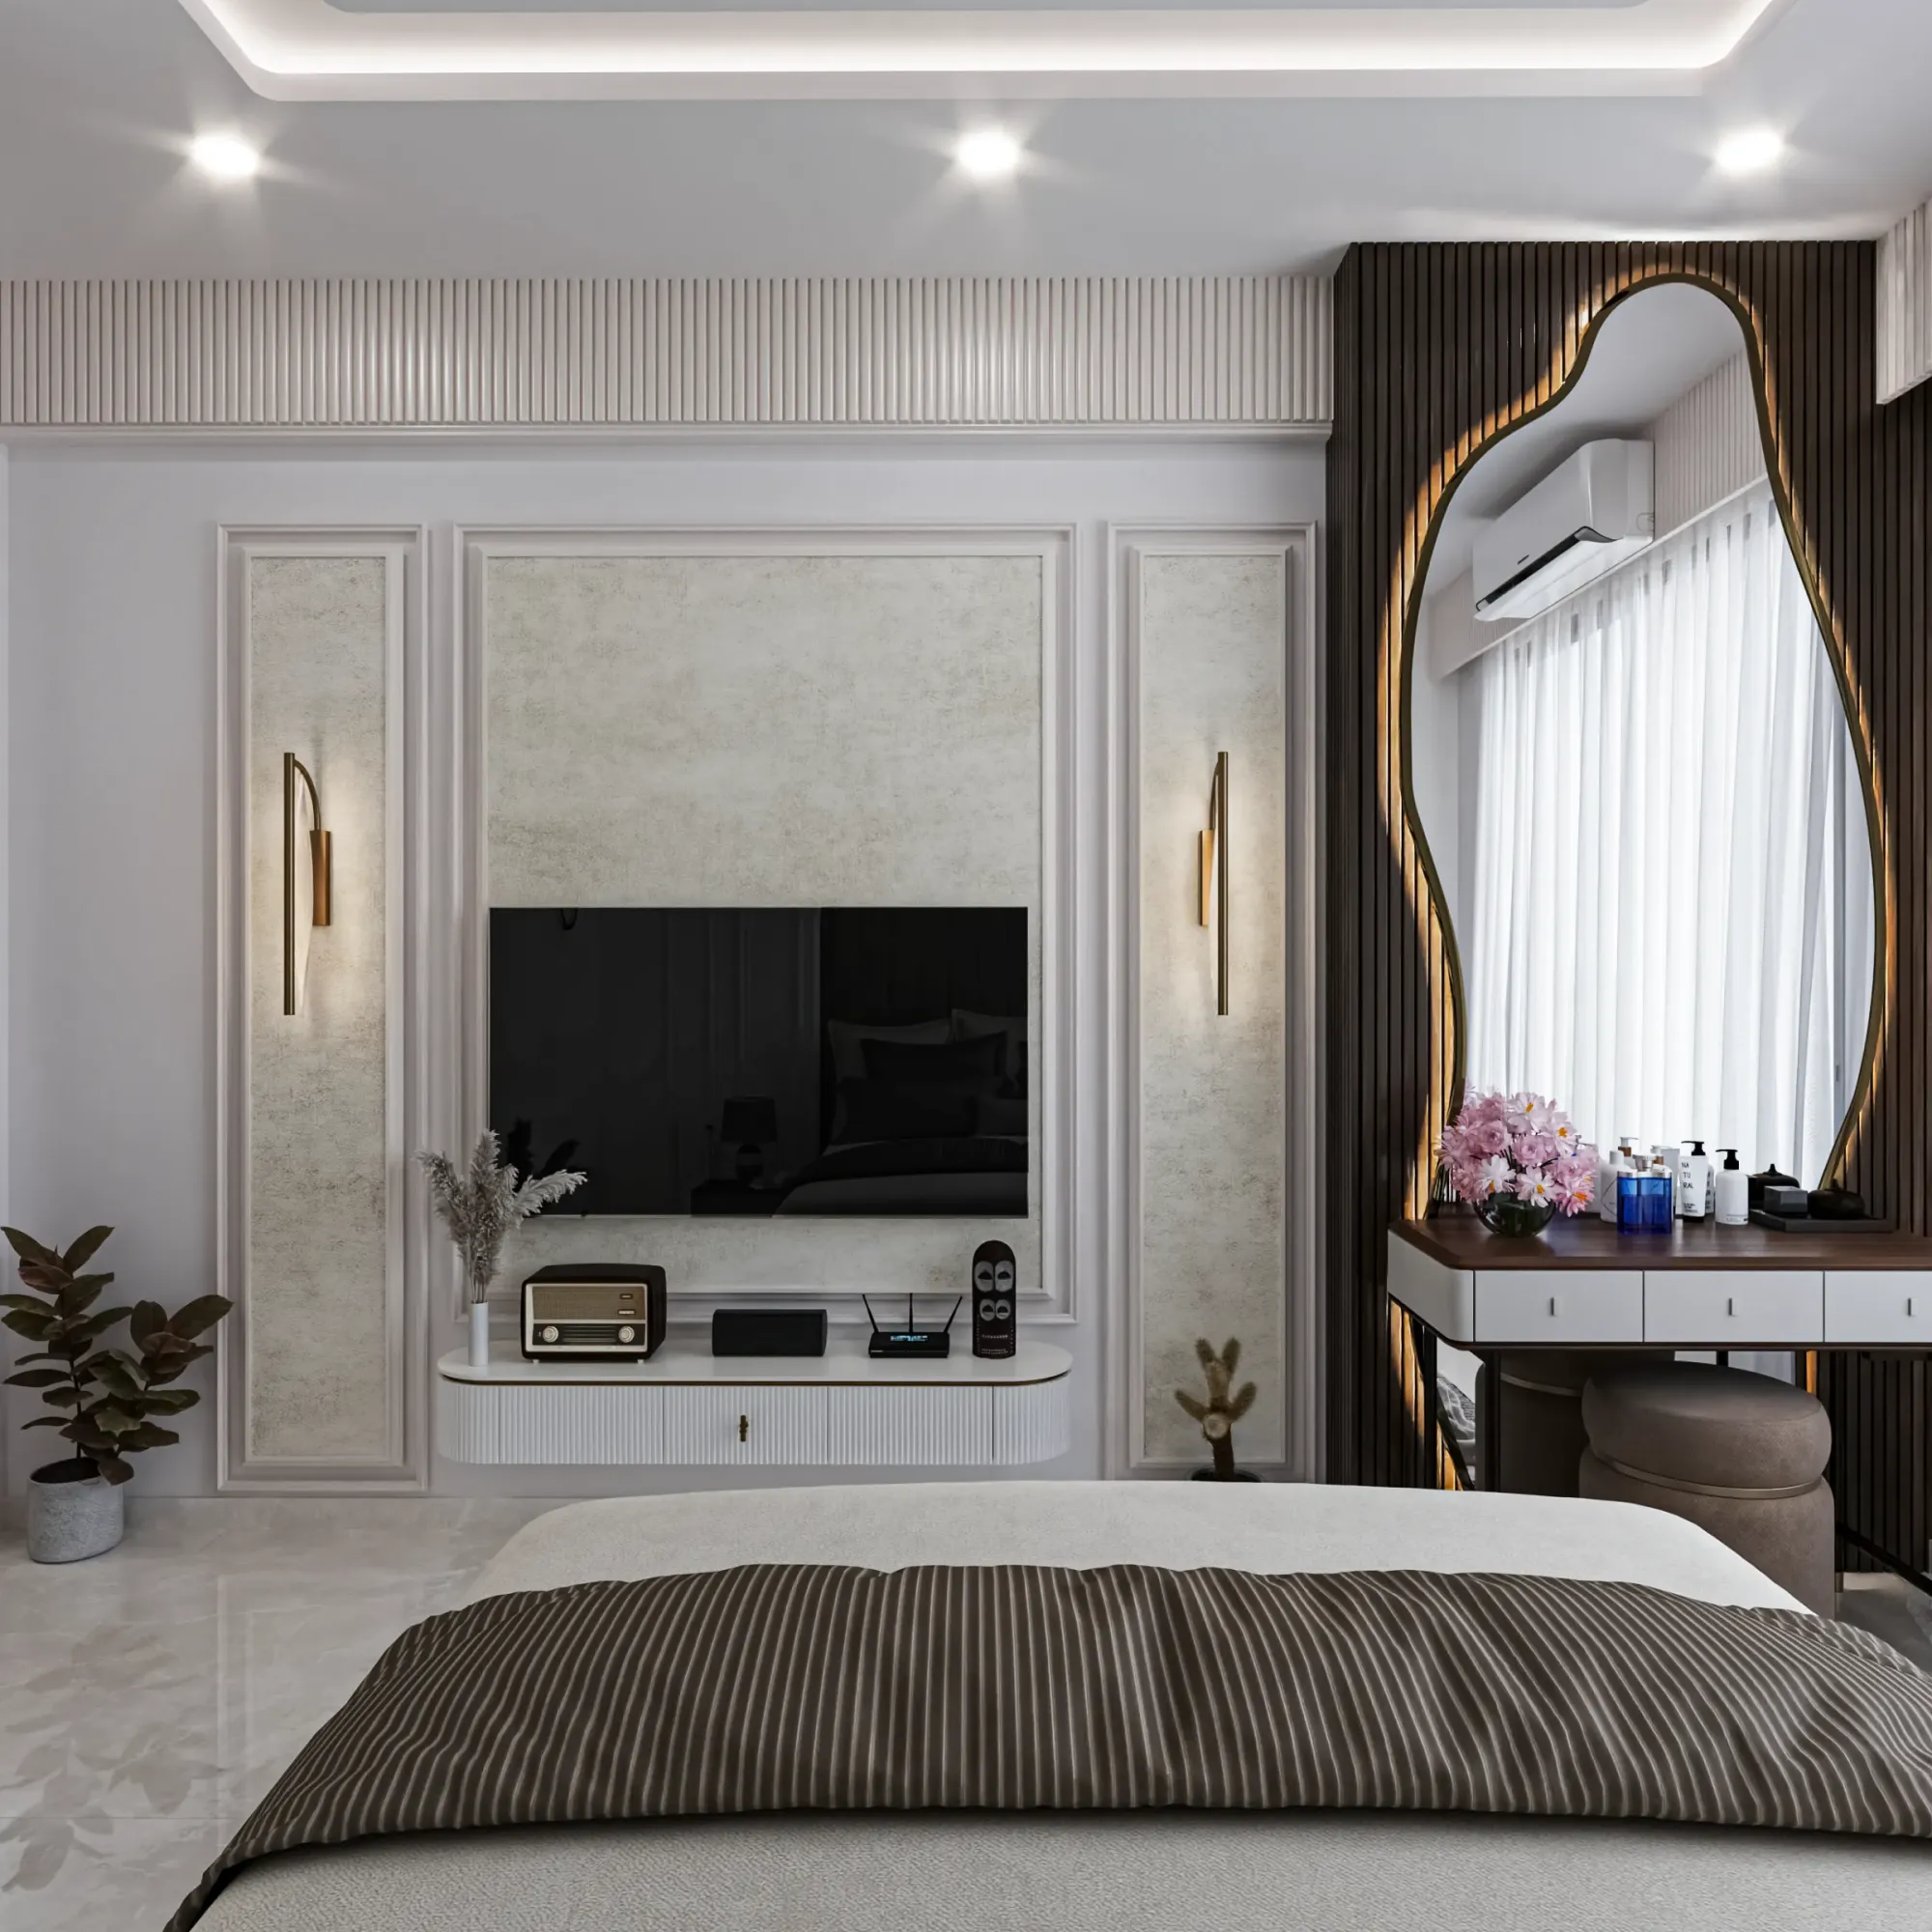
Walk into a typical Sector I flat and you'll notice the same thing we notice on every site visit here, which is that the bedrooms were built for a different era of storage thinking, with hinged almirahs and steel cupboards that eat into circulation space the moment you open a door. Sliding wardrobes solve that problem cleanly, but only if the installer actually accounts for the quirks of these older Salt Lake structures rather than treating every flat like a blank New Town shell.
We've delivered 330+ buildings since 2014 working across New Town and Salt Lake, and Sector I specifically throws up a recurring set of constraints, from slightly lower ceiling heights in some blocks to bedroom widths that were never drawn with modular storage in mind, and so this piece walks through what actually goes into a sliding wardrobe installation here, the track and material choices that hold up in Kolkata's humidity, how Vastu considerations factor into placement, what the process looks like week by week, and what genuinely drives the cost up or down.
Why Sector I Bedrooms Need a Different Approach
Most Sector I housing was built in phases through the 1970s to 1990s, which means room proportions, door and window placements, and even electrical points were fixed long before anyone was thinking about floor-to-ceiling sliding storage. A standard secondary bedroom here often runs somewhere between 9 and 11 feet on the shorter wall, and once you subtract the door swing, a window, and a bit of walking clearance, the usable wall for a wardrobe shrinks fast. That's the first thing we measure on site, not the wardrobe width the client has in mind from a catalogue photo.
The second issue is structural, and it catches people off guard. Many of these flats have load-bearing walls rather than the RCC frame-and-infill construction you see in newer New Town towers, so anchoring a sliding wardrobe's top track isn't always a simple dowel-and-screw job into a false ceiling batten, it sometimes needs a proper mounting channel fixed directly into brick or concrete, which changes both the install sequence and the finishing work around it. We flag this during the site visit precisely because retrofitting it later, after the false ceiling work is done, means redoing ceiling sections.
Track Systems and Materials That Actually Survive Kolkata Humidity
Sliding wardrobes live or die on their track hardware, and Salt Lake's monsoon humidity is unkind to cheap aluminium channels that warp or stick within two seasons. We specify heavier-gauge aluminium profiles with nylon or ball-bearing rollers, and we insist on a bottom-supported track rather than a hanging-only system for anything wider than a single panel, because hanging-only doors tend to sway and eventually grind against the frame once the building settles even slightly, which every older Sector I structure has already done.
On the carcass side, the material conversation matters just as much as the track. Marine-grade or BWP-rated plywood with a laminate or membrane finish handles Kolkata's humidity far better than particle board, which swells at the edges within a monsoon or two if moisture gets in through a poorly sealed joint. We've replaced enough particle-board wardrobes gone soft at the base in Sector I flats to make this a non-negotiable in our own custom furniture design specifications, even when it costs slightly more upfront than the cheaper alternative a local carpenter might quote.
| Particle Board Carcass | BWP Plywood Carcass |
|---|---|
| Softens at edges within 2-3 monsoons | Holds up 10+ years with sealed joints |
| Lower upfront material cost | Higher upfront cost, lower lifetime cost |
| Common in budget local quotes | Standard in our specifications |
| Prone to swelling at cut edges | Resists moisture ingress at joints |
The interior fittings matter too, and this is where a lot of budget installations cut corners that don't show up until year two. Soft-close hinges and channels, proper drawer runners rated for repeated use, and hardware finished to resist the salt-air corrosion common near Kolkata's eastern belt all add a modest amount to the bill but save a much larger repair bill down the line. Good cabinetry design also means thinking through what actually goes inside, saree storage, suit-length hanging space, shoe racks, and how those zones map to how the household actually dresses in the morning, which is basic ergonomics applied to a piece of furniture people use daily.
Planning Placement Around Vastu and Daily Movement
A fair number of our Sector I clients ask about Vastu placement for wardrobes, and it's a reasonable question given how many households here still weigh Vastu Shastra principles alongside practical layout. The general guidance favours the southwest corner of a bedroom for heavy storage, with mirrors avoided on wardrobe doors that face the bed directly, and we work these preferences into the layout wherever the room's actual dimensions allow it without compromising the walking clearance or blocking natural light from the window. Where the two pull in different directions, for instance a narrow room where the only viable wall happens to sit northeast, we talk clients through the tradeoff honestly rather than forcing a placement that technically satisfies Vastu but leaves the room cramped. Our vastu-compliant design approach across Salt Lake and New Town has always been about finding that workable middle ground rather than treating either the measurements or the tradition as negotiable.
Placement also has to account for door swing against the room's other furniture, and this is where 3D visualization earns its keep before anything gets fabricated. We run every wardrobe layout through a walkthrough model so the client can see the open-door clearance against the bed, the dresser, and the room's traffic path before a single panel is cut, which is standard practice within our 3D visualization rendering process and has saved more than one Sector I client from a wardrobe that looked fine on paper but blocked the almirah drawer in real life.
The Installation Process, Start to Finish
A sliding wardrobe installation in an existing Sector I flat runs differently from a new-build fit-out, mostly because the room is occupied and often still has furniture in it during the site visit. Our process starts with precise measurement and a structural check of the mounting wall, moves into design and material selection, then fabrication happens off-site while the room stays livable, and installation itself is usually a one to two day job once materials arrive, assuming the wall doesn't need remedial work first.
- 01Site visit, measurement and wall assessment
- 02Design finalization and material selection
- 03Off-site fabrication (2-3 weeks)
- 04On-site track mounting and panel installation
- 05Final adjustment and hardware check
For a standalone wardrobe replacement, the whole process typically wraps in four to six weeks from first visit to handover, largely gated by fabrication lead time rather than the on-site work itself. If the wardrobe is part of a broader bedroom or whole-flat renovation, it folds into our usual 8-12 week interior timeline, and we sequence it so the wardrobe goes in after painting and flooring but before final styling, since dust from those earlier trades can settle into track mechanisms if the order gets reversed.
- Confirm mounting wall is structurally sound before fabrication begins
- Choose BWP plywood or equivalent moisture-resistant carcass material
- Specify bottom-supported track hardware, not hanging-only
- Walk through the door-swing clearance in a 3D model before cutting begins
- Ask about soft-close hinges and corrosion-resistant fittings upfront
What Actually Drives the Cost
Sliding wardrobe pricing in Salt Lake varies more than most people expect, and the swing usually comes down to four things: the number of panels and overall width, the carcass material, the track hardware grade, and how much internal organisation goes inside. A basic two-panel wardrobe in engineered board with standard track sits at the lower end, while a four-panel unit in BWP plywood with soft-close mechanisms and a full internal fit-out of drawers, shelves, and hanging zones sits meaningfully higher.
We always break the quote down by these components rather than handing over a single lump figure, because it's the only way a client can see where their money is actually going and where they can trim without compromising the parts that matter for longevity, namely the track hardware and the carcass material. Current material and labour rates shift enough year to year that we'd rather walk you through a live, itemised quote for your specific room than print a number here that's stale by the time you read it.
Using the Space Above: Loft Storage on Top of a Sliding Wardrobe
Once we've settled the track, the material, and the placement, there's one more question that comes up in almost every Sector I bedroom we work on, and it's what to do with the gap between the top of the wardrobe and the ceiling, because in a lot of these older blocks that gap is generous enough to be wasted space if nobody plans for it and cramped enough to cause problems if someone bolts on a loft without checking clearances first. Sector I ceiling heights run lower than what you'd find in a newer New Town tower in a fair number of blocks, so the loft decision here isn't cosmetic, it's a genuine trade-off between extra storage and a room that still feels comfortable to stand in.
The first thing we check is whether the room can actually take a loft without the wardrobe starting to feel oppressive from the bed or the doorway, and the rule of thumb we work with is that if the finished ceiling height after any false ceiling work drops below roughly 9 feet, we'd rather skip the loft or keep it shallow than build something that makes an already modest room feel lower than it is. Where the height allows it, a loft typically adds somewhere between 18 and 24 inches of extra storage running the full width of the wardrobe below, which is enough for suitcases, off-season quilts, and the boxes of documents and old electronics every household accumulates but doesn't want cluttering the main hanging space, and that's basically free storage once the structural and access questions are worked through properly.
Access is the part people underestimate, and it's the part that decides whether a loft actually gets used or just becomes dead weight nobody wants to climb up for. We build lofts with either a lift-up shutter on a gas-strut hinge, which stays open on its own while you're loading or unloading, or a sliding panel that matches the wardrobe's main track system below so the whole unit reads as one piece rather than two mismatched fittings stacked on top of each other, and honestly the gas-strut lift-up is the one we recommend for anything above head height, since a client standing on a stool is not going to want to hold a heavy panel open with one hand while reaching in with the other. We also route a small LED strip along the loft's underside on request, wired off the room's existing point rather than a new circuit, which sounds like a minor add but genuinely changes how usable that top compartment feels once the room's ceiling light is the only thing lighting a space you're bending down to see into.
- Confirm ceiling height clears 9 feet before committing to a full-depth loft
- Choose gas-strut lift-up shutters for anything mounted above head height
- Match loft panel finish to the wardrobe below so it reads as one unit
- Ask for an LED strip inside the loft if you'll be storing anything you need to find quickly
- Keep genuinely heavy items out of the loft regardless of how the mounting is rated
The structural side follows the same logic we apply to the main wardrobe track, which is that a loft's mounting brackets need to sit on something solid, and in Sector I's load-bearing wall construction that usually means anchoring into the wall itself rather than trusting a false ceiling batten to carry the weight of stored boxes over years of use. We've seen lofts installed by local carpenters who anchored purely into gypsum board framing, and those held for a season or two before the brackets started pulling loose under normal loading, which is exactly the kind of shortcut that doesn't show up on handover day but shows up eighteen months later as a sagging shutter or a crack spreading across the ceiling finish. At the end of the day a loft is only worth adding if it's built to the same standard as the wardrobe underneath it, because a storage compartment nobody trusts to hold weight isn't storage, it's just a box bolted to your ceiling that looks like it should be useful.
Getting It Right the First Time
The pattern we see across Sector I, and honestly across most of the older Salt Lake sectors, is that sliding wardrobes go wrong not because the design was bad but because the installer skipped the structural check, used the wrong carcass material for Kolkata's humidity, or fitted hardware that looked fine on day one and started sticking by the second monsoon. We've built our reputation over a decade in New Town and Salt Lake on catching those issues before fabrication starts, not after installation when fixing them means tearing panels back out. If you're planning a wardrobe upgrade, whether standalone or as part of a larger bedroom refresh under our broader residential interior design scope, or you want to see how we've handled storage and layout in a comparable Salt Lake flat before committing, our Salt Lake residential interior project is worth a look, and if any of this resonates with what your own Sector I bedroom needs, get in touch and we'll set up a site visit and walk the room with you before you decide anything.