








Interior Planning Checklist for a 2000 Sq Ft Duplex in Action Area I
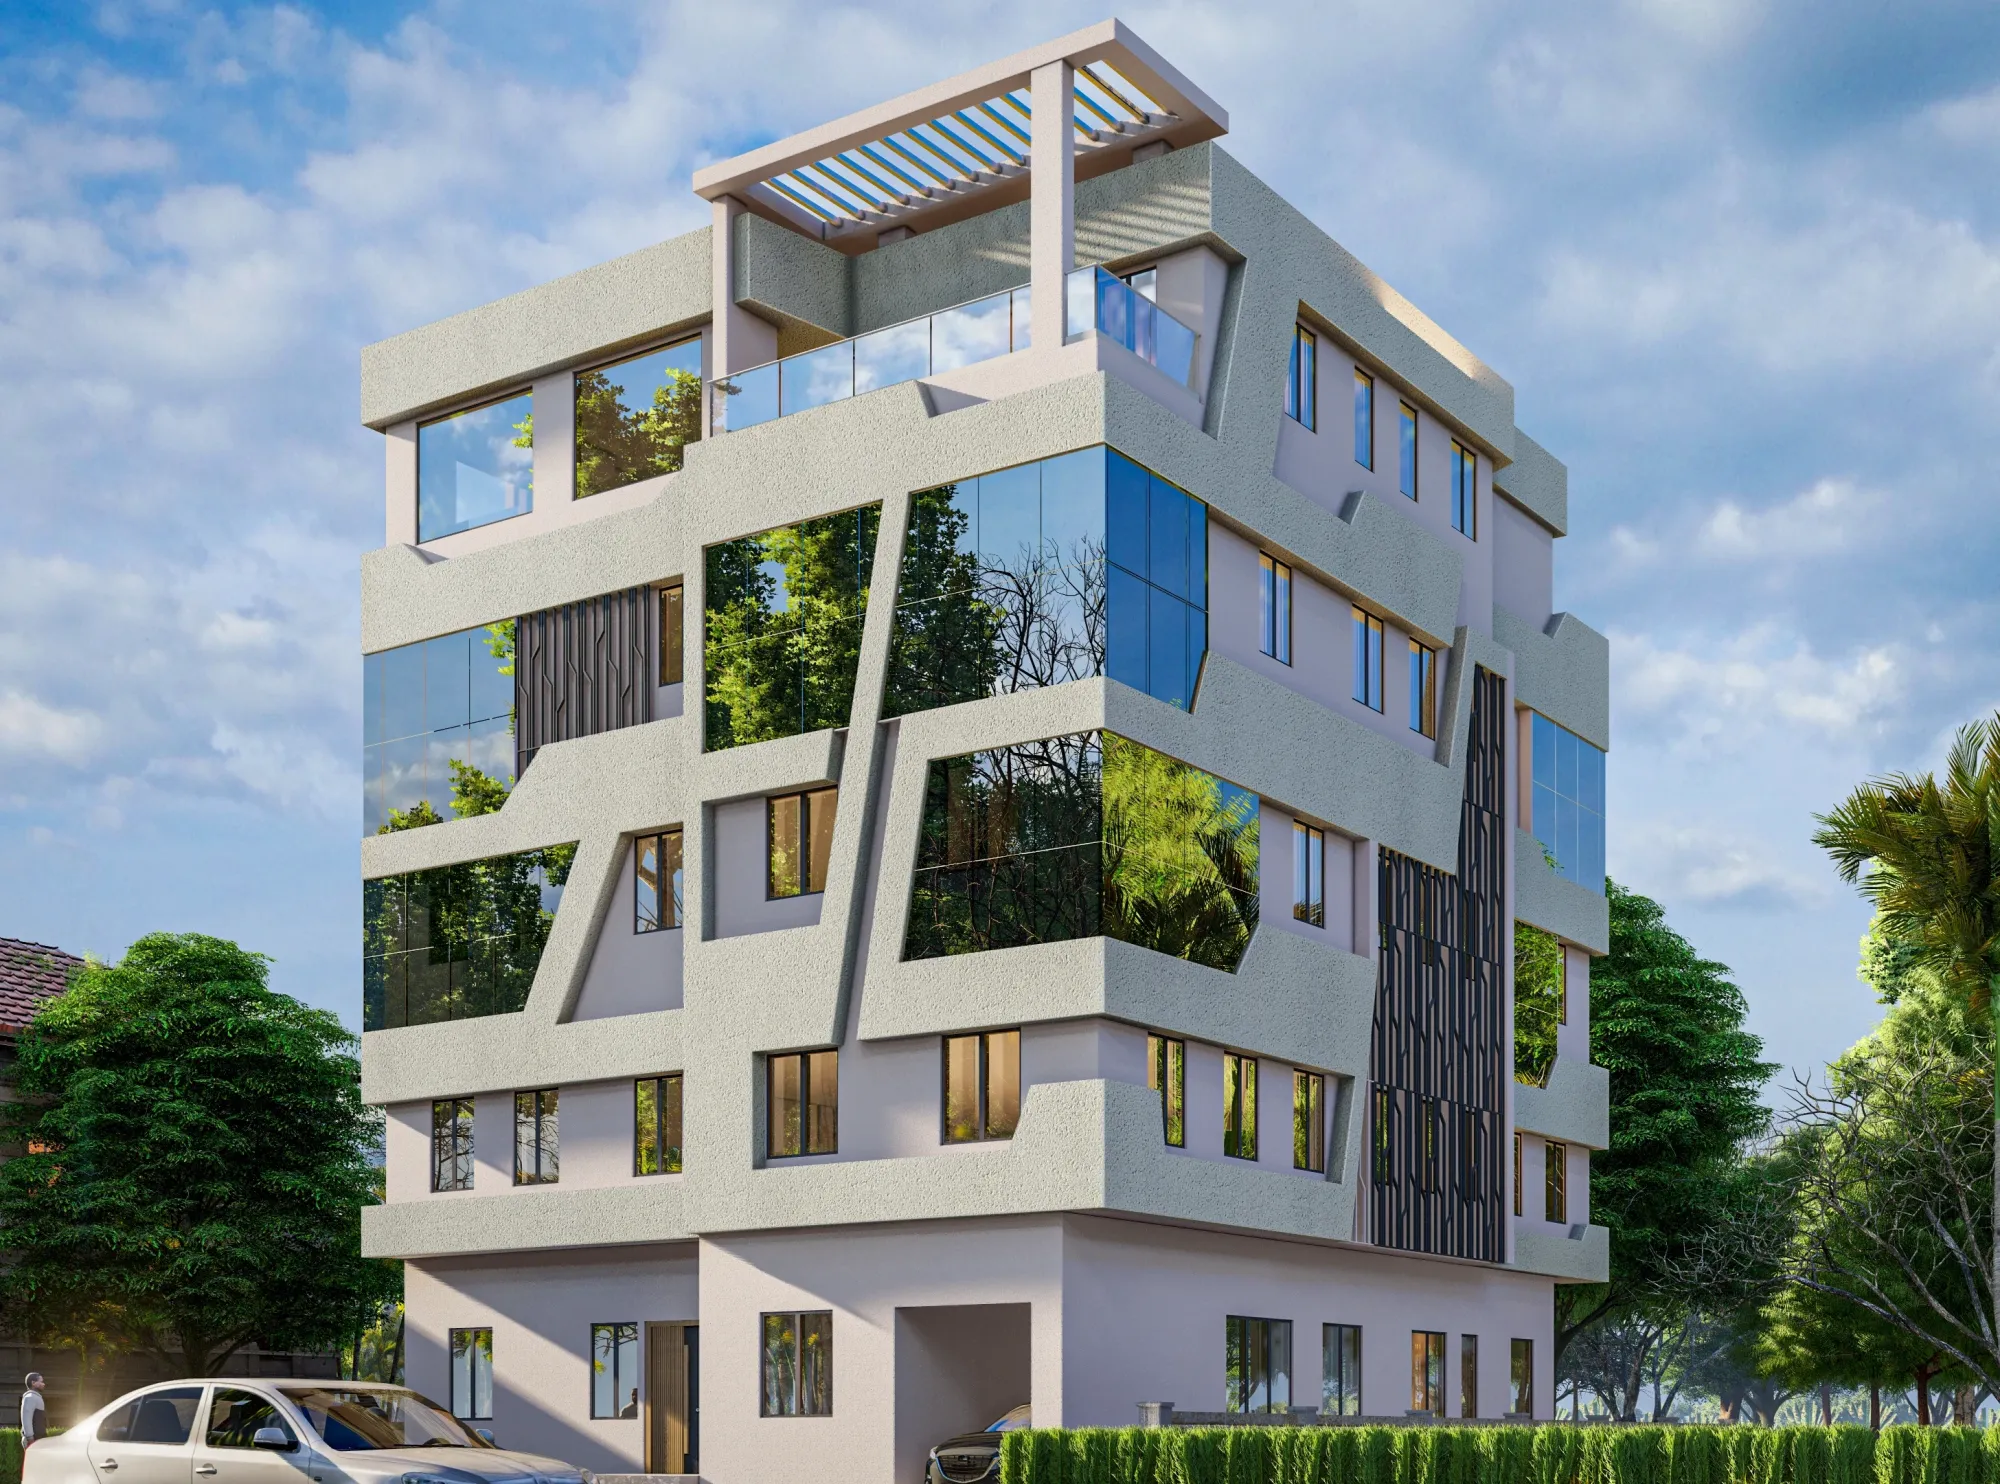
Interior planning for a 2000 sq ft duplex in Action Area I comes with a problem that flat owners rarely face, which is that decisions on the lower floor have direct consequences for the upper floor, so the sequence in which you make them matters as much as the decisions themselves, and getting that sequence wrong is the single most common reason we get called into a duplex project midway through, usually because a client finalised furniture on the ground floor before confirming where the staircase, the electrical risers, or the first floor plumbing stack would actually land. We have handled a good number of duplex units across Action Area I over the years, most of them in the 1800 to 2200 sq ft bracket that this checklist is written for, and the planning discipline that separates a duplex project that finishes on time from one that drags on for months is almost entirely about locking structural and service decisions before a single piece of furniture gets chosen, because a duplex simply has more interdependent systems running through it than a single-floor flat of the same total area.
Why a Duplex Needs a Different Planning Order Than a Flat
In a single-floor 2000 sq ft flat, you can reasonably plan room by room, closing out the kitchen, then the master bedroom, then the living room, largely independently of each other, but a duplex breaks that model because the staircase location constrains both floors simultaneously, the electrical riser and DB placement on the ground floor determines cable routing to the first floor, and any plumbing stack serving an upper floor bathroom has to be finalised before the ground floor ceiling gets closed up, since retrofitting a stack after that ceiling is done means opening it back up. We start every duplex project with what we call a cross-floor lock list, essentially every decision that touches both levels, before we let the design move to room-level detailing, and that list typically has five items, staircase position and structure, electrical riser routing, plumbing stack locations, structural openings like a double-height void if the client wants one, and the HVAC or split AC outdoor unit placement, which in a duplex often needs a shared external wall or a service balcony accessible from both floors.
Step One: Staircase Position and Structure
The staircase is the single decision that has the most downstream effect on both floors, because its footprint, typically 9 to 12 sq ft of floor area per floor for a straight or dog-leg run at standard 9 inch tread and 7 to 7.5 inch riser dimensions, removes usable space from both the ground floor room it sits in and whatever room it lands in on the first floor, and moving it after either floor's layout is finalised almost always means redoing both. We push clients to decide between an open riser design, which keeps more light and visual continuity between floors but costs more in structural steel or timber fabrication, typically ₹1,800 to ₹3,200 per running foot of stair length, against a closed masonry staircase with a plastered soffit, which runs considerably cheaper at ₹900 to ₹1,500 per running foot but reads visually heavier and blocks light between floors, and this decision needs to be locked before either floor's furniture layout proceeds, since the staircase's landing and headroom clearance directly shapes what can go around it.
| Feature | Open Riser Staircase | Closed Masonry Staircase |
|---|---|---|
| Cost per running foot | ₹1,800 to ₹3,200 | ₹900 to ₹1,500 |
| Light between floors | Good, largely unobstructed | Blocked, needs separate lighting |
| Construction time | Longer, needs fabrication | Shorter, standard masonry work |
| Visual weight | Light, open | Heavier, more enclosed |
Step Two: Electrical Riser and Distribution Board Routing
Once the staircase position is locked, the electrical riser, the vertical run that carries power from the ground floor DB up to a first floor DB or sub-panel, needs to be planned next, because it almost always runs adjacent to the staircase or through a dedicated shaft, and deciding this after ceiling work has started means surface-mounted conduit that no client wants to see in a finished duplex. For a 2000 sq ft duplex with a reasonably full load, split ACs on both floors, a modular kitchen with multiple high-draw appliances, and general lighting and plug points across roughly 10 to 12 rooms including bathrooms, we typically size the incoming supply at 6 to 8 kW connected load and split it across two DBs, one per floor, connected via a riser cable rated for the full load rather than daisy-chaining circuits between floors, which is both a safety concern and a common source of nuisance trips in duplexes where this step gets rushed.
Step Three: Plumbing Stacks for Upper Floor Bathrooms
Any bathroom on the first floor needs its water supply and drainage stack finalised before the ground floor ceiling below it gets closed, because the drainage stack in particular usually needs to run down through the ground floor ceiling void to connect to the building's main stack, and in a 2000 sq ft Action Area I duplex with typically one bathroom on the ground floor and two on the first floor, that means at minimum two stacks passing through the ground floor ceiling that have to be positioned, sleeved, and pressure tested before any false ceiling or POP work seals them from view. We insist on a full plumbing pressure test and a client walkthrough of stack positions before ceiling closure on the ground floor, since this is the one step in the entire duplex sequence that is genuinely expensive to fix later, often requiring the ground floor false ceiling to be partially demolished and redone if a leak surfaces after the fact.
- 01Lock staircase position and structure type
- 02Route electrical riser and size both DBs
- 03Finalise upper floor plumbing stacks
- 04Confirm structural openings and double-height voids
- 05Close ground floor ceiling only after stack pressure test
- 06Begin room-level furniture and finish planning
Step Four: Structural Openings and Double-Height Voids
A number of our Action Area I duplex clients want a double-height void, typically over the living room, which opens the ground floor ceiling into the first floor for a more dramatic volume, and this is a decision that has to be made before either floor's layout proceeds because it removes usable first floor area directly above the void, generally 80 to 150 sq ft depending on how large the opening is, which has to come out of whatever room sits above it, usually a first floor family lounge or a bedroom that then needs to be resized. We are candid with clients that a double-height void in a 2000 sq ft duplex is a genuine tradeoff between visual drama and usable square footage, and the ones who are happiest with the decision tend to be families where the first floor plan already had more room than needed, rather than families squeezing three bedrooms into a first floor that was already tight before the void was introduced.
Step Five: Room-Level Planning, Now That the Cross-Floor Decisions Are Locked
Only once the staircase, electrical riser, plumbing stacks, and any structural openings are confirmed do we move to room-level planning, and at this stage a 2000 sq ft duplex in Action Area I typically breaks down as a ground floor living, dining, and kitchen zone of roughly 750 to 900 sq ft, often with a guest bedroom and powder room taking up another 200 to 250 sq ft, and a first floor of two to three bedrooms with attached bathrooms across the remaining 900 to 1050 sq ft. Furniture and finish decisions at this stage move genuinely fast because every constraint that would otherwise force a redesign, wall positions, service routing, ceiling heights around the void, has already been resolved, which is the entire point of sequencing the project this way rather than starting with a mood board.
- Lock staircase position and structure before either floor's layout proceeds
- Size the electrical riser for full connected load across both floors, not per circuit
- Confirm and pressure test upper floor plumbing stacks before ground floor ceiling closure
- Decide on any double-height void early since it resizes whatever room sits above it
- Split electrical DBs by floor rather than daisy-chaining circuits vertically
- Only start room-level furniture planning after all five cross-floor decisions are locked
Budget Sequencing Across a Full Duplex Project
For a 2000 sq ft duplex in Action Area I, a full interior fit-out including the structural and service work specific to a two-floor layout typically runs between ₹42,00,000 and ₹68,00,000 depending on finish grade, and the split across major scopes looks meaningfully different from a single-floor flat of the same area because staircase construction, riser work, and dual plumbing stacks add cost categories that a flat simply does not carry.
A duplex unit's internal staircase and any double-height void are treated as part of the same sanctioned built-up area as the rest of the flat, and neither changes how the relevant municipal authority calculates the building's floor area ratio, so these are purely internal planning and structural decisions rather than approval matters, provided you are not altering the building's external envelope or adding floor area beyond what was originally sanctioned.
How This Compares to Smaller Units We Work In
The cross-floor sequencing problem is unique to duplexes, but the underlying discipline of locking constraints before choosing finishes applies at every scale we work at, and it is worth reading alongside our storage-focused piece on a 950 sq ft 2BHK in Salt Lake to see how differently the planning priorities shift once you drop from two floors to one and from 2000 sq ft to under 1000, or our furniture-first guide for a 700 sq ft 2BHK flat in Kolkata, where the entire planning sequence compresses into a single afternoon of measurements rather than the multi-week structural sign-off a duplex demands. If Vastu placement for the kitchen is part of your brief, our piece on why the stove belongs in the southeast corner for New Town kitchens is worth reading before the ground floor kitchen wall is finalised, since stove orientation is another decision that is far cheaper to set correctly at the planning stage than to change once cabinetry is fabricated.
Planning Your Own Action Area I Duplex
If you own or are about to take possession of a duplex unit in Action Area I and want the interior planning to move in the right order rather than backtrack halfway through, we have found that a single structural and service walkthrough at the very start, before any furniture conversation, saves clients months of avoidable rework later in the project. Our team has been through this exact sequencing enough times across New Town's duplex stock, and you can read more about how we have approached similar full-home projects in our piece on choosing an interior design partner in New Town, that reach out through our contact page is genuinely the fastest way to get your specific staircase, riser, and stack decisions locked before the next stage of construction begins.