








450 Sq Ft Dermatology Clinic Waiting and Consultation Layout in Salt Lake
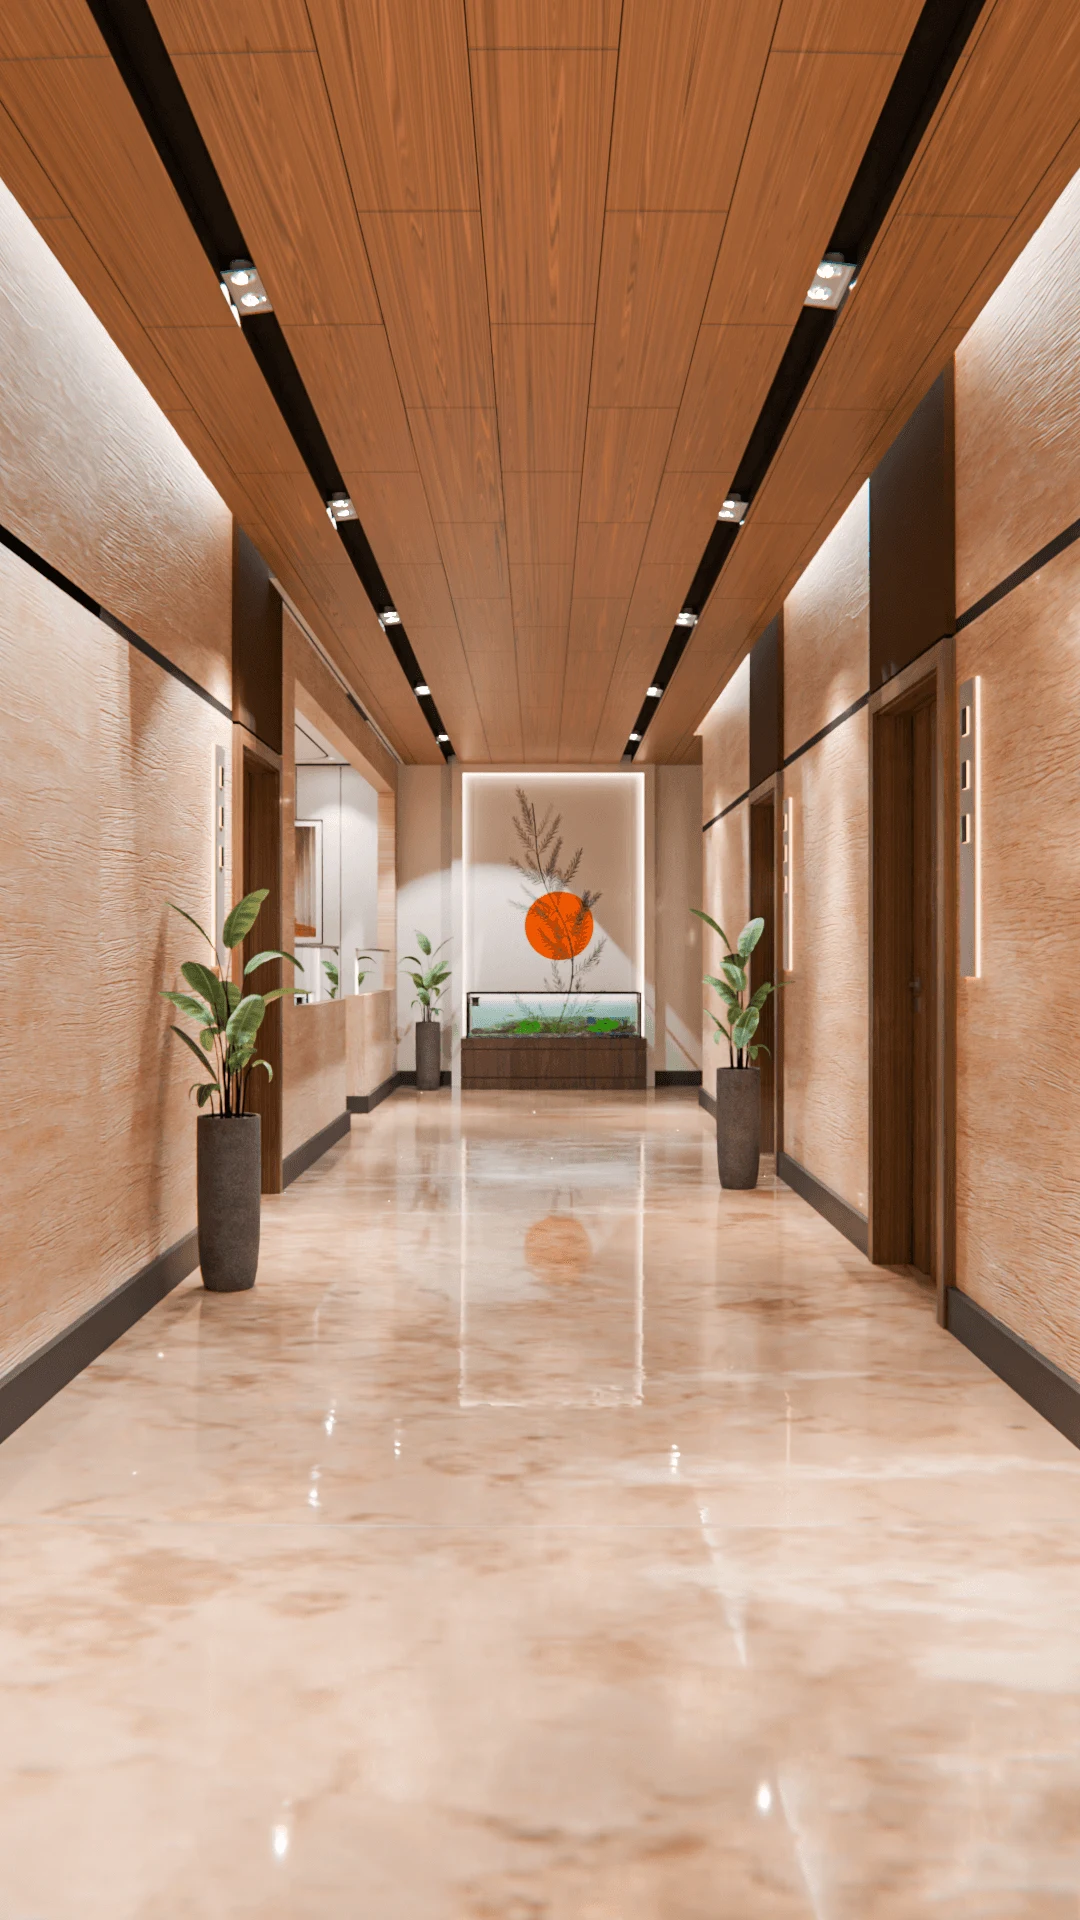
When a dermatologist setting up a skin and cosmetic practice in Salt Lake hands us a 450 sq ft shell and asks what the interior design should prioritize, our answer almost never starts with colour palettes or reception furniture, because the one decision that shapes everything else in a dermatology clinic this size is how firmly the plan separates the people waiting to be seen from the people who have just walked out of a chemical peel, a laser session, or a minor excision, and in a footprint this tight that separation has to be built into the layout rather than bolted on afterward with a curtain or a folding screen. We have carried this same privacy-first approach into skin and cosmetic clinics across Salt Lake and the wider Bidhannagar stretch over the years, and this piece walks through how we divide a 450 sq ft shell into a general waiting lounge, a discreet consultation alcove, and procedure rooms that never put one patient face to face with another mid-treatment.
Why Privacy Drives This Floor Plan More Than Any Aesthetic Choice
Dermatology and cosmetic practices carry a specific kind of social discomfort that a general physician's clinic or even a dental practice mostly avoids, because a patient walking out after a laser session for pigmentation, a round of acne extractions, or a filler appointment often looks visibly different for the next hour or two, with redness, mild swelling, or a lingering numbing cream sheen on the skin, and very few people want to walk back through a full waiting room past neighbours or colleagues while looking like that. In Salt Lake specifically, where a large share of the dermatology clients we work with draw patients from the same handful of residential blocks and office campuses strung along the Sector I through Sector V corridor, this social visibility concern comes up in nearly every first meeting we have with a doctor, usually before we have even discussed lighting or finishes. So the question we solve first is not how the clinic looks but how a patient can enter, wait, be treated, and leave without ever crossing paths with someone sitting in the general waiting area, and that single requirement reorganizes almost every other decision that follows in a 450 sq ft shell.
Splitting the Waiting Area So No One Waits in the Wrong Seat
Most dermatology clinics we are called in to fix have made the same mistake at the design stage, which is treating the waiting area as one undifferentiated block of chairs facing a television, when in fact a cosmetic-leaning practice needs at least two distinct waiting zones that never share a sightline. The first is a general waiting lounge near the entrance, sized for six to eight seated patients, where anyone arriving for a first consultation, a routine follow-up, or a prescription refill can sit comfortably in full view of the reception desk. The second is a smaller, screened consultation alcove positioned closer to the doctor's cabin, sized for two or three patients at most, reserved for those about to go in for a sensitive first consultation or those who have just stepped out of a procedure room and need a few minutes before walking back through the main lounge. A half-height partition, angled rather than running straight, keeps the two zones acoustically and visually separated without making the smaller space feel like a corridor.
Where the 450 Square Feet Actually Goes
Once the two-tier waiting concept is agreed, the rest of the plan follows a fairly disciplined zoning logic, because there is very little slack in 450 sq ft once reception, waiting, consultation, and two procedure rooms are all accounted for. We typically size the general lounge at around 90 sq ft, the discreet consultation alcove at 40 sq ft, the reception counter and records nook at 30 sq ft, the doctor's consultation cabin at 80 sq ft, a primary treatment room for laser and peel procedures at 90 sq ft, a second smaller procedure room for minor excisions or injectables at 70 sq ft, an instrument wash-up and prep point at 25 sq ft, and a patient washroom at 25 sq ft, which together account for the full footprint with almost nothing left over for a corridor wider than what circulation strictly requires.
| Zone,Approx Area (sq ft),Typical Cost Range ( | ₹) | |
|---|---|---|
| General waiting lounge | 90 | 95000-140000 |
| Discreet consultation alcove | 40 | 55000-85000 |
| Reception and records | 30 | 60000-95000 |
| Doctor's consultation cabin | 80 | 120000-175000 |
| Primary procedure room (laser/peel) | 90 | 180000-260000 |
| Secondary procedure room | 70 | 140000-200000 |
| Wash-up and instrument prep | 25 | 70000-100000 |
| Patient washroom | 25 | 60000-90000 |
The Consultation Room: Desk Position and Line of Sight
Inside the doctor's cabin itself, the detail that gets overlooked most often is the position of the consultation desk relative to the door, because a desk placed so the doctor faces the entrance directly means every patient who walks in sees the doctor's full attention land on them the instant the door opens, which sounds welcoming in theory but in practice makes a nervous first-time cosmetic patient feel scrutinized before they have even sat down. We generally angle the desk so the doctor's sightline crosses the room rather than pointing straight at the door, with the patient chair positioned so it does not directly face the examination table either, since a consultation about acne scarring or hair thinning goes more smoothly when the patient is not staring at the equipment they are anxious about for the entire conversation. A small screened corner within the same cabin, just enough for an examination couch behind a curtain track or a frosted partition, lets the same 80 sq ft room handle both the conversation and a basic physical examination without needing a separate room.
Procedure and Treatment Bays: Ventilation, Screening, and Surface Choices
The two procedure rooms carry the heaviest technical load in the entire clinic, and the primary bay, sized for laser and chemical peel work, needs a dedicated exhaust point given how strongly some peel solutions and laser plume can carry an odour into adjoining spaces, along with non-porous, easily disinfected wall and counter surfaces rather than standard laminate, since these rooms get wiped down between nearly every patient. Lighting matters more here than in almost any other zone of the clinic, because laser and peel work needs even, shadow-free illumination directly over the treatment chair, while the rest of the room can sit at a lower ambient level to keep the space from feeling clinical and harsh. The secondary room, used for minor excisions, mole checks, and injectable work, needs less ventilation capacity but the same non-porous surface specification, plus a slightly wider door swing to accommodate a stretcher or wheelchair on the rare occasion a patient needs one. Both rooms get a frosted or laminated privacy film on any window facing a public corridor, and neither room has a direct sightline back to the waiting lounge when its door opens, which is the detail that actually delivers on the privacy promise the rest of the layout is built around.
| Feature | Open Reception Layout | Split Waiting Layout |
|---|---|---|
| Patient privacy | Low, one shared line of sight | High, screened consult zone kept separate |
| Perceived wait comfort | Feels exposed during peak hours | Feels private even when the lounge is full |
| Space efficiency | Slightly more open floor area | 15-20% of area given to the alcove |
| Best suited for | General physician or diagnostic clinic | Cosmetic and dermatology practice |
The Exit Problem Nobody Plans For
The single detail that separates a genuinely private clinic from one that only looks private on the floor plan is the exit path a patient takes after a procedure, because if the only way out of the treatment rooms runs directly back through the general waiting lounge, all the screening work done on the waiting side is undone the moment a patient with visible redness has to walk the full length of that lounge to reach the door. Wherever the shell allows for it, we route the procedure rooms so patients can exit through a short back corridor that rejoins the main circulation closer to the entrance rather than cutting straight through the seated lounge, and where the shell genuinely does not allow a second path, we at minimum position the procedure room doors so they open away from the lounge's direct line of sight rather than into it.
Sequencing the Fit-Out for a Working Clinic
A 450 sq ft clinic fit-out with two procedure rooms and dedicated MEP work is not a project you can compress into a couple of weeks, and rushing the plumbing or exhaust routing to hit an opening date is the single most common cause of costly rework we see in this category of project.
- 01Site Survey and Equipment Drawings
- 02Zoning and Privacy Sightline Plan
- 033D Visualization and Doctor Sign-Off
- 04MEP and Exhaust Routing
- 05Civil Work and False Ceiling
- 06Cabinetry and Procedure Room Fit-Out
- 07Signage and Handover
- Get equipment vendor drawings before civil work starts, not after
- Confirm exhaust and plumbing points for both procedure rooms in the same drawing set
- Walk the exit path from each procedure room before finalising the plan
- Lock reception and records storage sizing against realistic patient file volume
- Choose non-porous surfaces for procedure rooms before selecting decorative finishes elsewhere
- Confirm Bidhannagar Municipal Corporation trade licence and biomedical waste documentation timelines early
If you are weighing a different kind of healthcare fit-out in the same neighbourhood, our broader piece on clinic and healthcare interior design in Kolkata covers hygiene material choices and compliance thinking that apply across specialities beyond dermatology. Clinic owners who are also comparing commercial real estate nearby may find our post on designing a 1500 sq ft startup office with a cafeteria in Sector 5 useful for understanding how a very different kind of commercial fit-out gets zoned in the same corridor, and if your practice is expanding into a retail-facing sales counter for skincare products, the display thinking in our piece on a 2000 sq ft furniture showroom layout in New Town translates surprisingly well to a small retail nook. Clinics doing a full renovation of an older shell rather than a fresh fit-out will also want to read our breakdown of electrical rewiring cost for a 1000 sq ft flat renovation, since much of the same load-calculation logic applies to a clinic's higher electrical demand.
Planning a Discreet Clinic Layout of Your Own in Salt Lake
A 450 sq ft dermatology or cosmetic clinic can absolutely deliver both a calm waiting experience and a technically sound treatment space, but only when the privacy sightlines are worked out on paper before a single wall goes up, not adjusted after patients start complaining. If you are setting up or relocating a skin and cosmetic practice in Salt Lake and want a floor plan that has already solved the waiting-versus-procedure separation problem rather than discovering it six months into operation, get in touch with Studio Contour through our contact page and bring your shell drawings to a first site visit.