








Humidity-Proof Wardrobe Design for New Town Flats Near the Wetlands
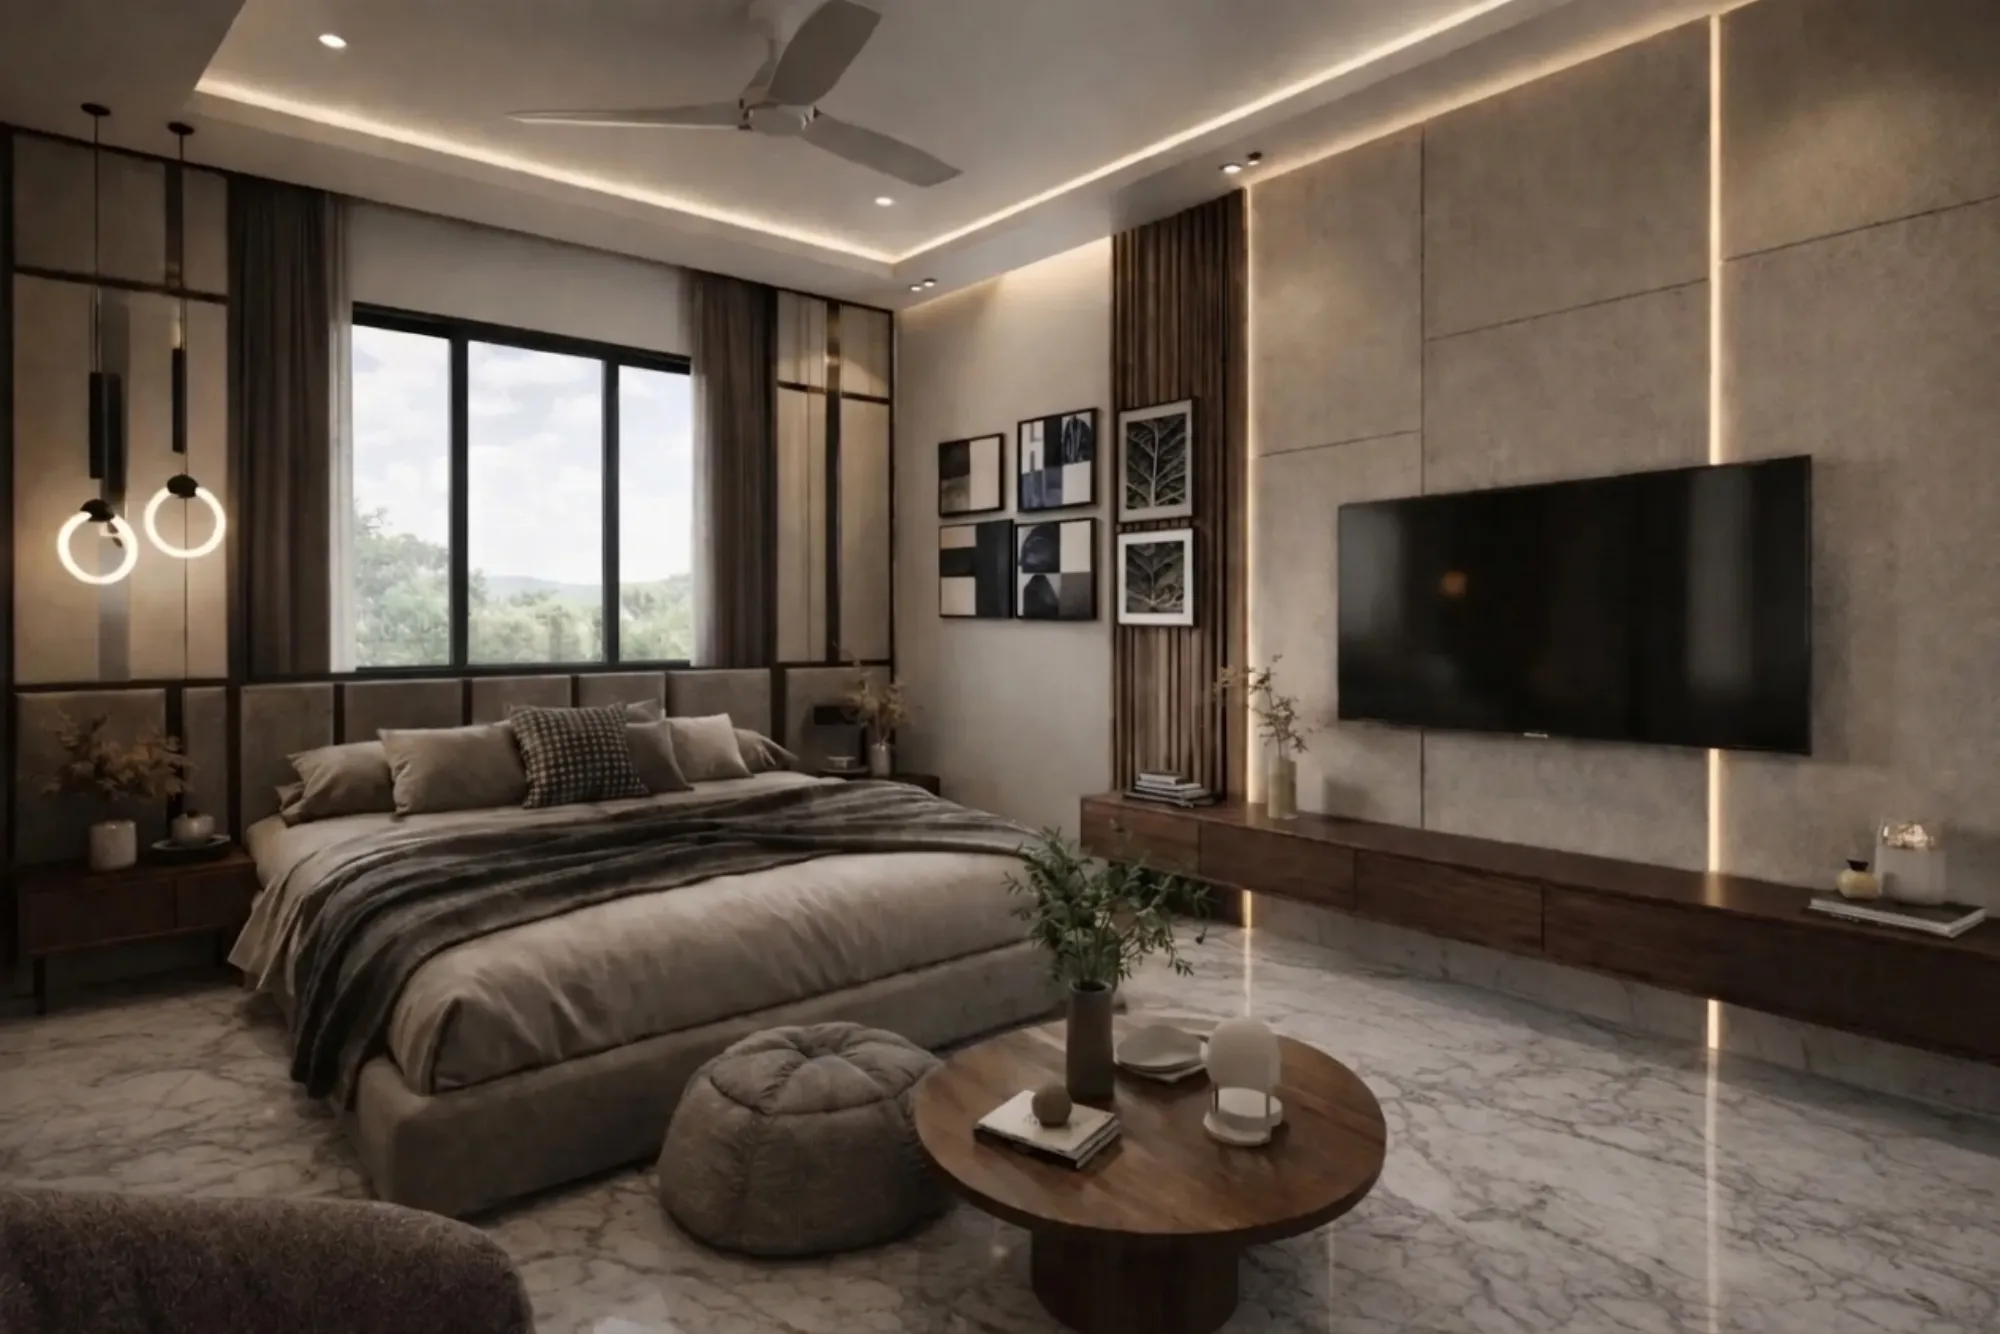
If you live anywhere between the East Kolkata Wetlands buffer and the Action Area canals, you already know the smell. It's that faint mustiness that shows up inside a closed wardrobe around late June and doesn't fully leave until October, and if you've ever opened a shutter to find the laminate lifting at the edge or a shirt gone slightly damp on the hanger, you know it's not really about how often you wipe the shelves down.
New Town sits close to a genuinely large wetland system, and that changes the humidity math for anything you build indoors here compared to a flat further into the older city. Relative humidity in this belt regularly sits in the 80-90% range through the monsoon stretch, and unlike a leak or a burst pipe this kind of moisture doesn't announce itself, it just sits in the air, gets pulled into whatever timber and adhesive is nearby, and slowly does its work over a few seasons.
We've built and fitted wardrobes across enough flats in Action Area I, II and III, and across Salt Lake blocks too, to have a fairly settled view on what actually holds up here and what quietly fails within two or three monsoons. This piece is about the specific choices, material, placement, ventilation, that decide whether your wardrobe is still swelling-free and shutting cleanly five years out, or whether you're calling a carpenter back in year two.
Why New Town's Wetland Air Behaves Differently
New Town was planned on low, flat land right next to a wetland system that the city depends on for drainage and cooling, and that proximity is exactly why the humidity here runs higher and stays higher for longer than in the older, more built-up parts of Kolkata. Add the fact that a lot of construction in the newer Action Areas is still fairly recent, so concrete and plaster in many flats haven't fully cured and dried out even years after handover, and you get interiors that are structurally sound but chemically still a little damp behind the walls.
The catch here is that this isn't a monsoon-only problem the way people assume. Ambient humidity in New Town stays elevated well into September and creeps back up during the pre-monsoon months too, so a wardrobe carcass is basically living in a slow, low-grade moisture cycle almost eight months of the year, with only a short dry window in winter to fully release whatever it absorbed. Ordinary interior work that's been priced and detailed for a drier city just doesn't survive that cycle without visible damage.
Where Wardrobes Actually Fail First
Nine times out of ten, the failure starts at the board, not the finish. Standard MR-grade (moisture resistant) plywood is fine for a lot of interior work across India, but it's formaldehyde-urea bonded and it was never rated for sustained high humidity, so in a New Town flat it starts delaminating at the layers within two to three seasons, especially at the bottom shelf and the back panel where airflow is worst. The second failure point is the edge, an exposed or poorly sealed edge on a shutter or shelf soaks up moisture faster than the board face itself, and that's usually where you first see swelling and a shutter that won't sit flush anymore.
The third one is hardware, and it's the one people notice last but resent most. Ordinary mild-steel hinges and channels start showing rust bleed through the laminate within a year in this belt, and once a hinge seizes slightly it puts uneven load on the shutter, which accelerates warping at exactly the point where the board is already weakest. None of this is really about bad workmanship, it's about a build spec that wasn't chosen for this air.
| Ordinary Wardrobe Build | Humidity-Proof Build |
|---|---|
| MR-grade ply core | BWP/BWR marine-grade or waterproof ply core |
| Laminate edge taping | Full PVC edge banding, hot-pressed and sealed |
| Standard mild-steel hinges | Stainless or powder-coated corrosion-resistant hardware |
| Solid back panel, no venting | Louvered or gapped back panel for airflow |
| Wardrobe flush against external wall | 5-10mm ventilation gap off damp-prone walls |
The Build Details That Actually Hold Up
For anything within a few kilometres of the wetlands, we default to BWP or BWR grade ply for wardrobe carcasses, boiling waterproof and boiling water resistant respectively, bonded with phenol formaldehyde resin that simply doesn't come apart under sustained humidity the way MR grade does. It costs more per sheet, there's no getting around that, but on a full wardrobe run the difference is a fraction of what a redo costs three years in. Every exposed and hidden edge gets PVC edge banding hot-pressed on, not just the visible shutter face, because the unseen edges inside drawers and shelves are exactly where moisture gets in first if you cut that corner.
On finishes, we've moved most New Town clients toward laminate over veneer for wardrobe exteriors, simply because laminate's resin layer resists moisture ingress far better, and where a client wants the warmth of natural wood grain we detail it as an accent panel rather than the full shutter face so it isn't taking the humidity load directly. Inside, we spec drawer boxes and shelf edges in the same waterproof ply rather than a cheaper particle board, because particle board is the single fastest material to swell and crumble in this climate, full stop. This level of material discipline runs through our broader custom furniture design work generally, not just wardrobes, because the same wetland air is sitting behind every piece of built-in storage in a New Town flat.
- Ask for BWP/BWR grade ply, not MR grade, in writing on the quote
- Confirm PVC edge banding on every edge, including internal shelf edges
- Specify corrosion-resistant hinges and channels, not standard mild steel
- Ask for a ventilated or louvered back panel, especially on ground and first floor units
- Get a written material warranty period, not a verbal assurance
Placement, Ventilation and Layout Inside the Flat
Where the wardrobe sits inside the room matters almost as much as what it's built from, and this is the part most people skip entirely when they're planning the layout themselves. A wardrobe pushed flush against an external wall facing the wetland side, or against a bathroom wall, sits directly against the coolest and dampest surface in the flat, and that surface sweats condensation onto the back panel long before you'd notice humidity in the room air itself. We routinely detail a small ventilation gap, sometimes just 5 to 10mm, between the carcass back and that wall, and it makes a measurable difference over a couple of monsoons.
Cross-ventilation inside the room helps too, and this is where wardrobe placement has to be thought through alongside window and door positions rather than as an afterthought once the rest of the residential interior design is locked. A wardrobe tucked into a dead corner with no air movement across its face traps humid air right at the shutter line, so where the layout allows it, we try to keep at least one open face path to the room's main airflow. For flats where the humidity problem is already visible in an older wardrobe, the fix usually isn't a full gut, it's a targeted renovation and remodeling of the storage wall with the material and ventilation choices above, which is a lot less disruptive and expensive than most people assume going in.
It's also worth pairing this with basic humidity control in adjoining wet areas, since a lot of wardrobe moisture in New Town flats actually migrates in from an adjacent bathroom rather than the outside wall, and getting exhaust airflow right there matters more than people expect, something we've written about separately for anyone dealing with a bathroom that never seems to fully dry out.
What a Sensible Process and Timeline Looks Like
A humidity-aware wardrobe project in New Town doesn't need to take longer than a standard one, it just needs a moisture assessment folded into the site visit instead of skipped. We walk the room, check which walls are external or bathroom-adjacent, note where the sun actually reaches through the day, and only then finalise the ply grade and layout, because a wardrobe on an interior wall away from any damp source doesn't need the same spec as one backing onto the wetland side.
- 01Site visit and moisture-risk assessment
- 02Material and hardware selection by wall exposure
- 03Fabrication with sealed edges and waterproof core
- 04Installation with ventilation gap and back-panel detailing
- 05Handover with a maintenance note for the monsoon months
Most wardrobe and storage-wall work of this kind sits comfortably inside our usual 8 to 12 week interior timeline, and where it's part of a larger flat fit-out we sequence it so the 3D visualization and material approvals happen before fabrication starts, which avoids the awkward mid-project swap when a client sees the laminate sample in person and wants to change course. For anyone still finalising floor plans or working out where storage walls sit relative to natural light and airflow, our broader guide on apartment and flat interiors in New Town covers the layout side of this in more depth.
| Material | Typical Lifespan Here | Notes | |
|---|---|---|---|
| MR-grade ply | 2-3 years before visible swelling | Not rated for sustained humidity | |
| BWP/BWR ply | 8-10+ years with proper edging | Costs more per sheet | holds shape |
| Particle board | 1-2 years | Fastest to crumble in this climate | |
| Solid back panel | Traps condensation | Avoid on wetland-facing walls |
Getting This Right From the First Site Visit
At the end of the day, a wardrobe that survives New Town's climate isn't the result of one clever material swap, it's a chain of small, correct decisions starting from which wall it sits against right through to which hinge goes on the shutter, and every weak link in that chain shows up as a callback within a couple of years. We've delivered 330+ buildings and interior fit-outs since 2014, a good number of them within a short drive of the wetlands, and this exact climate problem is one we design around by default rather than treating it as a special request, whether the flat is in New Town itself or across in Salt Lake.
If you're planning a new wardrobe wall, a full flat interior, or you're already dealing with swelling and rust on existing storage, it's worth getting someone who works this specific belt to walk the space before you finalise material or budget, since so much of this comes down to decisions that are cheap to get right at spec stage and expensive to fix later. You're welcome to get in touch and we'll walk the flat with you, tell you honestly what your particular wall exposure needs, and put together a plan that holds up through the next ten monsoons, not just the next one.