






Shop Interior Designers Near Me: How to Choose and Plan

You've searched for shop interior designers near me, saved some attractive shopfronts and asked for quotations. Now you're looking at proposals full of laminates, ceiling designs and rendered counters, but you still don't know whether customers will queue comfortably, staff will reach stock easily or the entrance cabinetry will survive Kolkata's monsoon.
A useful shop design answers those questions before you approve the look. Judge the proposal by how the shop will trade, operate and age, not just how it appears in a presentation.
Table of Contents
- What a Shop Interior Designer Delivers From Start to Finish
- Designing the Shop Around Payments and Customer Flow
- Lighting Power Limits Every Shop Plan Must Meet
- Monsoon-Proof Materials and Lifecycle Costs
- How to Shortlist Shop Interior Designers Near You
- Comparing Quotes and Confirming Scope Before You Sign
What a Shop Interior Designer Delivers From Start to Finish
Say you own a kirana or salon and receive several quotations that look almost identical. Each promises design and execution, but one includes electrical drawings, another includes only visualisations, and none makes supervision clear. You're not comparing equivalent services, even if the totals look close.
A complete commission usually moves through site assessment, concept layout and mood sketches, visualisation, a category-wise budget proposal, material and fixture sourcing, execution supervision, and handoff. Each stage should produce something you can review, rather than moving the project towards a contractor's start date.
Design stages and what each one delivers
| Stage | What the designer does | What you receive |
|---|---|---|
| Site assessment | Measures the shell, ceiling depths, ducts and electrical routes | Measured survey and site notes |
| Concept | Develops layout options and the look of the shop | Concept sketches and layout options |
| Visualisation | Models the key zones in 3D before any work starts | Rendered views of shopfront, counter and display zones |
| Budget | Breaks the cost into categories and timelines | Written budget proposal by category |
| Material sourcing | Shortlists flooring, joinery, fixtures and lighting | Finish and fixture schedule |
| Execution supervision | Coordinates contractors and checks work on site | Site visit records and sign-offs |
| Handoff | Closes out the design with final documents | Drawing set, interior layouts and finish schedules |
Don't confuse a rendered counter with a counter that's ready to manufacture. The carpenter still needs dimensions, sections, material specifications, hardware details and service openings. Likewise, a ceiling image doesn't tell the electrician which circuit supplies each fixture.
At Studio Contour, our New Town practice brings architecture, interiors and supervision within the same team, with services covering commercial spaces as well as homes. Custom furniture, false ceiling and lighting design, renovation, and 3D visualisation can support a shop commission, but your agreement should identify the services included in your particular project.
Practical rule: Approve the deliverable, not merely the stage name.
Before signing, obtain a written deliverables list that identifies who prepares, reviews and approves each document. That makes it easier to distinguish design responsibility from purchasing, contractor management and day-to-day site attendance.
Designing the Shop Around Payments and Customer Flow
Consider a neighbourhood pharmacy where the QR code sits behind a tall counter. A customer collecting an online order waits in the browsing aisle while the pharmacist reaches past another customer to retrieve the package. The cabinetry may look polished, but the arrangement makes routine transactions awkward.
The sketch below is a useful starting point for discussing counter visibility and customer positions.

A neighbourhood shop is a transaction space as well as a display space. The India SME Forum's digital adoption report records 185.87 billion digital-payment transactions in FY 2024 to 25 and reports that more than 90% of surveyed Indian MSMEs accept digital payments. Payment equipment deserves a planned position, not whatever space remains after the counter is built.
Plan the journey before the counter
- Entry and exit: Separate them where feasible, without sacrificing accessible movement or creating an awkward entrance.
- QR and POS visibility: Position payment points within the queue's natural sightline. Check visibility with merchandise and promotional stands in place.
- Pickup space: Reserve a labelled shelf or collection position outside the main browsing path.
- Service access: Conceal cables in an accessible duct or removable panel, rather than sealing adapters inside joinery.
- Staff movement: Keep replenishment and packing routes from repeatedly crossing the payment queue.
A striking counter can reduce throughput if customers must search for the QR code or squeeze past people collecting orders. Conversely, cutting the counter too aggressively can leave staff without packing space, secure storage or room for equipment. The right size follows the work, not the photograph.
Our guide to retail shop storage, display and service flow in Salt Lake helps connect these decisions rather than treating shelving and checkout as separate purchases.
Test the layout before fixing joinery
Mark the proposed counter, aisle edges, pickup shelf and door swing on the floor with masking tape. Rehearse a busy period with people acting as a browser, a paying customer, a collection customer and a staff member carrying stock.
Watch where someone must turn sideways, step backwards or interrupt another task. Move the tape and repeat before approving the joinery drawings.
Use the video as an additional visual reference during your layout discussion.
At the first design meeting, make the request explicit: show me the flow diagram before the mood board.
Lighting Power Limits Every Shop Plan Must Meet
In a shop, lighting is a heat and compliance decision before it's a style decision. Start with the applicable energy-code assessment, then select fixtures that make the merchandise look right. Ask the electrical designer to confirm the code edition, local applicability and calculation method for your premises.
The ECBC Building Lighting Design Tip Sheet lists a maximum retail/mall lighting-power density of 16.1 W/m² under the building-area method, which produces the area-based benchmarks below.
General lighting benchmark by shop size
| Shop floor area | General-lighting benchmark at 16.1 W/m² |
|---|---|
| 30 m² | 483 W |
| 50 m² | 805 W |
| 100 m² | About 1,610 W |
| 200 m² | 3,220 W |
| 600 m² | 9,660 W |
These are calculated general-interior-lighting benchmarks using the cited rate, not a complete shop electrical-load allowance. Signage, display lighting, emergency lighting and other loads require separate evaluation, including whether any allowance or exemption applies.
The infographic highlights why the lighting discussion belongs alongside technical planning.
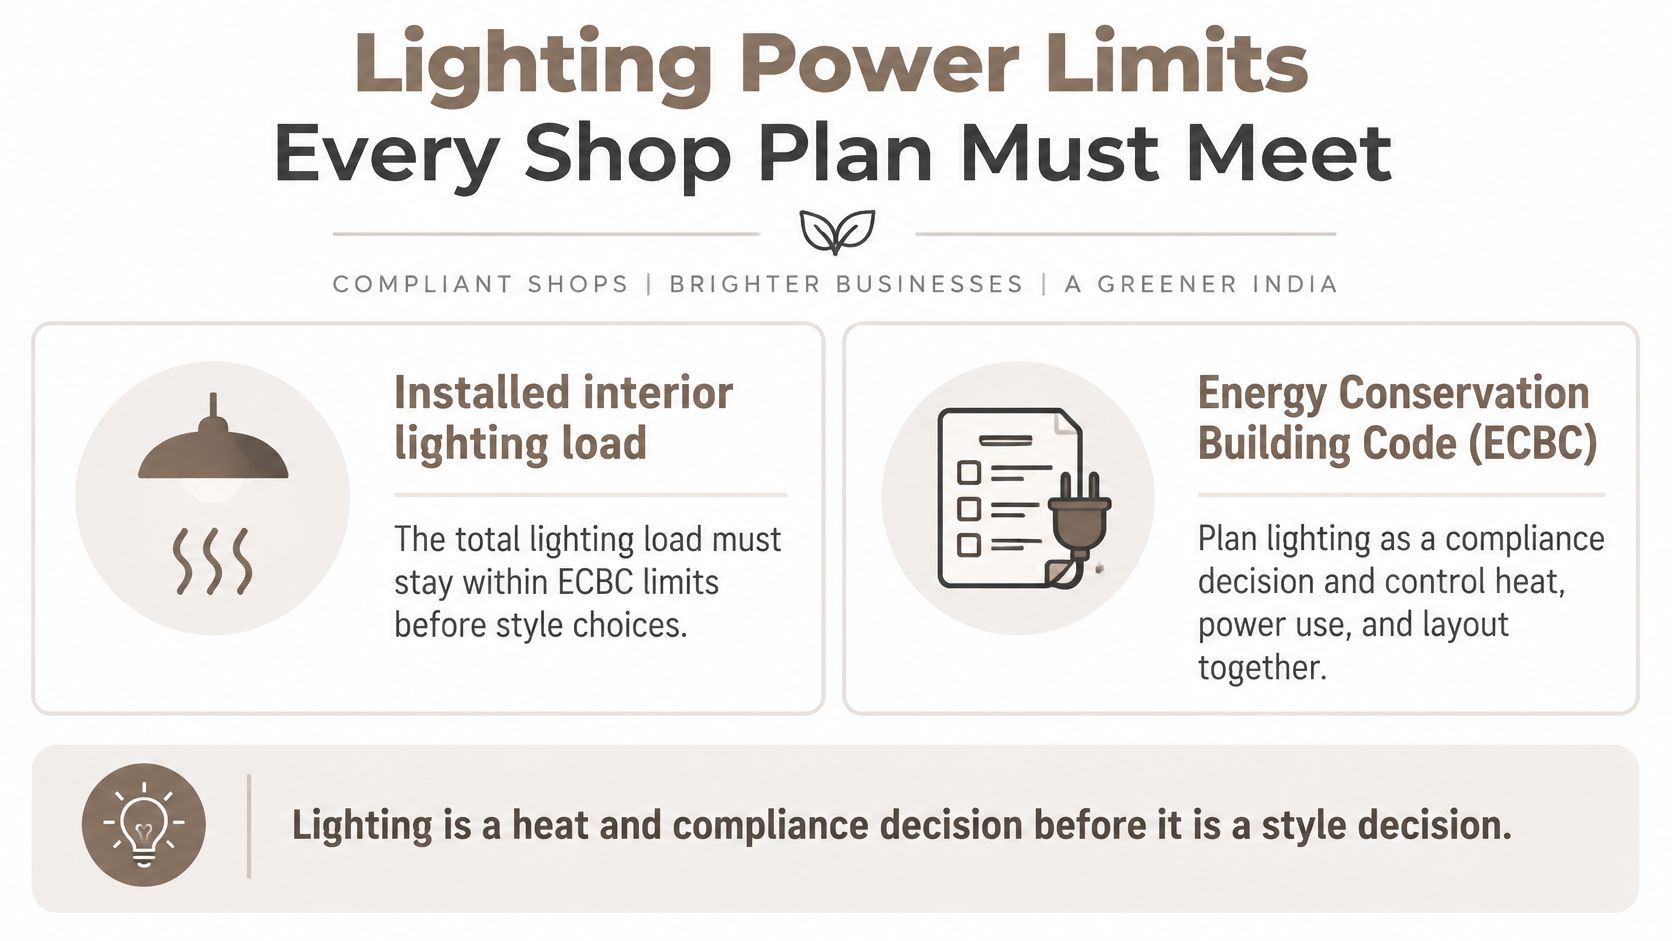
Installed lighting power includes the relevant lamps, ballasts, current regulators and controls. Divide the assessed installed power by the assessed floor area to establish the design's lighting-power density, rather than relying on the number of fittings.
Lower connected lighting load means less heat released into the sales area. But wattage reduction alone isn't good lighting design: sparse, harsh fixtures can leave products in shadow while producing uncomfortable glare. Colour rendering also comes from fixture quality, not higher power alone.
Put performance and controls in writing
Your lighting brief should specify LED efficacy, colour-rendering requirements, display accents, zoning, dimming compatibility and calculated LPD. Ask for a fixture schedule with product references and an on-site sample check against actual merchandise, especially fabrics, cosmetics and food displays.
The ECBC User Guide.pdf) calls for automatic interior-lighting controls in buildings larger than 500 m², and manual or automatic controls capable of reducing luminaire output by at least 50% in daylighted areas larger than 25 m². Confirm how those provisions apply to the building and tenancy rather than assuming shop area alone settles compliance.
Plan separate daylight, circulation, display, fitting-room, stockroom and back-of-house zones. Perimeter fixtures should switch or dim independently where daylight reaches the floor; occupancy sensors suit stockrooms, toilets and intermittently used service spaces.
Commissioning check: Test controls with shelves installed. A sensor position that works in an empty shell may be obstructed by finished joinery.
Record the zones on electrical and reflected-ceiling drawings, then verify their operation before handover.
Monsoon-Proof Materials and Lifecycle Costs
The cheapest quotation can become the most expensive choice after a monsoon. Swollen counter panels, corroded fittings and inaccessible damp patches mean more than repair bills. You may have to move stock, isolate equipment or interrupt trading to reach the problem.
Evaluate total operating resilience: purchase cost, maintenance access, replacement difficulty and the consequences of failure. No board or coating makes a leaking shopfront harmless, so resolve water entry before covering the evidence with new finishes.
Monsoon-resilient choices for shop interiors
| Element | Better choice in monsoon | Choice to question |
|---|---|---|
| Shopfront and counter boards | Marine or BWR-grade plywood with sealed edges | Standard MDF in damp zones or near the entrance |
| Shop floor | Vitrified or anti-skid tiles with sealed grout | Timber-look laminate on the ground floor |
| Wall finish near the entrance | Moisture-resistant paint or a washable finish | Untreated gypsum at ground level |
| Metal fittings and shutters | Stainless steel or coated fittings | Uncoated mild steel left exposed |
| Electrical points | IP-rated fittings near the entrance and raised sockets | Sockets set low near floors or wet zones |
| Storage | Raised off the floor with ventilation gaps | Closed base cabinets sitting directly on damp floors |
These are selection principles, not blanket guarantees. Specify the plywood grade, edge treatment, coating system and hardware finish, and have the electrician select an IP rating appropriate to the actual exposure. A moisture-resistant board still needs sound detailing around joints and cut-outs.
Our guide to materials suited to Kolkata's humidity provides a useful basis for comparing finish specifications. We source anti-skid floor tiles and ambient lighting, but the selection must suit the shop's cleaning routine, customer movement and exposure.
Inspect the building before approving finishes
During the site visit, trace water paths around the shopfront, shutter frame and rear door. Check low-level wall staining, floor falls and drainage outlets, then inspect whether stored cartons and cabinet bases will remain clear of damp surfaces.
Include washable entrance walls, slip-resistant flooring, ventilation gaps and removable access panels in the drawings. Don't let a continuous decorative plinth conceal a service point that staff may need urgently.
Electrical coordination matters here too. The Worldline India Digital Payments Report for the first half of 2025 reports 35% year-on-year growth in India's UPI transaction volume during that period. Plan the physical support for payment equipment deliberately, alongside refrigeration, lighting and other operational devices.
Settle circuit provision, equipment ventilation and backup-power priorities before choosing the surrounding finishes. Require a written monsoon plan naming materials, threshold and drainage details, service access provisions and the person responsible for checking each detail.
How to Shortlist Shop Interior Designers Near You
An owner searches for shop interior designers near me and opens a screenful of portfolios. Most show living rooms, bedrooms and kitchens. Attractive residential work can demonstrate design ability, but it doesn't by itself establish competence in retail operations.
Use a consistent screening process rather than choosing the nearest office or the most dramatic render.

Screen for relevant work and practical coverage
<strong>Filter for commercial projects.</strong> Look for work relevant to your shop type, whether that's a pharmacy, salon, kirana or boutique. Examine counters, shelving and service spaces, not just decorative walls; a home portfolio isn't a substitute for a retail explanation.
<strong>Confirm the service area.</strong> Our coverage includes Salt Lake, Sector V, New Town, Action Area I, near Eco Park, Rajarhat, Baguiati, VIP Road, Dum Dum and Lake Town. For any proposal, distinguish design coverage from the practical availability of site visits.
<strong>Require a measured survey before firm pricing.</strong> An initial budget discussion can help establish feasibility, but construction pricing needs verified dimensions and visible site conditions. Don't treat an estimate based on photographs as a surveyed quotation.
<strong>Identify the supervision arrangement.</strong> Record who visits, the agreed frequency, the stages they inspect and who resolves discrepancies. A promise of supervision doesn't necessarily mean continuous site presence or responsibility for every contractor's workmanship.
Compare evidence rather than presentation polish
<strong>Check the operational scope.</strong> Lighting, joinery and payment-point planning should appear as defined work, not assumptions beneath a décor package. Ask how equipment dimensions and maintenance clearances enter the drawings.
<strong>Compare written proposals on a common brief.</strong> Give shortlisted designers the same operational requirements and request alternatives against that brief. Otherwise, you may mistake an omitted service for a genuine saving.
<strong>Review relevant visualisations with the plan beside them.</strong> We provide 3D visualisation and rendering so clients can review a proposed space before fabrication. Use those views to test sightlines and proportions, but don't approve them without checking that the dimensioned layout shows the same arrangement.
Proximity makes visits easier. It doesn't replace relevant design work, clear documents or accountable supervision.
A designer outside your city can prepare the design remotely. The execution arrangement still needs a named local person who can check dimensions, inspect concealed work and report deviations before contractors cover them up.
Comparing Quotes and Confirming Scope Before You Sign
Suppose competing quotations for the same shop differ substantially, yet neither identifies lighting controls or supervision. You can't tell whether the higher price buys more complete work or whether both proposals leave expensive gaps.
Compare scope lines before comparing totals. A quotation should let you trace each significant cost to a defined material, quantity, drawing or service.
We plan renovation budgets across civil and plumbing, electrical rewiring, modular kitchen and wardrobes, false ceiling and lighting, and painting and finishing. For a shop, adapt the joinery category to counters, display units, shopfront joinery and signage backing rather than copying residential allowances into a commercial quotation.
Quote line items to check for a shop interior
| Quote line | What to confirm | Red flag |
|---|---|---|
| Design fee | Fixed or percentage fee, with the stages it covers | A fee with no list of stages |
| Measured survey | Site measurement included before pricing | A price given before any site visit |
| Civil and plumbing | Itemised works, drainage and waterproofing covered | A single lump sum for civil work |
| Electrical | Circuits, load calculations and lighting control zones | No mention of lighting controls or load |
| Joinery and counters | Material grade, thickness and finish specified | Premium finish described with no specification |
| Lighting and false ceiling | Fixture schedule with colour rendering and zones | Fixtures counted but not specified |
| Supervision | Site visit frequency and who signs off work | No supervision line in the quote |
A lump-sum civil-work entry isn't automatically unreasonable, but it needs a supporting description. Otherwise, demolition, debris removal, making good and drainage alterations can become arguments about what the contractor intended to include.
The same applies to premium finishes. Premium is not a specification: identify the substrate, exposed finish, edge treatment, hardware and approved sample. For fixtures, require product references and technical characteristics rather than a count of generic spotlights.
Normalise the proposals before negotiating
Create a comparison sheet with matching rows for each proposal. Mark every item as included, excluded or provisional, and separate owner-supplied equipment from contractor-supplied work.
A provisional sum is an allowance for an unresolved item, not confirmation that the final selection is fully funded. Ask how it will be adjusted, what approval is required and whether labour, transport and installation are included.
Our explanation of what a proper bill of quantities should contain can help you examine the supporting detail. Request a drawing reference behind each substantial line, particularly custom counters, ceiling features and electrical alterations.
Also identify taxes, delivery, disposal, testing, approvals and reinstatement where relevant. Don't assume a contingency covers every omission; record who controls it and how additional work receives written approval before proceeding.
Confirm the agreement before signing
<strong>Included stages and extras.</strong> Name the design stages covered by the fee and how revisions, additional views, procurement assistance or changed layouts will be charged. Avoid open-ended wording that leaves either party guessing.
<strong>Handoff documents.</strong> Our handoff includes architectural drawing sets in PDF and DWG, structural coordination notes, elevation drawings, interior layouts and finish schedules, and final rendered visuals. Identify the documents relevant to your commission and whether final drawings will record installed changes.
<strong>Execution responsibility.</strong> State who attends the site, how often, what they inspect and who signs off work before payment. Distinguish scheduled designer visits from the contractor's daily management.
<strong>Lighting and power documentation.</strong> Require the applicable ECBC assessment, lighting-load schedule, control-zone drawings and electrical coordination to be identified in the scope. Make responsibility for testing and commissioning explicit.
<strong>Monsoon protection.</strong> Attach the agreed material specifications and moisture-protection details to the contract documents. Record inspection responsibility before vulnerable junctions disappear behind finishes.
We also design remotely for clients in Mumbai, Delhi, Bangalore, Chennai, Hyderabad, Pune, Jaipur and Chandigarh. Remote design still needs an agreed local supervision arrangement, with responsibility for site verification and execution checks clearly assigned.
The cheapest quote wins only when it covers the same work to the same specification. Book a measured site visit and request a written scope and category-wise budget before comparing final proposals.
Studio Contour offers commercial interior design, custom furniture, lighting design, material selection and project supervision for shop projects. Visit Studio Contour to discuss your shop's location, daily operations and renovation requirements, and request a measured site assessment with a written scope and budget proposal.