








4x6 Bathroom Layout Ideas: 8 Floor Plans That Actually Fit
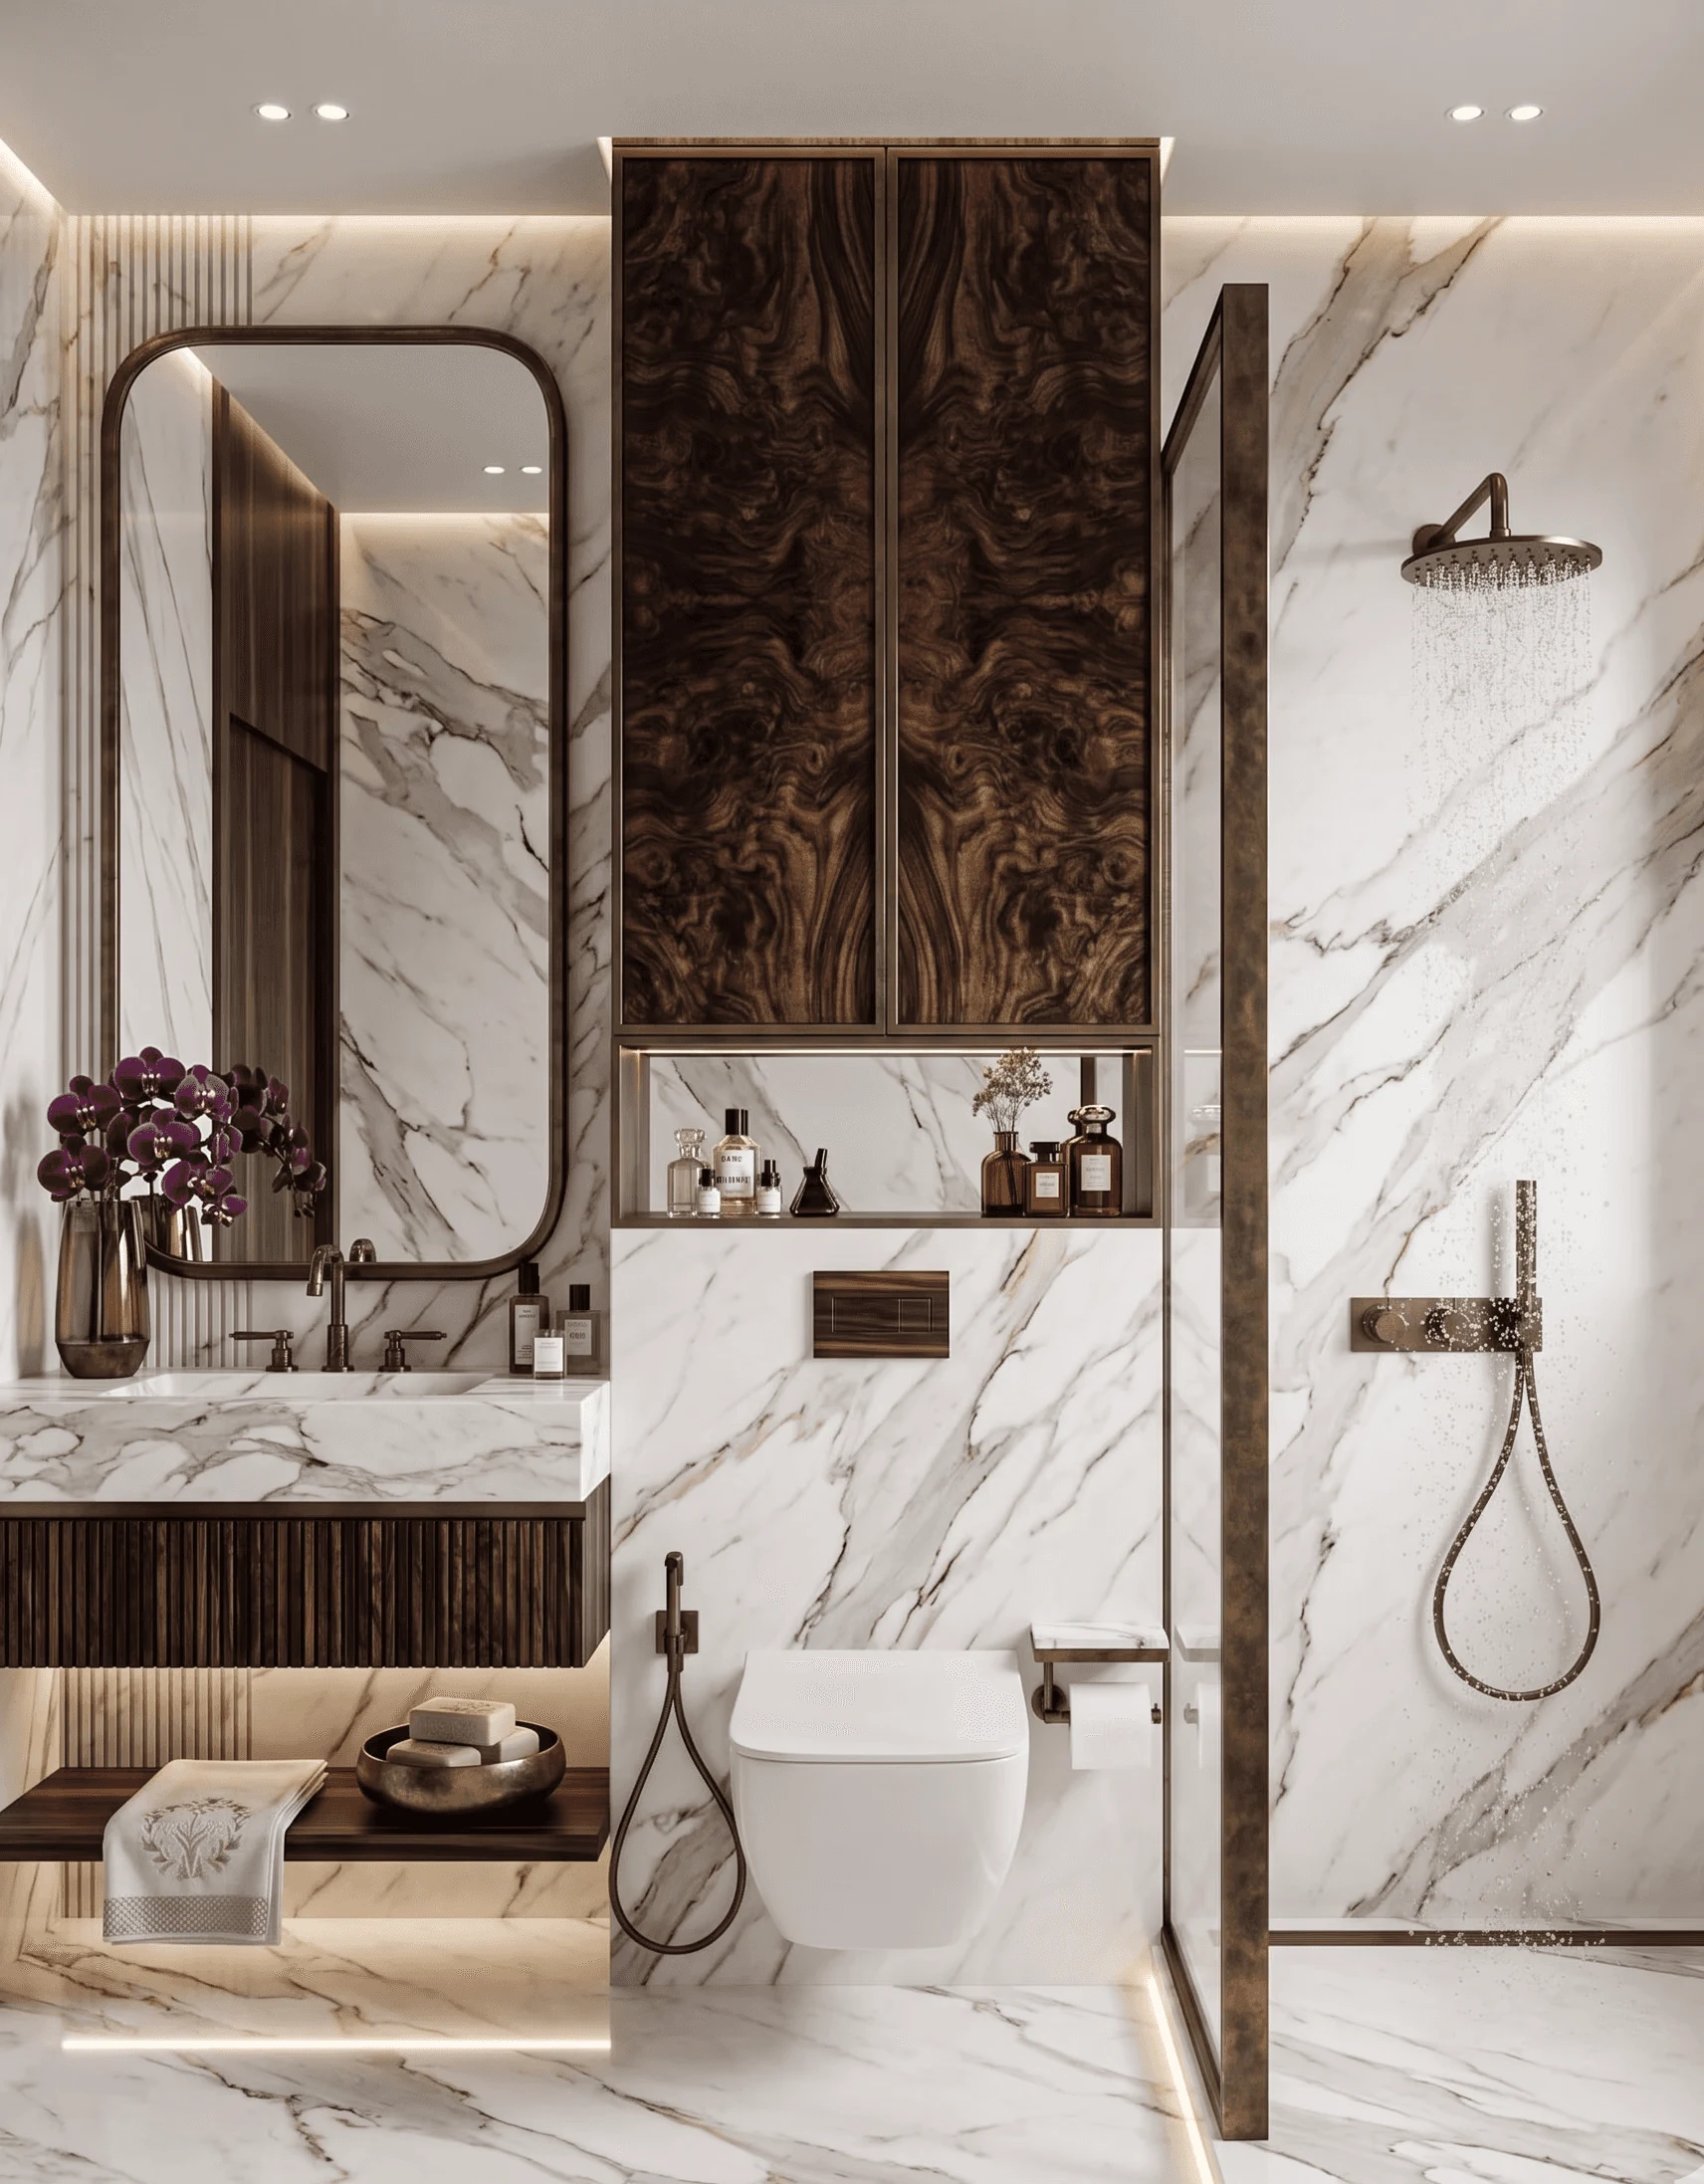
A 4x6 bathroom is 24 square feet, and if you have spent any time on Pinterest or scrolling through bathroom inspiration boards you already know that most of what you are looking at was shot in a 60 or 80 square foot space that has nothing to do with the room you are actually renovating. We get this brief constantly, from flats in Salt Lake to duplexes in Rajarhat to older Behala houses being redone floor by floor, and the honest answer is that 4x6 is workable, sometimes genuinely comfortable, but only if the layout is chosen for the room and not copied from a photo.
This piece is our working reference for that exact situation, the one where the plumber, the tile mason and the client are all standing in a 4x6 shell arguing about where the WC goes. We are going to walk through eight layouts that actually fit inside 24 square feet, the fixture and clearance math behind each one, which materials and colours make a small wet room feel bigger instead of cramped, what waterproofing and drainage decisions you cannot skip, and where Vastu Shastra guidance realistically fits into a room this size. We have delivered 330+ buildings since 2014 out of our New Town studio, and bathrooms this size show up in nearly every one of them, so this is not theory, it is what we specify on site.
One thing before the layouts: 4x6 can run either as a 4-foot-wide, 6-foot-deep room or a 6-foot-wide, 4-foot-deep one, and that single orientation decision changes which of the eight plans below will actually work for your plumbing stack. Check your existing drain and vent line position first, because moving a soil stack in an occupied building is expensive and occasionally not permitted at all, and every good layout for a small bathroom starts from where the waste line already is, not from where you wish it were.
The fixture math that decides everything in 24 square feet
A standard Indian WC needs roughly 16 inches of width and about 26 to 28 inches of clear space in front of it to sit and stand comfortably, a wall-hung or corner wash basin needs 18 to 20 inches, and a shower area, even a modest one, needs at minimum a 30x30 inch footprint to not feel like standing in a phone booth. Add those up and you will see immediately why a 4x6 room has zero tolerance for a wrongly placed door swing or an oversized vanity someone saw in a showroom. This is also why we always model the room in 3D before a single tile is ordered, because a plan that looks fine on paper can put your elbow into the basin every time you reach for a towel, and a proper 3D visualization and rendering pass catches that before demolition, not after.
Eight layouts that actually fit a 4x6 footprint
We are listing these roughly from tightest budget to most premium, and for a full attached bathroom, our bathroom design team typically runs three or four of these past a client before locking one, because the right answer depends as much on door position and window placement as it does on taste.
| Layout | Best For | Key Move | |
|---|---|---|---|
| Linear wet-dry split | Narrow 4-ft-wide rooms | WC and basin on one wall | shower at the far end behind a half-wall |
| L-shaped corner shower | 6-ft-wide rooms with a corner drain | Shower tucked diagonally to free up floor for a door swing | |
| Three-zone strip | Families sharing one bathroom | Basin outside the WC-shower zone behind a sliding door | |
| Wall-hung everything | Rented or resale flats | WC and basin mounted off the wall to make the floor read larger | |
| Walk-in niche shower | Renovations with an existing corner drain | Frameless glass panel instead of a full enclosure | |
| Pocket-door compact | Rooms where the door swing eats the WC clearance | Sliding pocket door reclaims 6-8 sq ft of usable floor | |
| Vanity-forward | Attached bathrooms doubling as a dressing area | Slim 18-inch floating vanity with mirror storage above | |
| Barrier-free retrofit | Aging-in-place or accessibility needs | Zero-threshold shower base with grab bars and a wider door |
The linear wet-dry split is the one we specify most often for genuinely tight 4-foot-wide rooms, because it keeps the plumbing wall simple, one continuous wall carries the WC, basin and shower mixer, which also keeps re-piping costs down if you are renovating an older house rather than building fresh. The L-shaped corner shower earns its place whenever the existing floor drain sits in a corner rather than centred, since moving a floor trap is one of the more disruptive and expensive changes you can make mid-renovation. If you want the full cost picture before you commit to any of these, our bathroom renovation cost breakdown for Kolkata walks through what drives the number up and where you can genuinely save.
The pocket-door compact layout deserves more attention than it gets, honestly, because in a huge number of 4x6 rooms the single biggest space thief is not the fixtures at all, it is a hinged door swinging inward and eating two full feet of the WC's clearance zone. Swap it for a sliding pocket door or even a barn-style slider on the outside wall, and you have effectively grown the room without touching a single pipe. The barrier-free retrofit variant matters more each year as more of our clients are renovating for aging parents living with them, and if that is your situation our retrofit guide for existing flats covers grab bar placement, threshold height and non-slip flooring in more depth than we can here.
Colour, tile and material choices that make 24 sq ft read larger
Materials do a surprising amount of the visual work in a small bathroom, arguably more than the layout itself once the fixture math is settled. Large-format ceramic tile, 600x600mm or bigger, laid with minimal grout lines, reads as more floor than the same area broken into 200x200mm tiles, simply because your eye counts fewer interruptions. Light and warm-neutral tones, off-whites, soft greys, sandy beiges, bounce available light around the room, while a single accent wall in a deeper tone, a bottle green or a warm terracotta behind the WC or shower niche, gives the room character without shrinking it visually the way a full dark palette would. Engineered stone or a sealed granite counter on the vanity holds up far better than natural marble in a room that stays wet most of the day, marble is beautiful but genuinely porous and stains if grout lines are not sealed regularly.
Lighting matters more here than in almost any other room in the house, because a 4x6 bathroom rarely has generous daylighting, so we lean on layered light, a warm-white ceiling fixture around 3000K colour temperature for general use, plus a brighter task light over the vanity mirror closer to 4000K so you are not shaving or applying makeup under a yellow-tinted glow. A simple false ceiling with a cove light strip also does real work in a small room, it hides plumbing runs and exhaust ducting while making the ceiling feel higher than it is, and our false ceiling and lighting design team treats bathroom ceilings as a genuine design surface rather than an afterthought, which most contractors skip entirely.
- Choose tile 600x600mm or larger to reduce visible grout lines
- Keep the palette light with one accent wall or niche, not four dark walls
- Layer lighting: warm general light plus a brighter, cooler task light at the mirror
- Use anti-skid rated tile on the floor, especially in the wet zone
- Confirm fixture finish (chrome, matte black, brushed gold) matches across taps, shower and hardware
Waterproofing, drainage and the mistakes that cost the most to fix later
The single most expensive mistake in a small bathroom is not a layout mistake at all, it is skipping proper waterproofing before tiling, and it is also the one homeowners are most tempted to rush because it is invisible once the tile goes down. A 24 square foot room concentrates moisture in a smaller area than a bigger bathroom would, so the wet zone walls need waterproofing taken up to at least 7 feet, not the usual 2 or 3 feet, and the floor needs a proper slope of roughly 1:100 toward the drain so water does not pool near the door threshold. Our before-tiling waterproofing cost guide breaks down exactly what this step should cost and why cutting it to save a few thousand rupees is the single worst false economy in a bathroom renovation, because fixing a leak into the flat below after tiling means breaking everything back open.
- 01Waterproofing and slope correction (Week 1-2)
- 02Plumbing rough-in and fixture positioning (Week 2-3)
- 03Tiling, vanity and false ceiling (Week 4-7)
- 04Fixture install, sealing and final finish (Week 7-9)
That said, for a full apartment renovation where the 4x6 bathroom is one room among several, our typical residential interior design timeline runs 8 to 12 weeks end to end, and the bathroom itself is usually not the bottleneck once waterproofing is done correctly the first time. If you are already mid-way through a larger renovation and this bathroom is a late addition to the scope, our renovation and remodeling team handles exactly this kind of sequencing problem, where trades need to be reshuffled without holding up the rest of the flat.
Where Vastu genuinely fits into a room this small
We get asked about Vastu Shastra for bathrooms often enough in Kolkata and across West Bengal that it is worth addressing directly rather than skipping it. In a full-sized house you have real freedom to place the bathroom in the ideal direction, generally northwest or west for the WC zone, but in a 4x6 attached bathroom carved out of an existing bedroom or apartment shell, you are usually working within walls that are already fixed, so the practical version of Vastu compliance becomes about fixture orientation within the room you have rather than the room's placement in the house. A WC facing north-south rather than east-west, a shower positioned away from the exact centre of the room, a mirror that does not directly face the WC door, these are the adjustments our Vastu-compliant design team actually makes on a constrained footprint, and they can usually be worked into any of the eight layouts above without adding cost.
| Full flexibility (new construction) | Constrained retrofit (existing flat) |
|---|---|
| Room placed per ideal direction from the start | WC oriented within fixed existing walls |
| Plumbing stack designed around Vastu | Fixture positions adjusted within stack constraints |
| Zero added cost | Usually zero added cost too, just planning time |
Getting the layout right the first time
We are based in New Town and have been doing this since 2014, which means we have now specified bathrooms this exact size in everything from compact 2BHK flats to full independent houses across New Town and the wider Kolkata and West Bengal region, and the pattern we see over and over is that the layout mistakes are almost always made before a single tile is ordered, at the measuring and drain-position stage, not during finishing. If you are staring at a 4x6 shell right now and none of the eight layouts above feel obviously right for your drain position and door location, that is genuinely the point where a second set of eyes helps more than another hour of scrolling references, and if you would rather talk it through with someone who has actually built 330+ of these, get in touch with our team and we will look at your plan properly before you commit to anything irreversible.
Proper waterproofing before any tile goes down is non-negotiable at this scale, since there's no slack in a 4x6 room to fix a leak without ripping out finished work. This is exactly the kind of detail our bathroom design service is built to get right the first time.