








Utility Area Storage Ideas for New Town Apartments
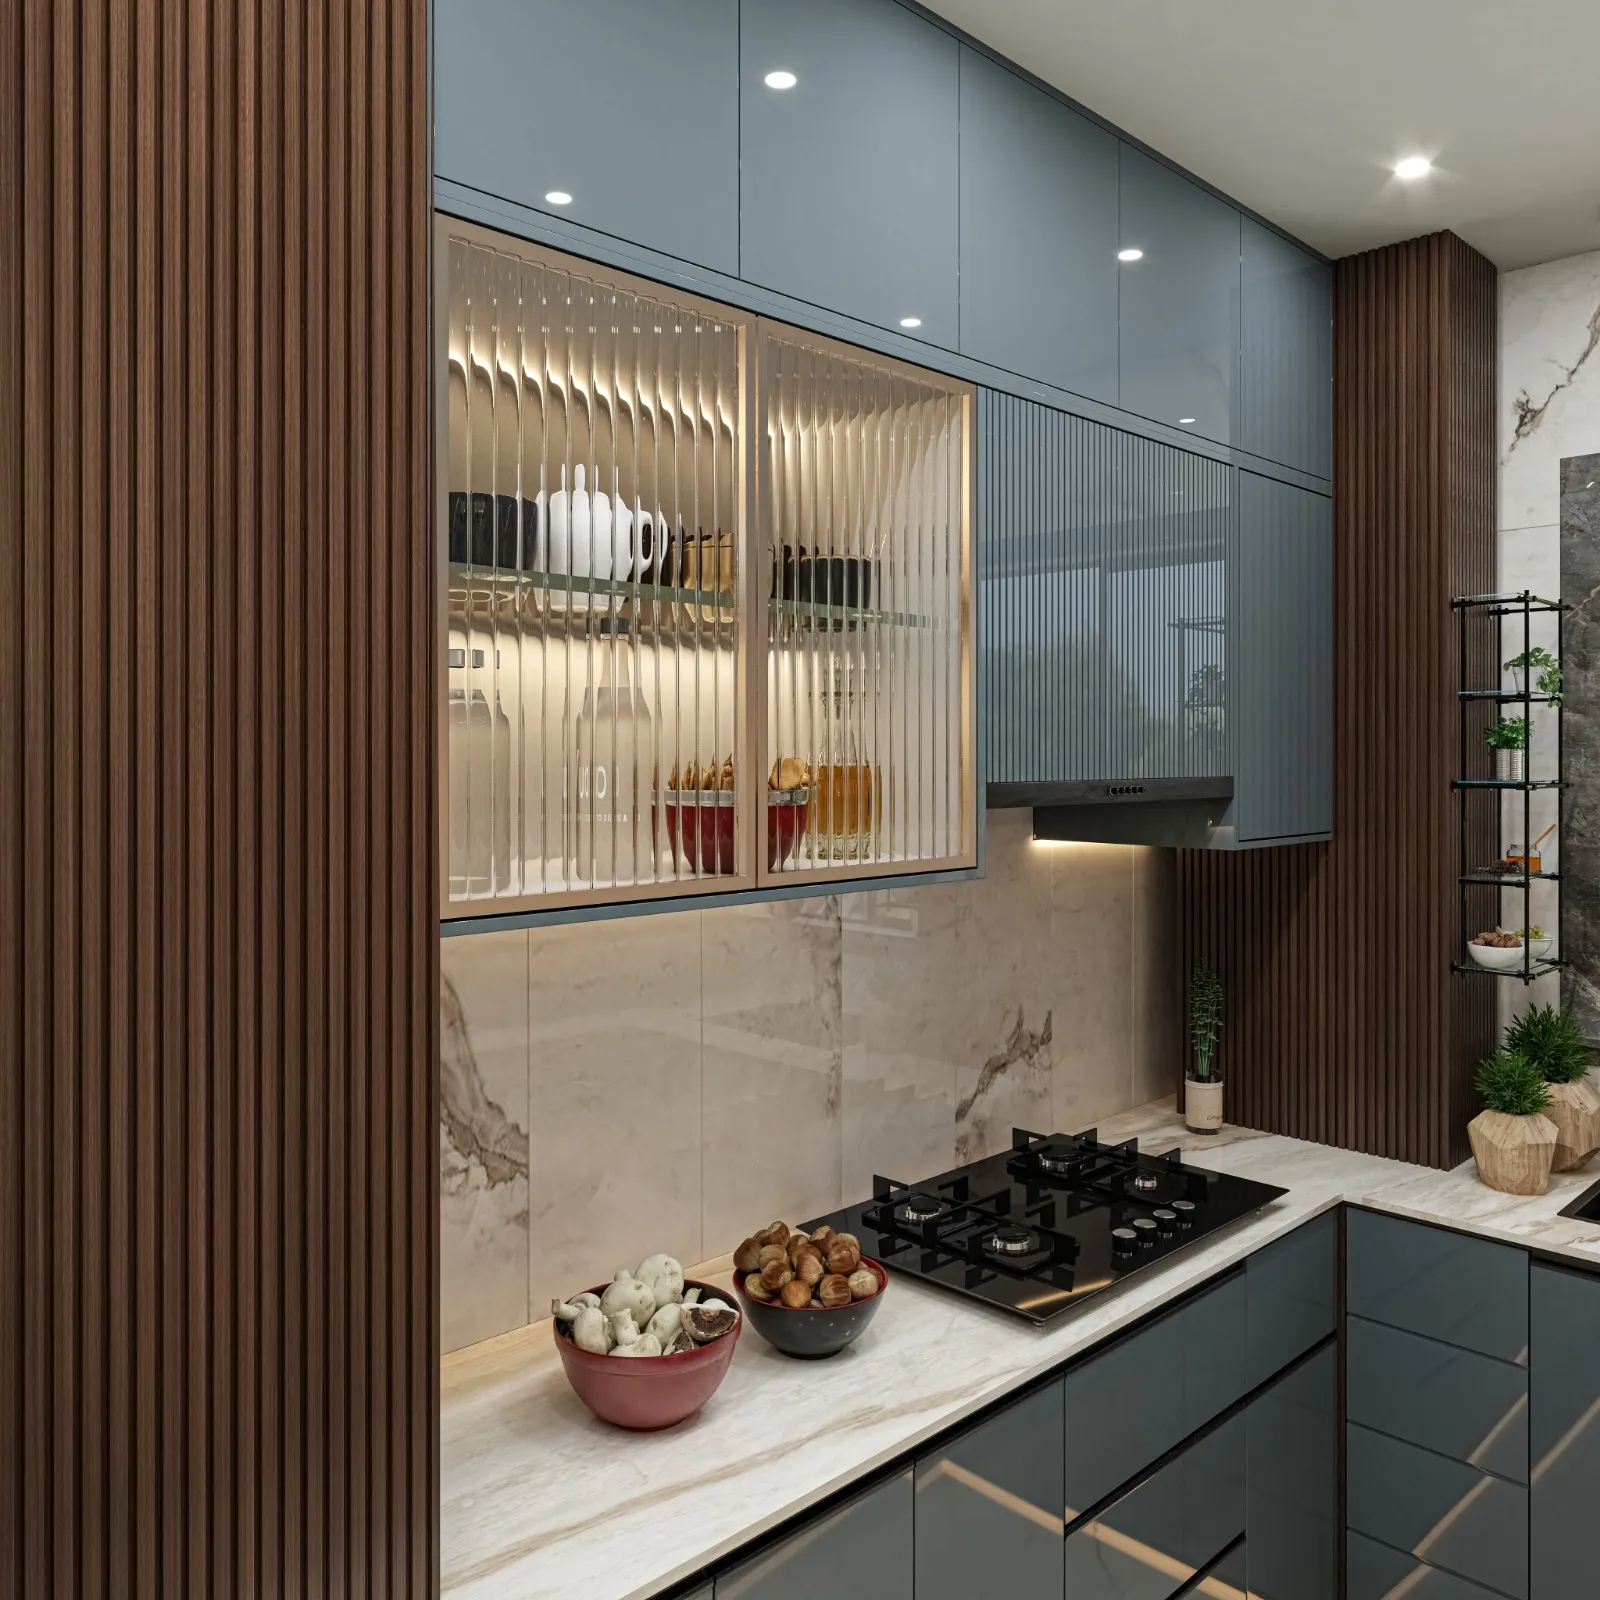
New Town apartments almost always ship with one utility area tucked behind the kitchen, roughly four feet by six feet, meant to hold a washing machine, a couple of gas cylinders, mops, buckets, the excess grocery stock nobody wants sitting on the kitchen counter, and somehow also dry a week's worth of laundry during the monsoon when nothing dries outside. We walk into this exact room on almost every interior project we take on in New Town, and the complaint is always some version of the same thing, that the space looked fine on the floor plan and became a dumping ground within six months of moving in.
The reason this keeps happening is not that New Town residents are careless, it's that developer-standard utility areas are built to a checklist rather than to how a household actually uses the space day to day, so you get a single wall of open shelving, one point for the washing machine, and nothing thought through for detergent storage, drying racks, exhaust, or the fact that a domestic help or a family member is going to be standing in that four-by-six box multiple times a day trying to get something done efficiently.
This piece walks through what we've learned building storage-first utility areas across 330+ buildings delivered since 2014, covering layout logic, material choices that survive Kolkata humidity, what to store where, and where Vastu considerations genuinely matter versus where they're overapplied out of habit.
Why New Town Utility Areas Fail First
Most utility area frustration traces back to three design gaps that developers leave for owners to solve later, right. The first is ventilation, because a lot of Action Area flats have utility spaces with a single small window or, worse, none at all, which means wet laundry never fully dries and the space starts smelling of damp within a year, especially through the monsoon months when humidity sits above 80% for weeks at a stretch. The second is plumbing that's positioned for a washing machine and nothing else, so there's no provision for a wash basin, no floor trap sized for overflow, and no slope built into the flooring to actually direct water toward the drain. The third, and this is the one people notice last but feel most, is that there's no vertical storage plan at all, so everything ends up stacked on the floor or balanced on top of the washing machine, which is exactly how a utility area turns into the room nobody wants to open the door to.
Building a Layout That Actually Works
The fix starts with treating the utility area as a small working room rather than a storage afterthought, which means applying some of the same thinking that goes into the kitchen work triangle, just scaled down. Where does dirty laundry enter, where does it get washed, where does it dry, where does it get folded and stored, and where do cleaning supplies live so they're grabbed on the way out rather than dug out from under the sink. Once that sequence is mapped, a typical New Town four-by-six utility area can hold a front-load washer under a fixed counter, a slim pull-out for the ironing board, wall-mounted plywood shelving above the machine for detergent and cleaning stock, a dedicated slot for two gas cylinders with a ventilated grille, and a folding drying rack that retracts flush to the ceiling when not in use.
The ergonomics of this matter more than people expect, because a utility area is used standing, bending, and reaching in a tight footprint multiple times a day, so shelf heights, counter depth, and door swing all need to respect basic ergonomics rather than whatever gap was left after the plumbing was roughed in. We typically design the working counter at standard kitchen counter height so it doubles as a folding surface, and we keep daily-use items between knee and shoulder height, pushing bulk storage like extra detergent cartons or seasonal items to the top shelf that needs a step stool.
- Ventilated grille or exhaust for the cylinder zone
- Sloped, waterproofed flooring with a floor trap
- Wall-mounted shelving above appliance height
- Fixed counter for folding and staging
- Separate low-shelf zone for cleaning chemicals away from food storage
- Retractable or wall-mounted drying provision
Materials That Survive Kolkata's Humidity
This is where a lot of otherwise good utility area designs fall apart within two years, because standard cabinetry meant for a dry kitchen simply doesn't hold up in a wet, poorly ventilated utility zone. We specify marine-grade or BWP-rated plywood carcasses with laminate or waterproof membrane finishes for anything within splash range of the wash area, and we avoid particleboard entirely in this room regardless of budget pressure, because particleboard swells the first time it takes sustained moisture and there's no fixing it after that, only replacing it. Countertops do better in engineered stone or a dense granite than in any porous natural stone, since the counter is going to see detergent spills and standing water routinely.
| Standard Kitchen-Grade Fit-Out | Utility-Zone-Appropriate Fit-Out |
|---|---|
| Particleboard carcass, laminate face | Marine/BWP plywood carcass, waterproof laminate |
| Open shelving, no grille | Ventilated storage for cylinders, closed shelving for chemicals |
| No floor slope, standard tiling | Sloped, waterproofed flooring with floor trap |
| Standard exhaust or none | Dedicated exhaust sized for continuous humidity load |
Waterproofing at the floor and at the wall-floor junction is the detail that gets skipped most often in builder-grade fit-outs, and it's the one that costs the most to fix retroactively once tiling is down and cabinetry is installed around it, so if you're renovating an existing utility area rather than fitting out a new one, this is the layer worth spending on first even if it means a smaller storage budget elsewhere. We cover the cost mechanics of getting this sequence right in our breakdown of balcony and utility conversion costs, and if the space also handles overflow laundry drying, our note on exhaust fan sizing for Kolkata humidity applies here almost as directly as it does to bathrooms.
Vastu, Placement, and What Actually Matters
We get asked about Vastu Shastra placement for utility and washing areas often enough in New Town and Salt Lake homes that it's worth addressing directly, because there's a lot of conflicting guidance floating around and most of it gets applied without understanding the underlying logic. The traditional preference is for the washing and wet-work zone to sit in the northwest or southeast of the plan, tied to airflow and drainage patterns rather than superstition, and honestly this often aligns naturally with good ventilation planning anyway, since those are frequently the zones with easier access to an external wall for exhaust. Where we push back with clients is when Vastu placement would force the utility area into a spot with no ventilation access at all just to satisfy directional preference, because at that point you're trading a real, daily, humidity problem for a symbolic one, and we'd rather find a layout that respects the underlying intent of good air movement and water drainage without cornering the household into a room that never fully dries.
| Consideration | Traditional Guidance | Practical Priority | ||
|---|---|---|---|---|
| Direction | NW or SE preferred | Only if it doesn't block ventilation | ||
| Drainage | Away from main entrance | Non-negotiable | prevents backflow odor | |
| Cylinder storage | Ventilated | separate from wet zone | Always | regardless of direction |
If Vastu compliance across the full home matters to your family, it's worth reading through it as one integrated plan rather than room by room, which is exactly what we lay out in our guide to Vastu-compliant home planning under NKDA norms, and our Vastu-compliant design service folds this into the layout stage rather than retrofitting it after cabinetry decisions are already locked.
Getting the Rest of the Kitchen-Utility Relationship Right
A utility area rarely works in isolation, and the flats where it fails hardest are usually the ones where the kitchen and utility zone were designed as two separate problems rather than one connected workflow. Cabinetry language, counter height, and even lighting temperature should carry across the two spaces so the transition feels intentional rather than like a service closet bolted onto a finished kitchen, and this is a big part of what we look at when we scope modular kitchen design work alongside adjoining utility zones, or when a client brings us into a broader residential interior design project. Lighting in particular gets overlooked, we specify a cooler colour temperature in the utility zone than in living spaces since it's a task area, not a living area, and daylight-matching light output makes it far easier to spot detergent stains or a missed grease mark on laundry before it goes back into the closet.
- 01Site measure + ventilation and plumbing audit
- 02Layout + storage zoning against actual household routine
- 03Material selection for humidity resistance
- 04Cabinetry and counter fabrication
- 05Fit-out, waterproofing check, and handover
For an existing flat where the utility area was never designed well to begin with, this usually sits inside a broader renovation and remodeling scope rather than a standalone fix, and we've seen this pattern repeat closely enough across Salt Lake cooperative flats and New Town apartments that it's practically its own category of project for us, one we walked through end to end on a recent Salt Lake residential interior project.
At the end of the day, a utility area that actually works is a small design problem with an outsized daily payoff, because it's the room every family member touches multiple times a day, whether they think about it or not, and getting the ventilation, the material grade, the storage zoning, and the plumbing detailing right the first time costs far less than fixing swollen cabinetry or chronic damp two years in. If your New Town or Salt Lake utility area has become the room you avoid opening, or you're planning a new flat and want the layout right from day one, our studio has been solving exactly this problem across 330+ New Town and Salt Lake buildings since 2014, and we'd be glad to walk your specific floor plan with you, so get in touch and we can start with a straightforward site assessment.