








Wall and Floor Material Choices for New Town Duplexes
If you're building or renovating a duplex in New Town, the wall and floor material conversation usually starts wrong. Most homeowners walk into a tile showroom with a Pinterest board and a vague sense that vitrified is "good" and marble is "premium," and they pick finishes room by room without thinking about how a two-level house actually behaves here, in this soil, in this climate, with this kind of daylight moving through Action Area plots at different hours of the day.
We've delivered 330+ buildings since 2014, and the duplexes are where material mistakes cost the most, because you're not just picking a tile, you're picking something that has to survive a staircase transition, a monsoon-soaked ground floor, an east-facing upper bedroom that gets brutal afternoon heat gain, and a family that will be walking these floors for the next twenty years. So this piece is a practical rundown of what actually works for New Town duplexes, room by room and level by level, with the reasoning behind each call, not just a list of trending finishes.
We're going to cover ground floor flooring against rising damp, first floor and staircase transitions, wet-area walls and floors that need to survive Kolkata's monsoon, and how to sequence material decisions against your budget instead of letting the showroom sequence them for you.
Why Ground Floor and First Floor Need Different Logic Entirely
The single biggest mistake we see in New Town duplexes is treating the ground and first floor as one continuous flooring decision, when they behave completely differently. Ground floors here sit close to a water table that's higher than most homeowners expect, and even with proper damp-proofing at the plinth level, moisture wicks up through concrete over years, so porous natural stone on the ground floor is asking for trouble; you'll see efflorescence and staining within a couple of monsoons. Vitrified tiles, being near-zero porosity, handle this far better, and a double-charge or full-body vitrified in a large format reads clean without the maintenance headache of natural stone.
The first floor is a different problem. There's no rising damp to worry about, so this is where homeowners can afford to be more expressive, engineered wood or wood-look vitrified in bedrooms, and if the budget allows, a genuine engineered stone surface in a formal living or dining space upstairs where foot traffic is lighter and the material's premium look actually gets appreciated instead of scuffed. The catch here is that a lot of contractors will quote the same tile spec for both floors because it's simpler to source and install, and that's exactly the kind of shortcut that shows up as a maintenance bill three years in.
| Ground Floor | First Floor |
|---|---|
| Vitrified tiles, high moisture resistance | Engineered wood or wood-look vitrified |
| Handles rising damp well | No damp exposure, more design freedom |
| Best for living, dining, kitchen zones | Best for bedrooms, study, formal spaces |
| Matte or anti-skid finish near entries | Can go glossier, softer underfoot |
Flooring for the Staircase and Transition Zones
The staircase is where duplex flooring plans usually fall apart, literally in some cases, because it's the one surface in the house that combines wet feet, tired legs at the end of a workday, and a change in tile that most designers don't think through carefully. We always spec a dedicated anti-skid tread nosing on staircases regardless of what material runs through the rest of the house, and we keep the riser and tread combination consistent rather than switching materials mid-flight, because visual continuity on a stair actually helps depth perception, which matters more than people realize until someone misjudges a step.
Balconies and the landing at the top of the stairs deserve the same anti-skid thinking, particularly through the monsoon months when Kolkata humidity keeps outdoor surfaces damp far longer than people expect. We've written in more depth about this exact comparison in our piece on anti-skid vitrified vs matt ceramic balcony flooring, and the short version is that anti-skid vitrified generally wins for New Town balconies because it holds its slip resistance longer than matt ceramic, which can polish smooth with years of foot traffic and water exposure.
Wall Finishes That Actually Survive New Town's Humidity
Walls get less attention than floors in most material conversations, but they're where humidity damage shows up first and most visibly, especially in ground floor rooms and any wall that backs onto an external face without adequate shading. For wet areas, that's bathrooms primarily but also utility zones and kitchen backsplashes, we push clients toward full-height tiling rather than the half-tiled wall that was standard a decade ago, because the exposed plaster above the tile line is exactly where you'll see paint bubbling and mold within a monsoon season or two. If a full tile wall isn't the aesthetic the client wants, at minimum we spec a proper waterproofing membrane behind any painted wet-area wall, something we go into in detail in our guide on bathroom waterproofing cost before tiling, because skipping this step to save a modest amount upfront routinely costs multiples of that in re-plastering later.
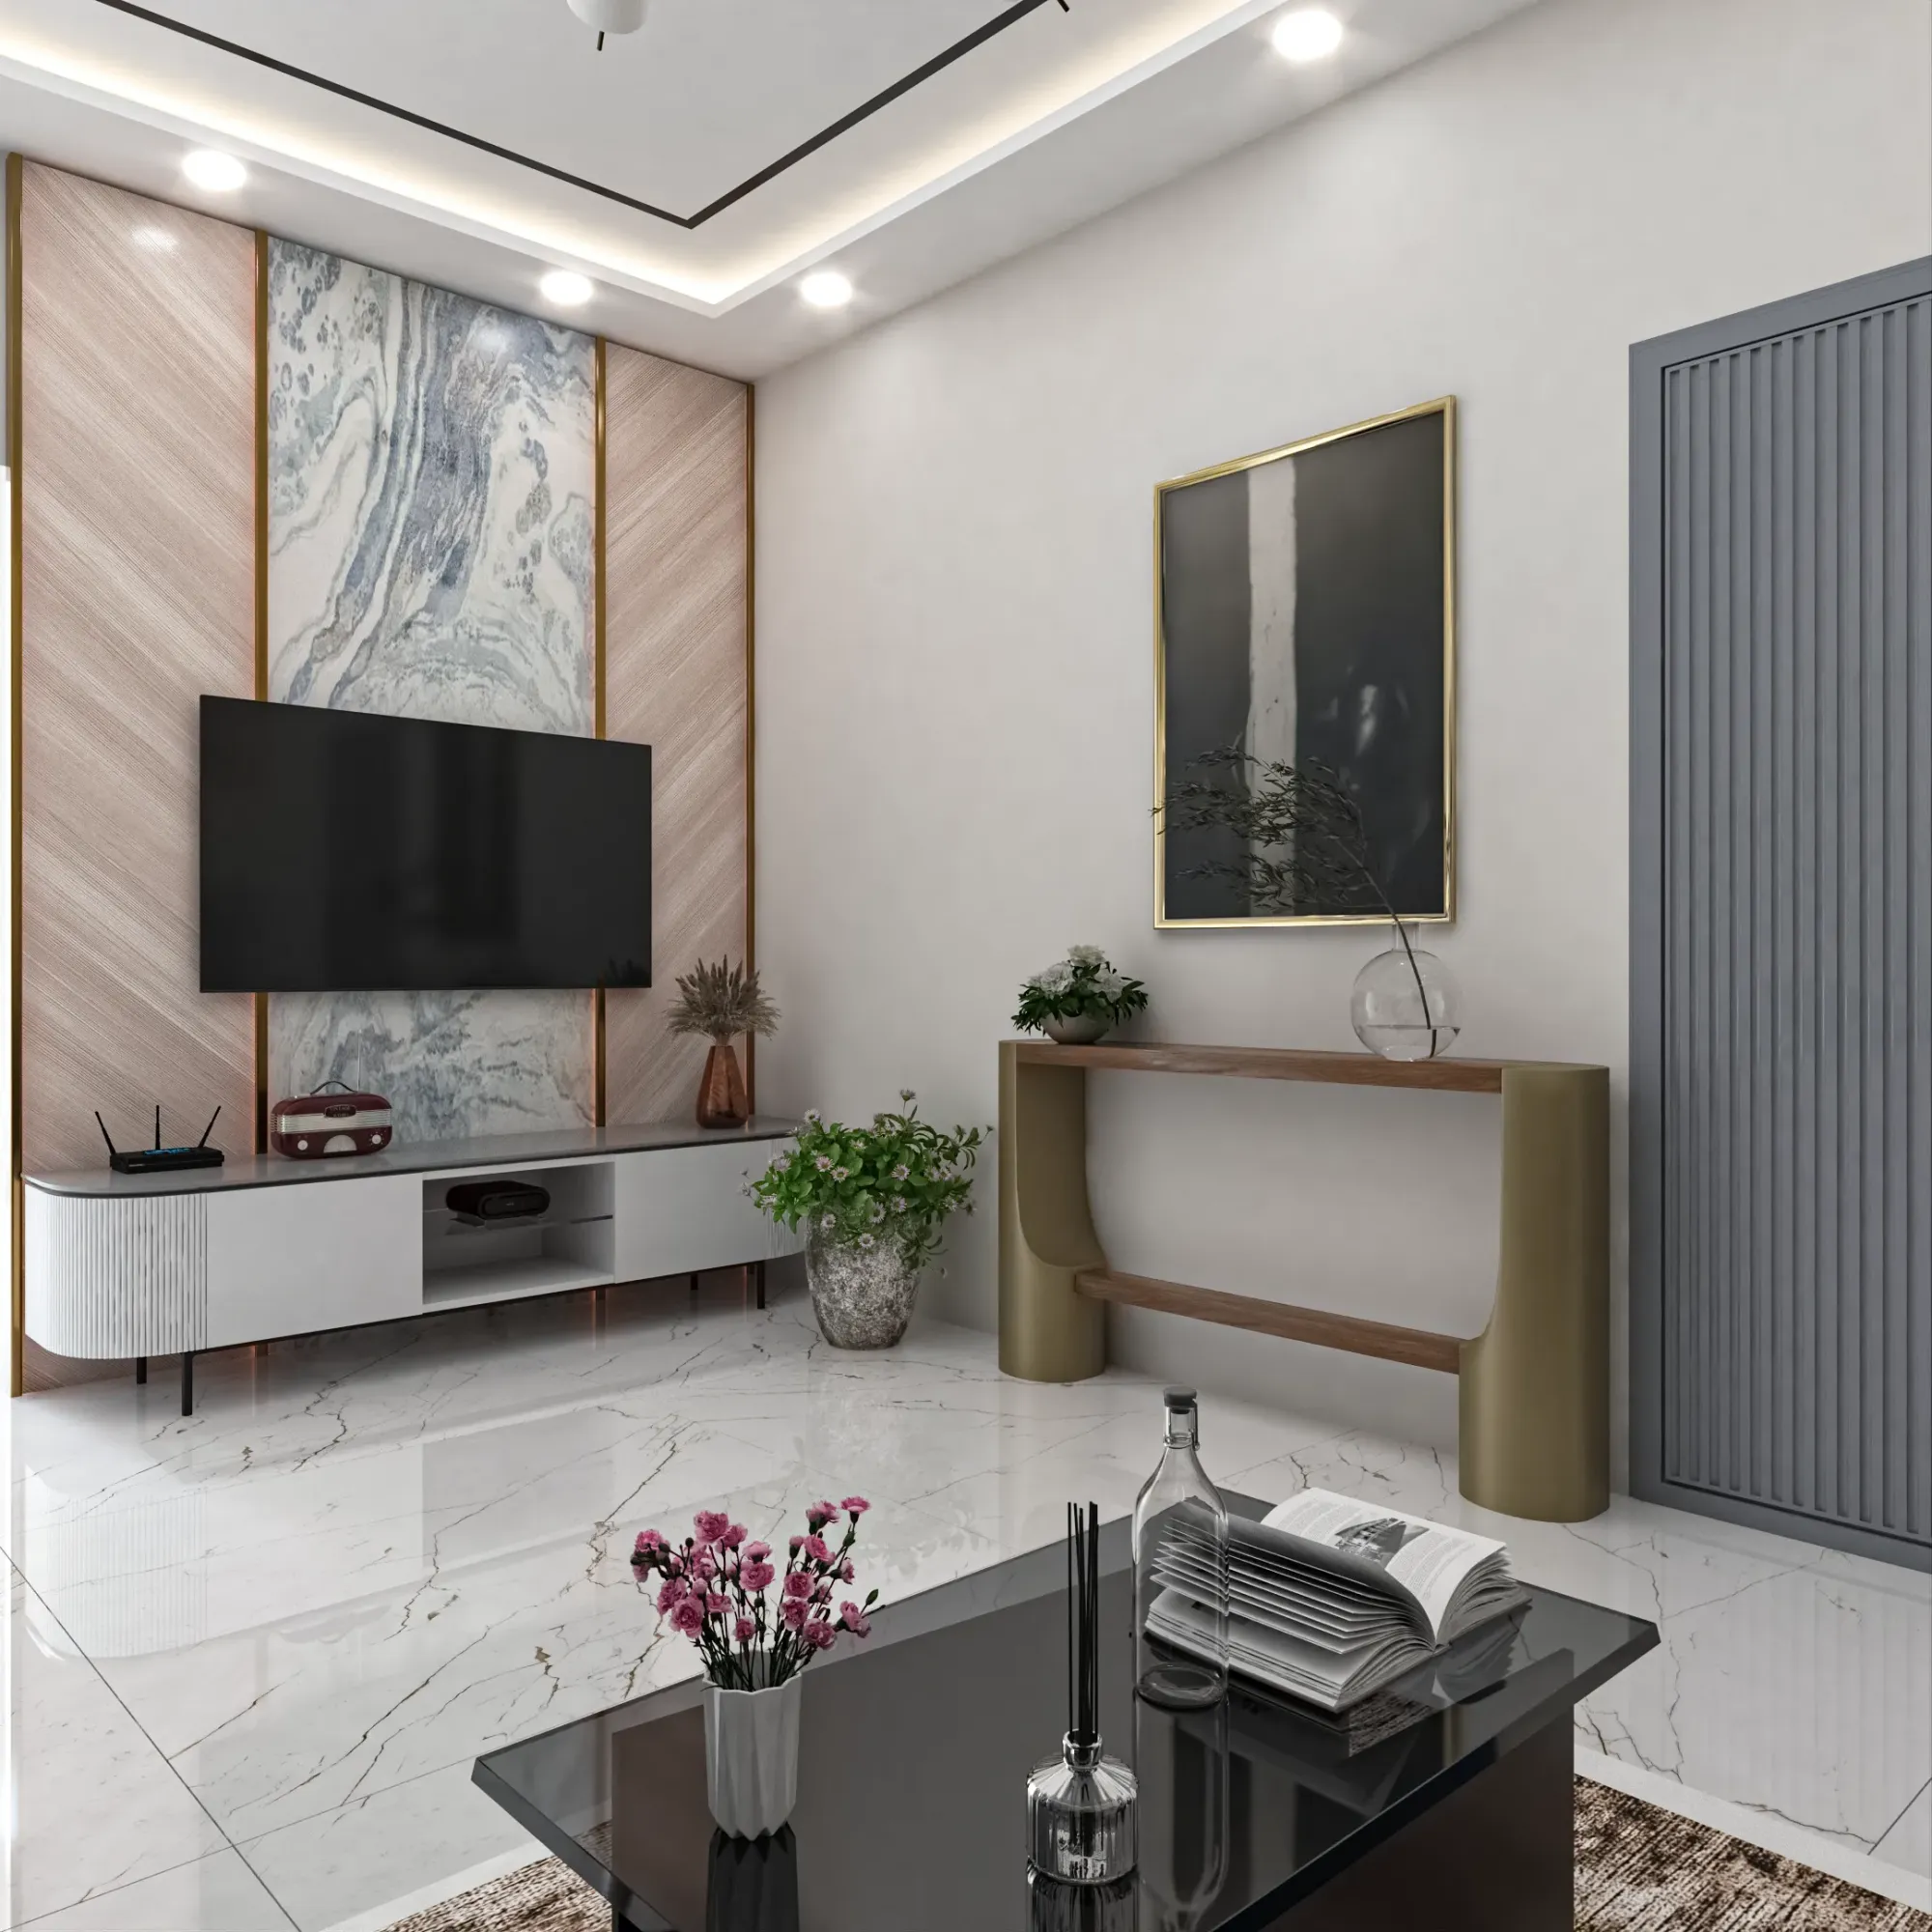
For dry-area walls, living rooms, bedrooms, and passages, we've moved a lot of our New Town clients toward washable emulsion paints with a slightly higher sheen than they'd normally choose, purely because it wipes clean faster and resists the dust that settles differently in a coastal-humid climate than it does in drier parts of the country. Feature walls in plywood veneer or fluted paneling work well in first floor living and bedroom zones where humidity exposure is lower, but we're careful about specifying them on ground floor exterior-facing walls, since timber veneers in a damp-prone zone need moisture-resistant grade ply and proper sealing at every edge, or they'll delaminate faster than the client expects.
| Zone | Recommended Flooring | Wall Finish | |
|---|---|---|---|
| Ground floor living/dining | Vitrified (large format) | Washable emulsion or full-height tile accent | |
| Kitchen | Anti-skid vitrified | Full-height tile backsplash | |
| Bathrooms | Anti-skid ceramic/vitrified | Full-height tile with waterproofing membrane | |
| Staircase | Anti-skid vitrified with tread nosing | Washable emulsion | |
| First floor bedrooms | Engineered wood or wood-look vitrified | Emulsion paint | plywood accent wall optional |
| Balcony/terrace | Anti-skid vitrified | Weatherproof exterior paint |
Bringing Vastu and Layout Into the Material Decision
A fair number of our New Town clients want their material choices to align with Vastu Shastra principles, and while we're not going to pretend there's one universal formula, the practical overlap between good Vastu practice and good material practice is bigger than people assume. Cooler, lighter-toned flooring in the northeast zones tends to work well both for the traditional guidance around that direction and for the practical reality that northeast rooms in a New Town duplex often get the most consistent, even daylight, so a light vitrified or marble-look finish reflects that light back into the room rather than absorbing it the way a dark stone would. If Vastu compliance is a priority for your project, it's worth folding into the architectural brief from day one rather than retrofitting material choices after the layout is locked, and our vastu-compliant design work usually starts at exactly that stage.
- Confirm ground floor damp-proofing before selecting porous stone anywhere
- Match staircase tread material to overall anti-skid rating, not just aesthetics
- Specify full waterproofing membrane behind every wet-area wall, tiled or painted
- Choose moisture-resistant grade plywood for any first floor accent wall exposed to humidity
- Align flooring tone with window and skylight placement so daylight actually does the work
Sequencing the Decision Against Your Budget
The order in which you lock material decisions matters almost as much as the decisions themselves. We generally advise clients to finalize structural and waterproofing specs first, since those are invisible once the build closes up and nearly impossible to correct later without tearing into finished walls, and only then move to the visible finish layer, tiles, paint, cabinetry, where budget flexibility still exists. A typical New Town duplex interior project with us runs 8-12 weeks from material finalization to handover, and the architecture and structural phase that precedes it typically runs several months depending on plan sanction timelines with NKDA, so getting the sequence right early saves real time downstream.
Budget conversations also go smoother when they're grounded in real numbers rather than showroom sticker shock, and we've laid out a fuller breakdown of what drives cost up or down across a New Town build in our guide on the cost to build a house in New Town, which is worth reading alongside this piece if you're still in the planning stage. For a duplex specifically, our duplex house design guide covers the layout and structural side that shapes which material choices even make sense for your plot.
Getting the Whole House to Read as One Design
At the end of the day, wall and floor materials only work if they're chosen as part of one coherent plan rather than picked independently by whoever happens to be managing that phase of the build, the tile contractor picking tiles, the painter picking paint colors, nobody stepping back to ask whether the ground floor palette actually talks to the first floor palette across the staircase. That's basically the core of what our residential interior design work does for New Town clients, we hold the material palette, the lighting plan, and the layout logic together as one decision rather than a sequence of separate ones, and it shows up in how the finished house actually feels to live in, not just how it photographs on handover day.
Bathrooms in particular reward this kind of integrated thinking, since the wall tile, floor tile, waterproofing, and fixture layout all have to be resolved together or you end up with awkward grout lines and mismatched transitions; our bathroom design service handles that resolution as a single package rather than a series of separate vendor decisions. If you'd rather see the reasoning applied to a real build than read about it in the abstract, our G4 residence in Action Area 2 is a good example of ground-to-first-floor material logic carried through an actual New Town duplex from structure to handover.
If you're at the stage of picking wall and floor materials for a duplex in New Town, or you haven't broken ground yet and want the architecture and interior decisions made together instead of in sequence, get in touch with us and we'll walk through your plot, your budget, and what actually holds up here, not just what looks good in a showroom sample.