








Wall-to-Wall Wardrobe Designs for Master Bedrooms
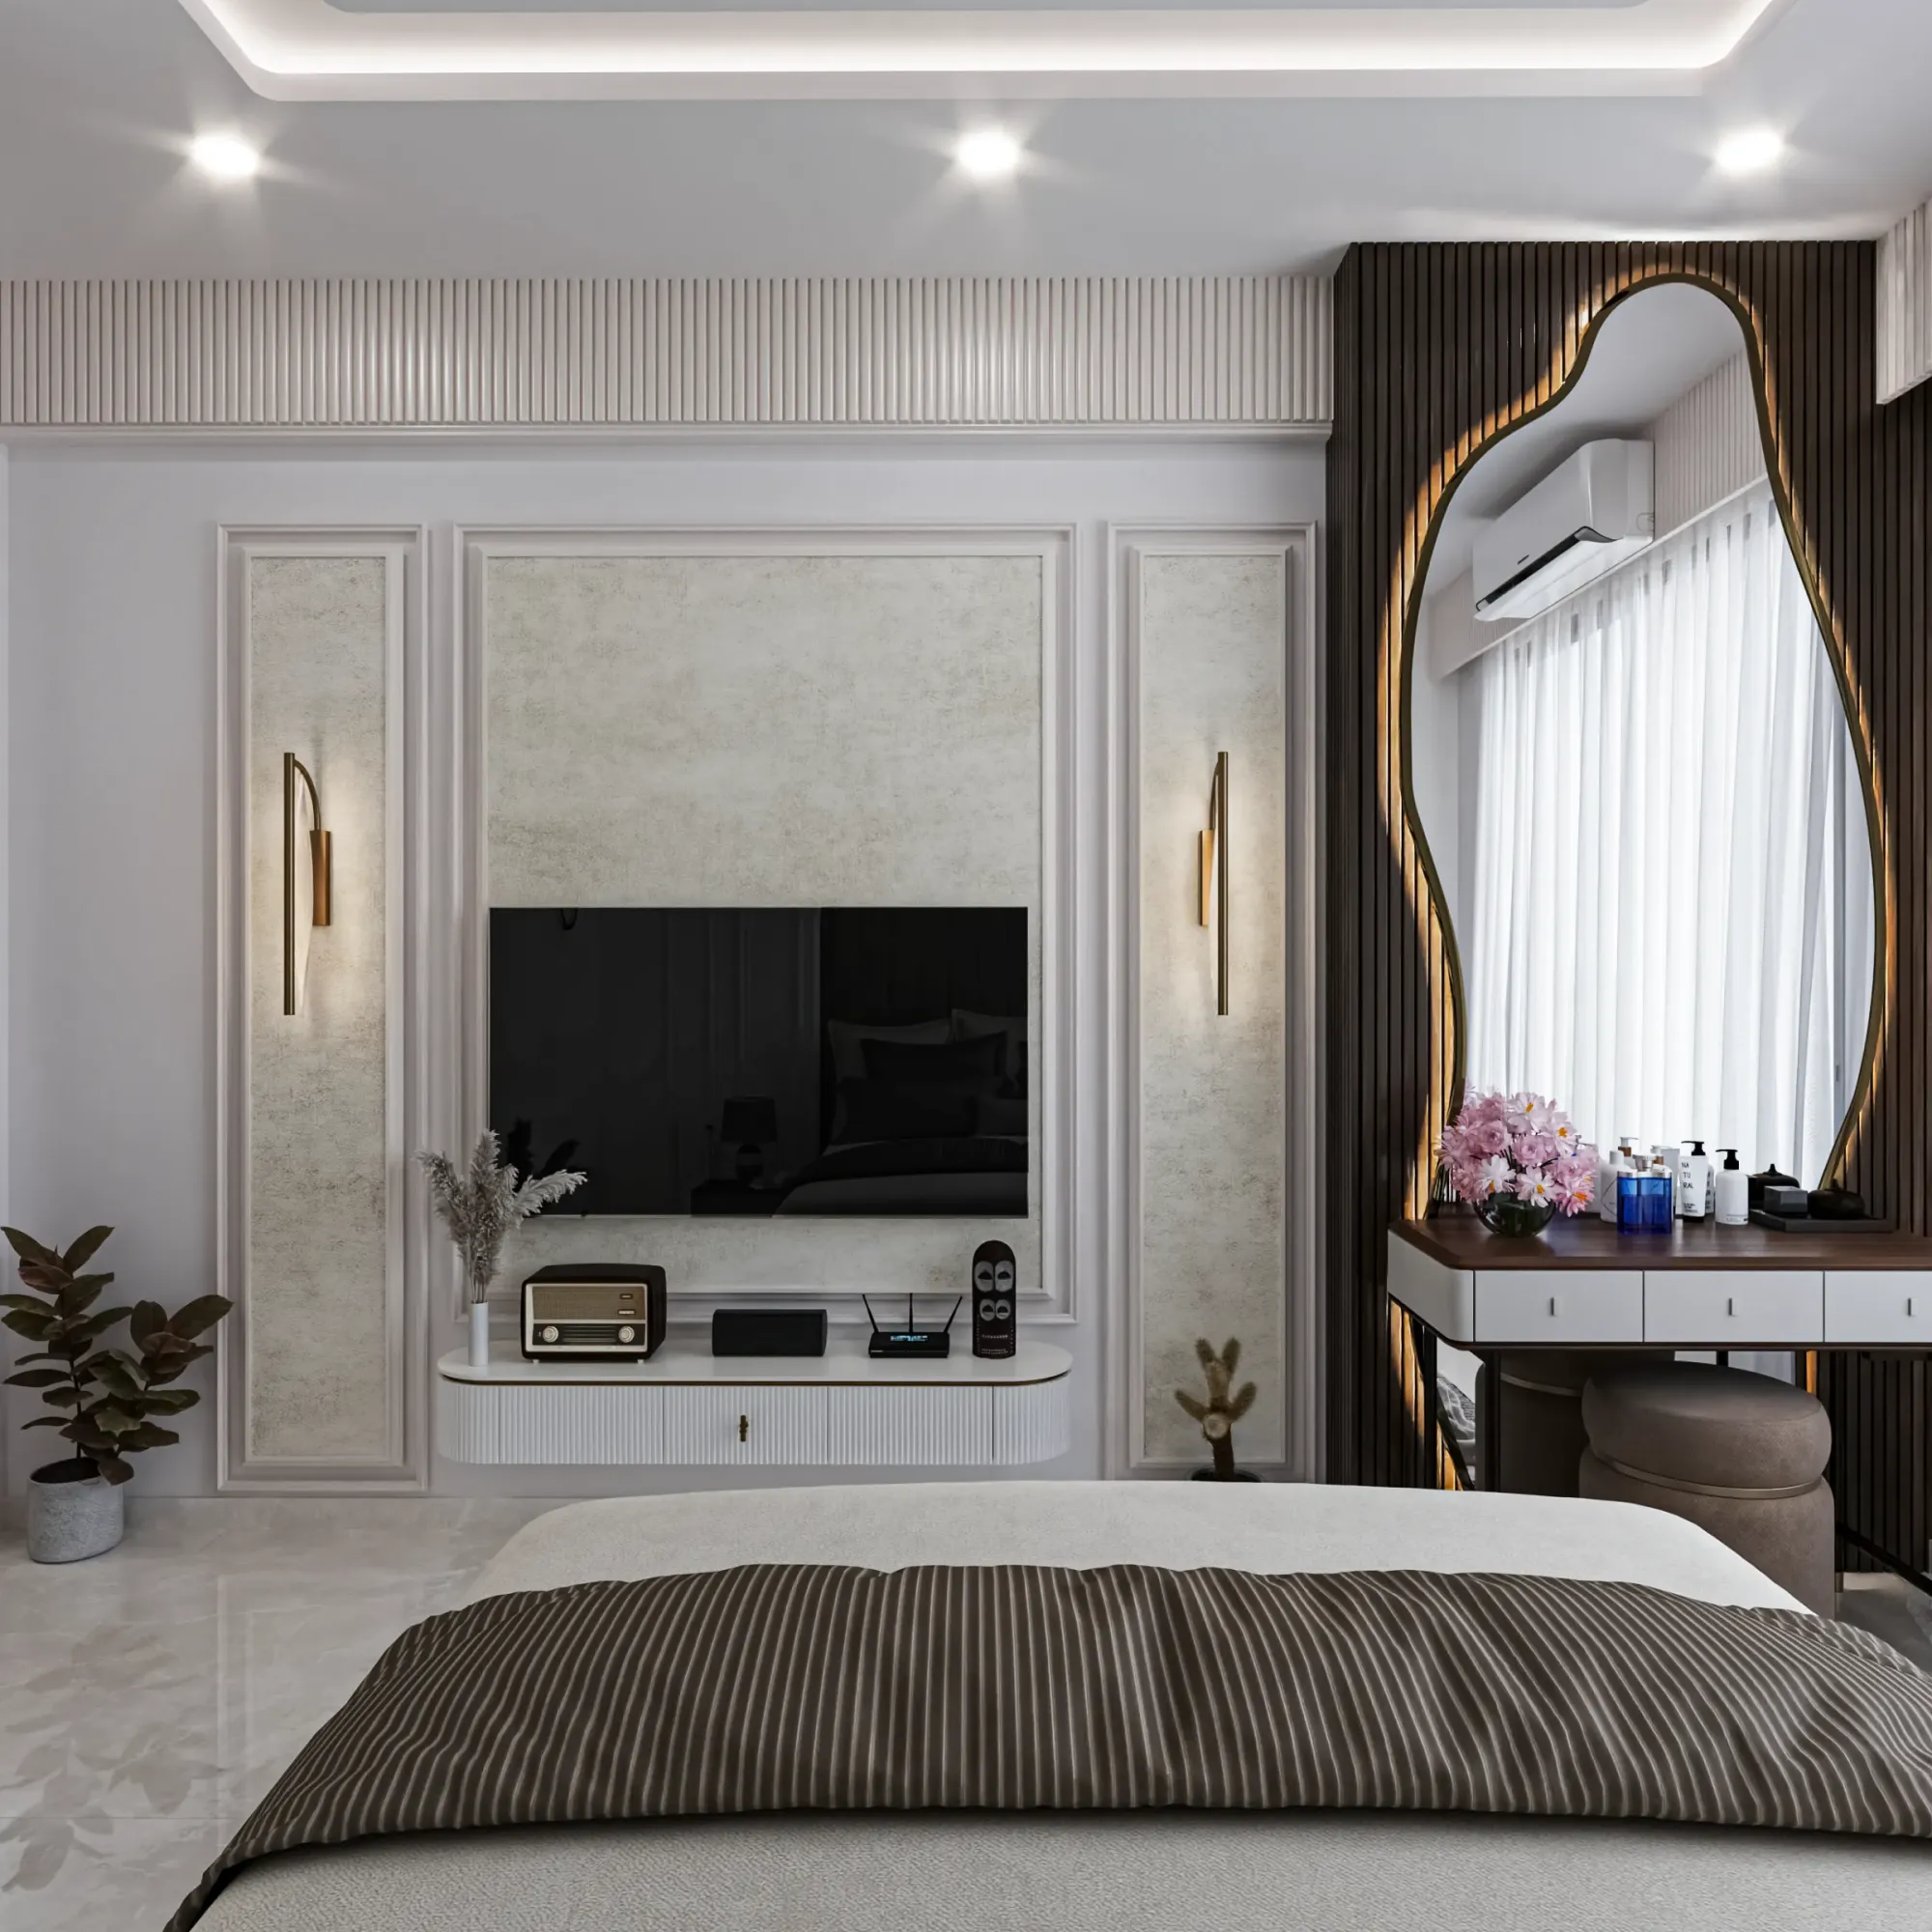
Ask any homeowner who has lived through a bedroom renovation in Kolkata and they will tell you the wardrobe is the one piece of furniture that decides whether the room feels calm or cluttered. A wall-to-wall wardrobe, run floor to ceiling and end to end along one wall of the master bedroom, is basically the single most efficient storage decision you can make in a city where flats and even independent houses rarely have the luxury of a separate dressing room. We have designed and installed these across more than 330 buildings since we started in 2014, from compact 3BHK flats in Salt Lake to sprawling duplexes in New Town, and the pattern holds everywhere, right: get the wardrobe wall correct and the rest of the bedroom layout falls into place on its own.
This piece is written for homeowners who are past the Pinterest-scrolling stage and are now trying to actually decide between sliding and hinged shutters, figure out which finish will survive Kolkata's humidity, and get a realistic sense of what a wall-to-wall wardrobe costs before they call a contractor. We will walk through the mechanism choices, the material and colour options that hold up in our climate, how to plan the inside (not just the outside) of the unit, and what budget bands actually look like for 2026 in West Bengal. At the end of the day, a wardrobe is a piece of architecture bolted to your wall for the next 15-20 years, so it is worth getting the decisions right the first time rather than living with a hinge that sags or a laminate that yellows in three monsoons.
Why Wall-to-Wall Wardrobes Work So Well in Kolkata Master Bedrooms
Most Kolkata master bedrooms fall somewhere between 130 and 220 square feet, and once you place the bed, a side table or two, and maybe a study corner, there is genuinely one wall left for storage. A wall-to-wall wardrobe uses that entire wall, floor to ceiling, instead of a standalone almirah that eats floor area and still leaves a dead gap above it collecting dust. We have found that clients who switch from a loose almirah-and-dresser setup to a built-in wall unit typically free up 15-25 square feet of usable floor space, which in a Kolkata flat is often the difference between a room that feels tight and one that breathes. It also solves a very local problem, which is that our humidity swings hard between the monsoon and winter, and a well-sealed built-in unit with proper edge banding keeps that moisture out of your clothes far better than a freestanding cupboard with gaps at the back and sides ever will.
The other reason this format has become close to a default in our residential interior design projects is that it lets us treat the whole wall as one design surface, so the wardrobe fronts, the loft above, and sometimes a dressing mirror panel all read as a single continuous piece rather than three separate furniture items competing for attention. If you have seen our serene master bedroom project in Kolkata, that is exactly the effect we are talking about, a wall that does the job of storage, dressing area and visual anchor all at once.
Sliding, Hinged or Openable — Picking the Right Shutter Mechanism
This is the first fork in the road and it genuinely changes how the room feels day to day, not just how the wardrobe looks. Sliding shutters (2, 3 or 4-panel) don't need swing clearance, so they suit bedrooms where the bed is placed close to the wardrobe wall or where a walking path runs along it, and they give a cleaner, more contemporary look, though you can only access one section at a time and the tracks need a service check every couple of years. Hinged or openable shutters, on the other hand, let you see and reach the entire compartment at once when the door is open, which matters if you are someone who likes everything visible rather than layered behind a sliding panel, but they do need roughly 24-30 inches of swing space in front of the unit. We generally steer clients with smaller bedrooms, anything under 140 square feet, toward sliding systems, and clients with more generous room dimensions toward hinged units, simply because the swing clearance stops being a constraint once the room has breathing room to spare.
| Sliding Shutters | Hinged Shutters |
|---|---|
| No swing clearance needed | Needs 24-30in door swing space |
| One section visible at a time | Full compartment visible when open |
| Cleaner, minimal look | More traditional, easy full access |
| Track needs periodic servicing | Hinges need occasional realignment |
| Better for rooms under 140 sq ft | Better for larger, open-plan bedrooms |
There is a third, less talked-about option worth mentioning for larger master suites, which is a walk-in configuration where the wardrobe wraps two walls instead of one, effectively creating a shallow dressing bay. We only recommend this when the room genuinely has the depth to spare after the bed and circulation space are accounted for, because a walk-in that pinches the room down to a corridor defeats its own purpose. Our custom furniture design team runs a quick 3D layout check on every project before shutter type is finalised, precisely so this decision is based on your actual room dimensions and not a photo you liked online.
Materials, Finishes and Colours That Actually Hold Up
The core carcass material is where most of the long-term performance is decided, and in Kolkata's climate this is not a place to cut corners. BWP-grade plywood (boiling water proof) is our default recommendation for the carcass because it resists the moisture swelling that MDF and particle board are prone to during the monsoon months, and while it costs more upfront, we have seen enough client complaints about swollen MDF shutters five years in to know it is worth the difference. For the external face, laminate remains the most practical finish for a wall-to-wall run because it is scratch-resistant and wipes clean, and it now comes in finishes that genuinely mimic wood grain, matte stone, and even fabric textures without the maintenance headache those materials actually carry. Acrylic and PU finishes give a glossier, more premium look and photograph beautifully, but they show fingerprints and fine scratches more readily, so we tend to reserve them for wardrobe sections that see less daily contact, like loft shutters, rather than the main opening panels a child or a pet might bump into daily.
On colour, the pattern we see across our projects in Kolkata and West Bengal is a steady move away from stark white toward warm, muted tones, walnut and oak wood-finish laminates, soft greige, deep bottle green or charcoal paired with a lighter interior lining. Warm woody tones tend to age better visually in a tropical climate because they don't show dust and water-spotting the way pure white or high-gloss black does, and they photograph well under the warmer colour temperature lighting most Bengali homes prefer over cool white. That said, if the room gets limited daylighting, a two-tone approach, darker base with a lighter upper section and loft, keeps the wall from feeling heavy while still giving you a durable, low-maintenance surface at hand height where scuffs actually happen. If your bedroom layout needs to respect placement of the wardrobe wall relative to the bed and door, our team also checks this against Vastu Shastra principles for clients who want that alignment, which is a request we get often enough in West Bengal that it is built into our design process rather than an afterthought.
Planning the Inside, Not Just the Outside
This is the part homeowners underestimate the most, and honestly it is where the real value of hiring a design studio over a local carpenter shows up, because the shutters are only the visible 20% of the decision. Behind those doors, the internal layout needs to account for hanging space (long hang for sarees and gowns, short hang for shirts and kurtas), stacked shelving for folded clothing, a dedicated drawer bank for innerwear and accessories, and in most master bedrooms we design, a small locker or safe section built into one bay for jewellery and documents. We also always carve out a loft section above the main wardrobe for out-of-season storage like quilts and suitcases, since that vertical space above eye level is otherwise wasted in almost every Kolkata bedroom we've walked into on a first site visit. A full-length mirror, either as a sliding shutter face or a fixed panel at one end, rounds out the layout and saves you from adding a separate freestanding mirror that just becomes another thing to work around.
Getting these internal proportions right is genuinely an ergonomics exercise, drawer heights need to sit within comfortable reach for whoever uses them most, hanging rods need to clear the floor by the right margin for your longest garments, and shelf spacing needs to match what you actually own rather than a generic template. This is exactly the kind of layout decision our AI-assisted furniture layout process helps us get right early, before a single panel is cut, because reworking an internal layout after installation is expensive and disruptive in a way that catching it on a 3D drawing simply isn't.
- Long-hang section for sarees, gowns and coats
- Short-hang section for shirts and daily wear
- Stacked shelving for folded clothing
- Drawer bank for accessories and innerwear
- Lockable jewellery or document safe
- Loft storage for seasonal items
- Full-length mirror panel
What a Wall-to-Wall Wardrobe Actually Costs in Kolkata
Pricing for a wall-to-wall master bedroom wardrobe in Kolkata and the wider West Bengal market runs on a per-square-foot basis for the shutter face, plus internal fittings, and the range is wide enough that vague quotes are basically meaningless without knowing the material spec. A laminate-finish BWP plywood wardrobe with standard soft-close hinges or a basic sliding track typically sits at the more accessible end, while acrylic or PU finishes, branded hardware like soft-close sliding systems, and a built-in locker or drawer organiser push the number up meaningfully. The honest way to think about it is that the shutters and carcass material account for roughly half the budget, hardware and internal fittings for a third, and the remaining share covers finishing details like edge banding, handles and the loft shutter system. We walk every client through this breakdown line by line before work starts, because the biggest cause of budget shock we see isn't the wardrobe itself, it's clients who priced only the visible shutters and didn't account for internal hardware separately.
This is also where the case for hiring a proper studio rather than a local carpentry unit becomes concrete rather than abstract. A carpenter working off a verbal brief will often quote you a flat per-square-foot rate that hides the hardware quality being used, and you only discover the difference two years later when a drawer channel fails. We've built our process around 3D visualisation before fabrication starts, which you can see more of through our 3D visualisation and rendering service, precisely so there are no surprises between what you approved on screen and what gets installed on your wall.
Bringing It Together for Your Bedroom
None of this happens in isolation from the rest of the room either. The wardrobe wall interacts with your false ceiling and lighting design, because loft lighting and wardrobe-adjacent downlights need to be planned into the same electrical layout, and it interacts with the room's overall style, whether you're finishing a fresh apartment interior in New Town or renovating an older independent house. If you're weighing a full apartment or flat interior fit-out versus a room-by-room upgrade, the wardrobe wall is usually the smartest place to start, because it's the one element that touches storage, layout and visual identity all at once, and getting it right early makes every other decision in the room easier.
- 01Site measurement & 3D layout
- 02Material & finish selection
- 03Fabrication (carcass, shutters, hardware)
- 04Site installation & fitting
- 05Final quality check & handover
We've been designing wall-to-wall wardrobes and full bedroom interiors across Kolkata and West Bengal since 2014, and across 330+ buildings delivered the lesson has stayed consistent, the wardrobe wall rewards planning far more than it rewards a bigger budget. Our standard interior timeline for a master bedroom of this kind runs 8-12 weeks from measurement to handover, and that includes the 3D visualisation stage that lets you actually see your finish and layout before anything is fabricated. If you're ready to plan your master bedroom wardrobe properly, or want a second opinion on a design you already have, get in touch with our team and we'll walk your room, your budget and your material options together, no vague per-square-foot guesswork involved.