








Modular Kitchen Elevation Design: How to Plan It Wall by Wall
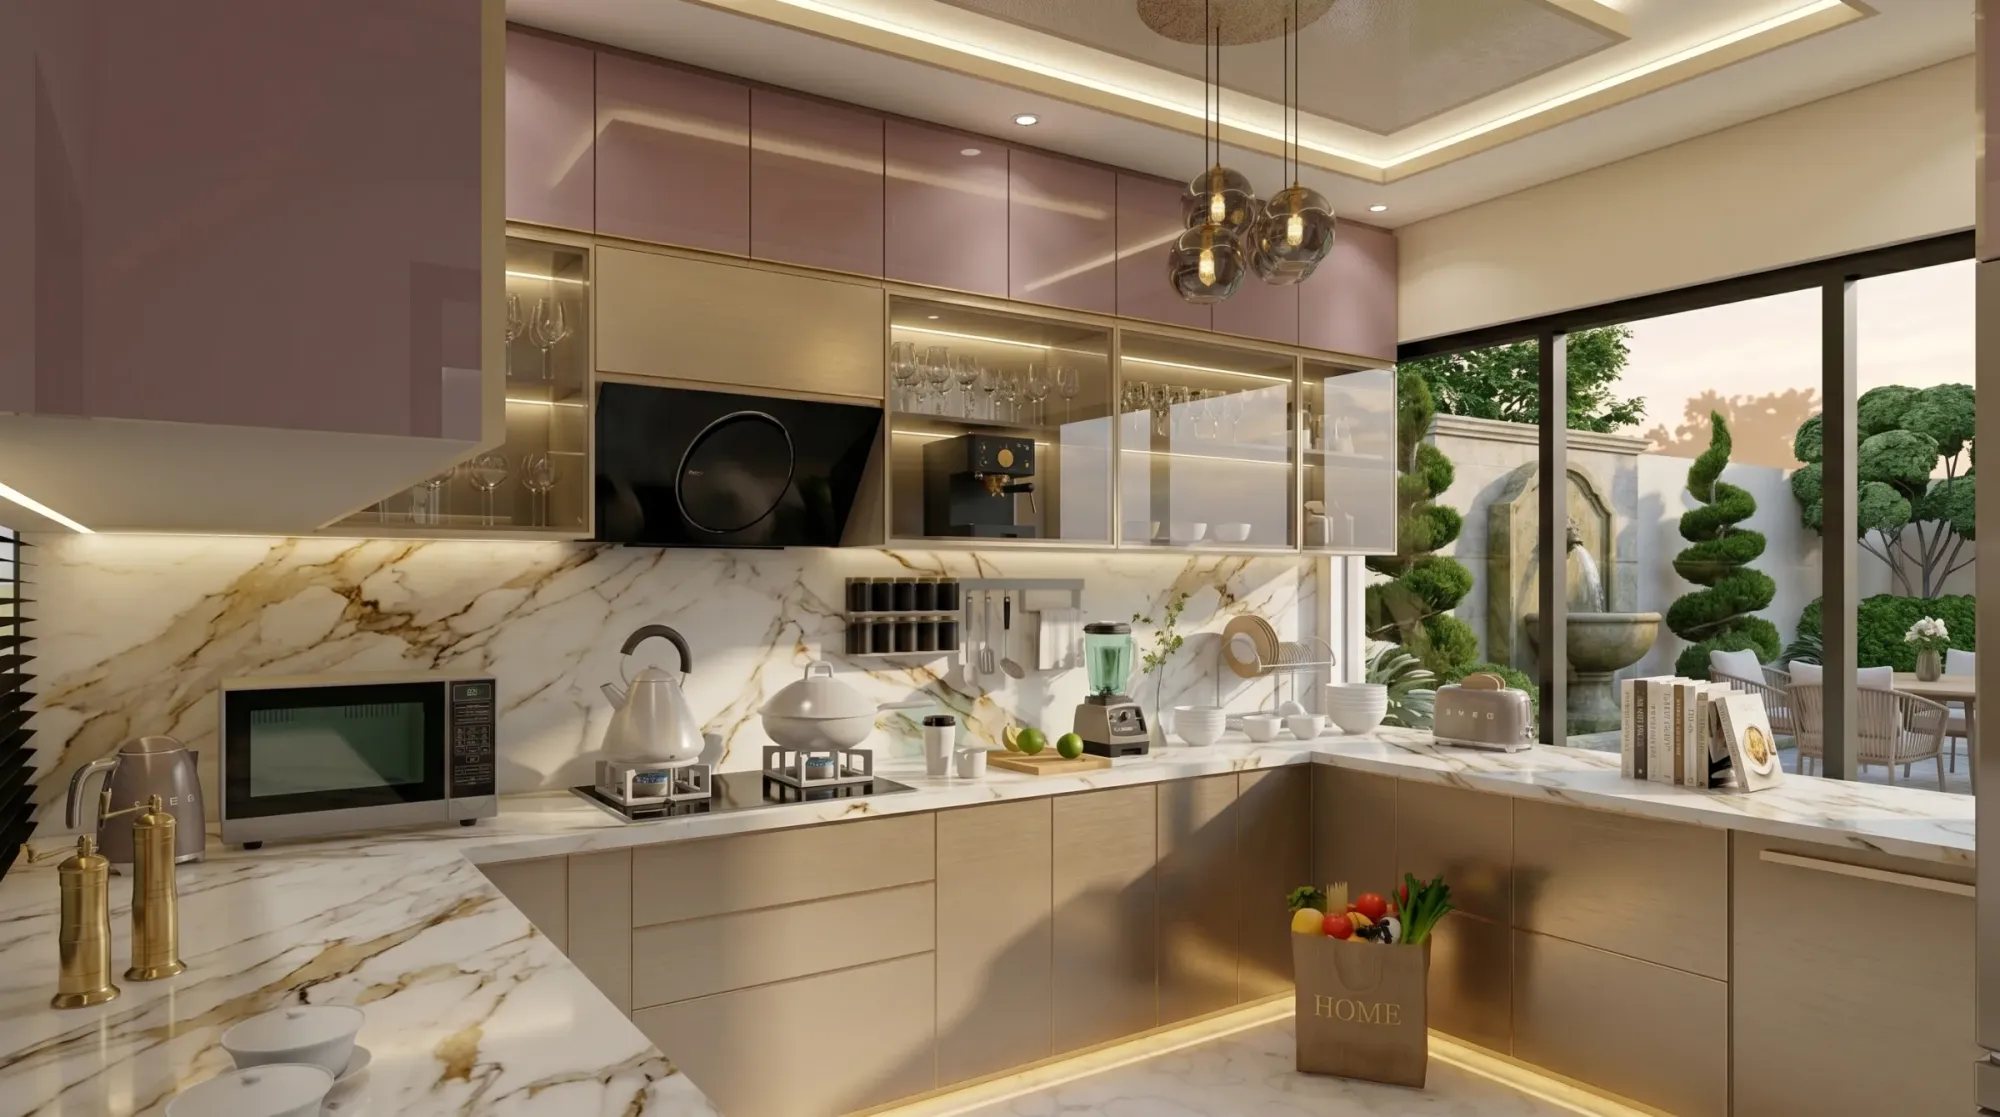
Most homeowners walk into a modular kitchen conversation talking about the island counter or the handle-less shutters they saw on Pinterest, and almost nobody starts with the elevation drawing, which is a little backwards because the elevation is the document that actually decides whether that dream kitchen fits your wall, your plumbing points, and your budget without three rounds of site corrections later.
An elevation, in plain terms, is the flat, to-scale view of each kitchen wall as if you're standing directly in front of it, showing every cabinet, every appliance cutout, every open shelf and every light fixture at its exact height and width. We draw these wall by wall at Studio Contour because a kitchen almost never behaves the same way on all four sides, the cooking wall has gas lines and exhaust ducting to route around, the sink wall has plumbing that can't move without real cost, and the tall unit wall is basically a storage puzzle that has nothing to do with either of those constraints.
This piece walks through how we actually plan a modular kitchen elevation wall by wall, covering the working wall, the tall/loft wall, colour and material choices by zone, lighting coordination with the ceiling plan, and roughly what each wall costs to build in Kolkata right now, so that by the end you can look at your own kitchen and know which wall to start the conversation with.
Why the Wall-by-Wall Approach Beats a Single Kitchen Sketch
The single biggest mistake we see in DIY kitchen plans, and honestly in a fair number of contractor-drawn ones too, is treating the kitchen as one continuous elevation instead of three or four distinct ones that each carry their own load. A galley kitchen with a cooking wall and a parallel storage wall needs at least two separate elevations because the depth of the counter, the height of the wall-mounted cabinets, and even the shutter finish can differ from one side to the other. An L-shaped or U-shaped kitchen, which is what most apartments in New Town and Salt Lake end up with given typical floor plates, needs three elevations minimum, and if there's a breakfast counter or a peninsula involved, that's a fourth.
Drawing each wall separately forces decisions that a single sketch lets you skip past, like exact chimney and hob positioning relative to the window, exact loft height against the false ceiling line, and exact skirting and dado tile heights that need to be finalised before the civil team starts, not after. This is also where floor area ratio discussions from the building sanction stage quietly show up again, because the usable kitchen footprint you were sanctioned for is what your elevations actually have to work within.
- 01Site measurement + utility mapping
- 02Wall-by-wall elevation drafting
- 03Material and finish lock per wall
- 04Working drawings for the carpenter/factory
- 05Site execution and QC
The Working Wall: Where the Kitchen Work Triangle Actually Lives
The working wall, meaning the run that holds your sink, hob, and primary counter, is the one wall where we genuinely obsess over the kitchen work triangle, because the distance between the sink, the stove, and the fridge determines how tired your back feels after cooking for twenty years, not just how the kitchen photographs on day one. For Kolkata apartments, where kitchen widths commonly run between 7 and 10 feet, we typically hold counter depth at 24 inches with a 600mm base cabinet module, and we push the hob at least 400mm from the corner so a standard-size kadai or handi doesn't clip the adjacent wall or window grille when it's on the flame.
Material-wise, the working wall counter is where we steer most clients toward engineered stone or a dense granite over natural marble, simply because marble stains with turmeric and oil far more readily than most people expect, and this is the one surface in the house that takes daily abuse. Cabinetry underneath is almost always exterior-grade plywood with a laminate or acrylic shutter, and the cabinetry carcass thickness we spec is 18mm minimum for base units carrying the weight of stone and appliances, going down to 12mm only for shutter-facing panels where load isn't a concern. If you're weighing plywood grades against your budget, this is worth reading up on before you commit, and our modular kitchen design team walks every client through sample boards before any factory order goes in.
The Tall Unit and Loft Wall: Storage That Doesn't Fight the Ceiling
The tall unit wall, which usually houses the fridge, a pantry pull-out or larder unit, and often a built-in oven or microwave, gets planned almost entirely around two things, appliance clearances and loft height against your false ceiling line. A refrigerator needs roughly 50mm of air gap on the sides and back to breathe properly, and if that clearance gets shaved down to save an inch of cabinet width, the compressor works harder and the fridge simply doesn't last as long, so we hold that line even when clients push back on it.
Loft cabinets above the tall unit, the ones that store the pressure cooker you use twice a year and the extra crockery, typically start at 2100mm from finished floor level and run up to the false ceiling, and this is exactly where the elevation drawing has to talk to the ceiling and lighting plan rather than being drawn in isolation. Our false ceiling and lighting design team and the kitchen team share the same elevation file for this reason, because a loft that's 50mm too tall against a beam nobody accounted for is a genuinely expensive site correction. If storage is the real pain point in your current kitchen, our custom furniture design service extends the same wall-by-wall logic into pull-out pantry units and appliance garages that a standard modular catalogue simply doesn't stock.
| Wall | Typical Contents | Key Planning Constraint | |
|---|---|---|---|
| Working Wall | Sink + hob + primary counter | Kitchen work triangle spacing | exhaust duct routing |
| Storage/Base Wall | Base cabinets + drawers | Module width vs wall length | cutlery drawer ergonomics |
| Tall Unit/Loft Wall | Fridge + pantry + loft | Appliance clearance | false ceiling coordination |
| Breakfast/Peninsula Wall | Counter seating + open shelving | Traffic clearance | electrical points for small appliances |
Colour, Finish and Material Palettes, Wall by Wall (Not Kitchen-Wide)
One thing we've moved away from over the years is picking a single shutter colour and material for the entire kitchen, because in practice the working wall and the tall unit wall carry very different visual weight and can genuinely support different finishes without looking disjointed, provided the palette is planned as one system from the start. A common combination we run in Kolkata homes right now is a matte laminate in a deep charcoal or bottle green on the base cabinets for grip and grime tolerance, paired with a lighter oak or walnut-toned laminate on the tall unit and loft to keep the eye moving upward rather than the whole room reading heavy.
For homes that lean brighter, we'll often flip that logic, keeping the loft and tall wall in a soft off-white or sage acrylic finish that reflects more light back into what's usually a north or east-facing kitchen window, while the working wall counter and backsplash carry the colour and texture, whether that's a textured tile, a stone-effect laminate, or in a few higher-budget projects actual book-matched marble or quartz as a statement backsplash behind the hob. The catch here is that whichever combination you land on, it needs to be decided before the elevation drawing goes final, not after, because shutter thickness and edge banding differ by finish type and that changes the exact cabinet dimensions on paper.
Lighting, Colour Temperature and the Ceiling Plan
A kitchen elevation that ignores lighting is an incomplete elevation, full stop, because the height at which you mount under-cabinet lighting, the position of the exhaust hood light, and the colour temperature you choose for each zone genuinely change how the finished space reads and how safely you can actually chop and cook in it. We generally spec under-cabinet LED strips at a neutral 4000K over the working wall counter because that range renders food colours accurately without the slightly clinical feel of a cooler 6000K, while ambient ceiling lighting through the false ceiling channel can run slightly warmer at 3000K to keep the overall room feeling like a home and not a commercial kitchen.
Daylighting matters here too, and it's a factor we map at the same site visit where we're taking elevation measurements, because a kitchen window that brings in strong afternoon light changes how a glossy versus matte finish will actually look at 4pm versus how it looked on the sample board under showroom lighting. This is also where ergonomics comes back into the picture on the lighting side specifically, since a poorly placed light fixture that throws your own shadow across the chopping board is a design failure even if the elevation itself is technically correct on paper.
Budget Bands: What Each Wall Actually Costs in Kolkata
Clients almost always ask for a single number for the whole kitchen, and while we'll give one, it's genuinely more useful to think in terms of what each wall costs, because that's where you can make trade-offs that protect the walls that matter most to you without gutting the ones that don't. At the entry to mid tier, expect laminate-finish base and wall cabinets with a granite or basic engineered stone counter to run in a certain band per running foot, moving up meaningfully once you introduce acrylic or PU finishes, soft-close hardware throughout, and a full-height tall unit with integrated appliances.
The working wall consistently absorbs the largest share of any kitchen budget because it's carrying the stone counter, the hob and chimney, and the highest-wear cabinetry, and that's usually the correct place for the money to go rather than spreading it evenly across all three walls. If you're planning a full flat renovation rather than just the kitchen, our guide on turnkey home interiors in New Town breaks down how kitchen budgets typically sit relative to the rest of a home's interior spend, and our piece on architect fees in Kolkata is worth a read if you're trying to separate design fees from execution cost in your head before you get quotes.
Getting the Elevation Right the First Time
At the end of the day, a modular kitchen elevation is only as good as the site information that goes into it, which is why we never draw one off a floor plan alone, we physically measure every wall, mark every plumbing and gas point, and note every beam or duct that a drawing alone would miss. For apartment kitchens specifically, where wall lengths are fixed and there's rarely room to renegotiate layout later, this upfront rigour is what separates a kitchen that fits perfectly from one that needed a last-minute filler panel to hide a 40mm gap nobody planned for. Our guide on apartment and flat interiors in New Town covers this same measure-first discipline across the rest of the home, and increasingly we're also running early layout options through AI-assisted furniture layout tools before committing pencil to the final elevation, purely as a way to test more configurations faster without adding site visits.
- Confirm gas line, exhaust duct and plumbing points before drafting
- Lock shutter material and finish per wall before dimensioning
- Cross-check loft height against the false ceiling drawing
- Verify appliance clearances (fridge, oven, dishwasher if any)
- Get counter and backsplash material samples approved on-site, not just in the showroom
For a sense of how this comes together in a real Kolkata home, our warm-wood modular kitchen project is a good example of the wall-by-wall approach in practice, with a distinctly different material story on the working wall versus the tall unit and loft, all tied together by one lighting and ceiling plan drawn alongside the elevations rather than after them.
We've been doing this since 2014 out of New Town, with 330+ buildings delivered across Kolkata and West Bengal, and modular kitchens are one of the categories where our clients see the value of wall-by-wall elevation planning fastest, basically because the difference between a kitchen that was measured properly and one that wasn't shows up the very first week you start using it. Most of our interior projects, kitchens included, run on an 8-12 week execution timeline once elevations and materials are locked, and if you're planning a kitchen anywhere in New Town or across the wider Kolkata and West Bengal region, our team is happy to walk your site and talk through what your specific walls need. Get in touch through our contact page and we'll set up a measurement visit.