








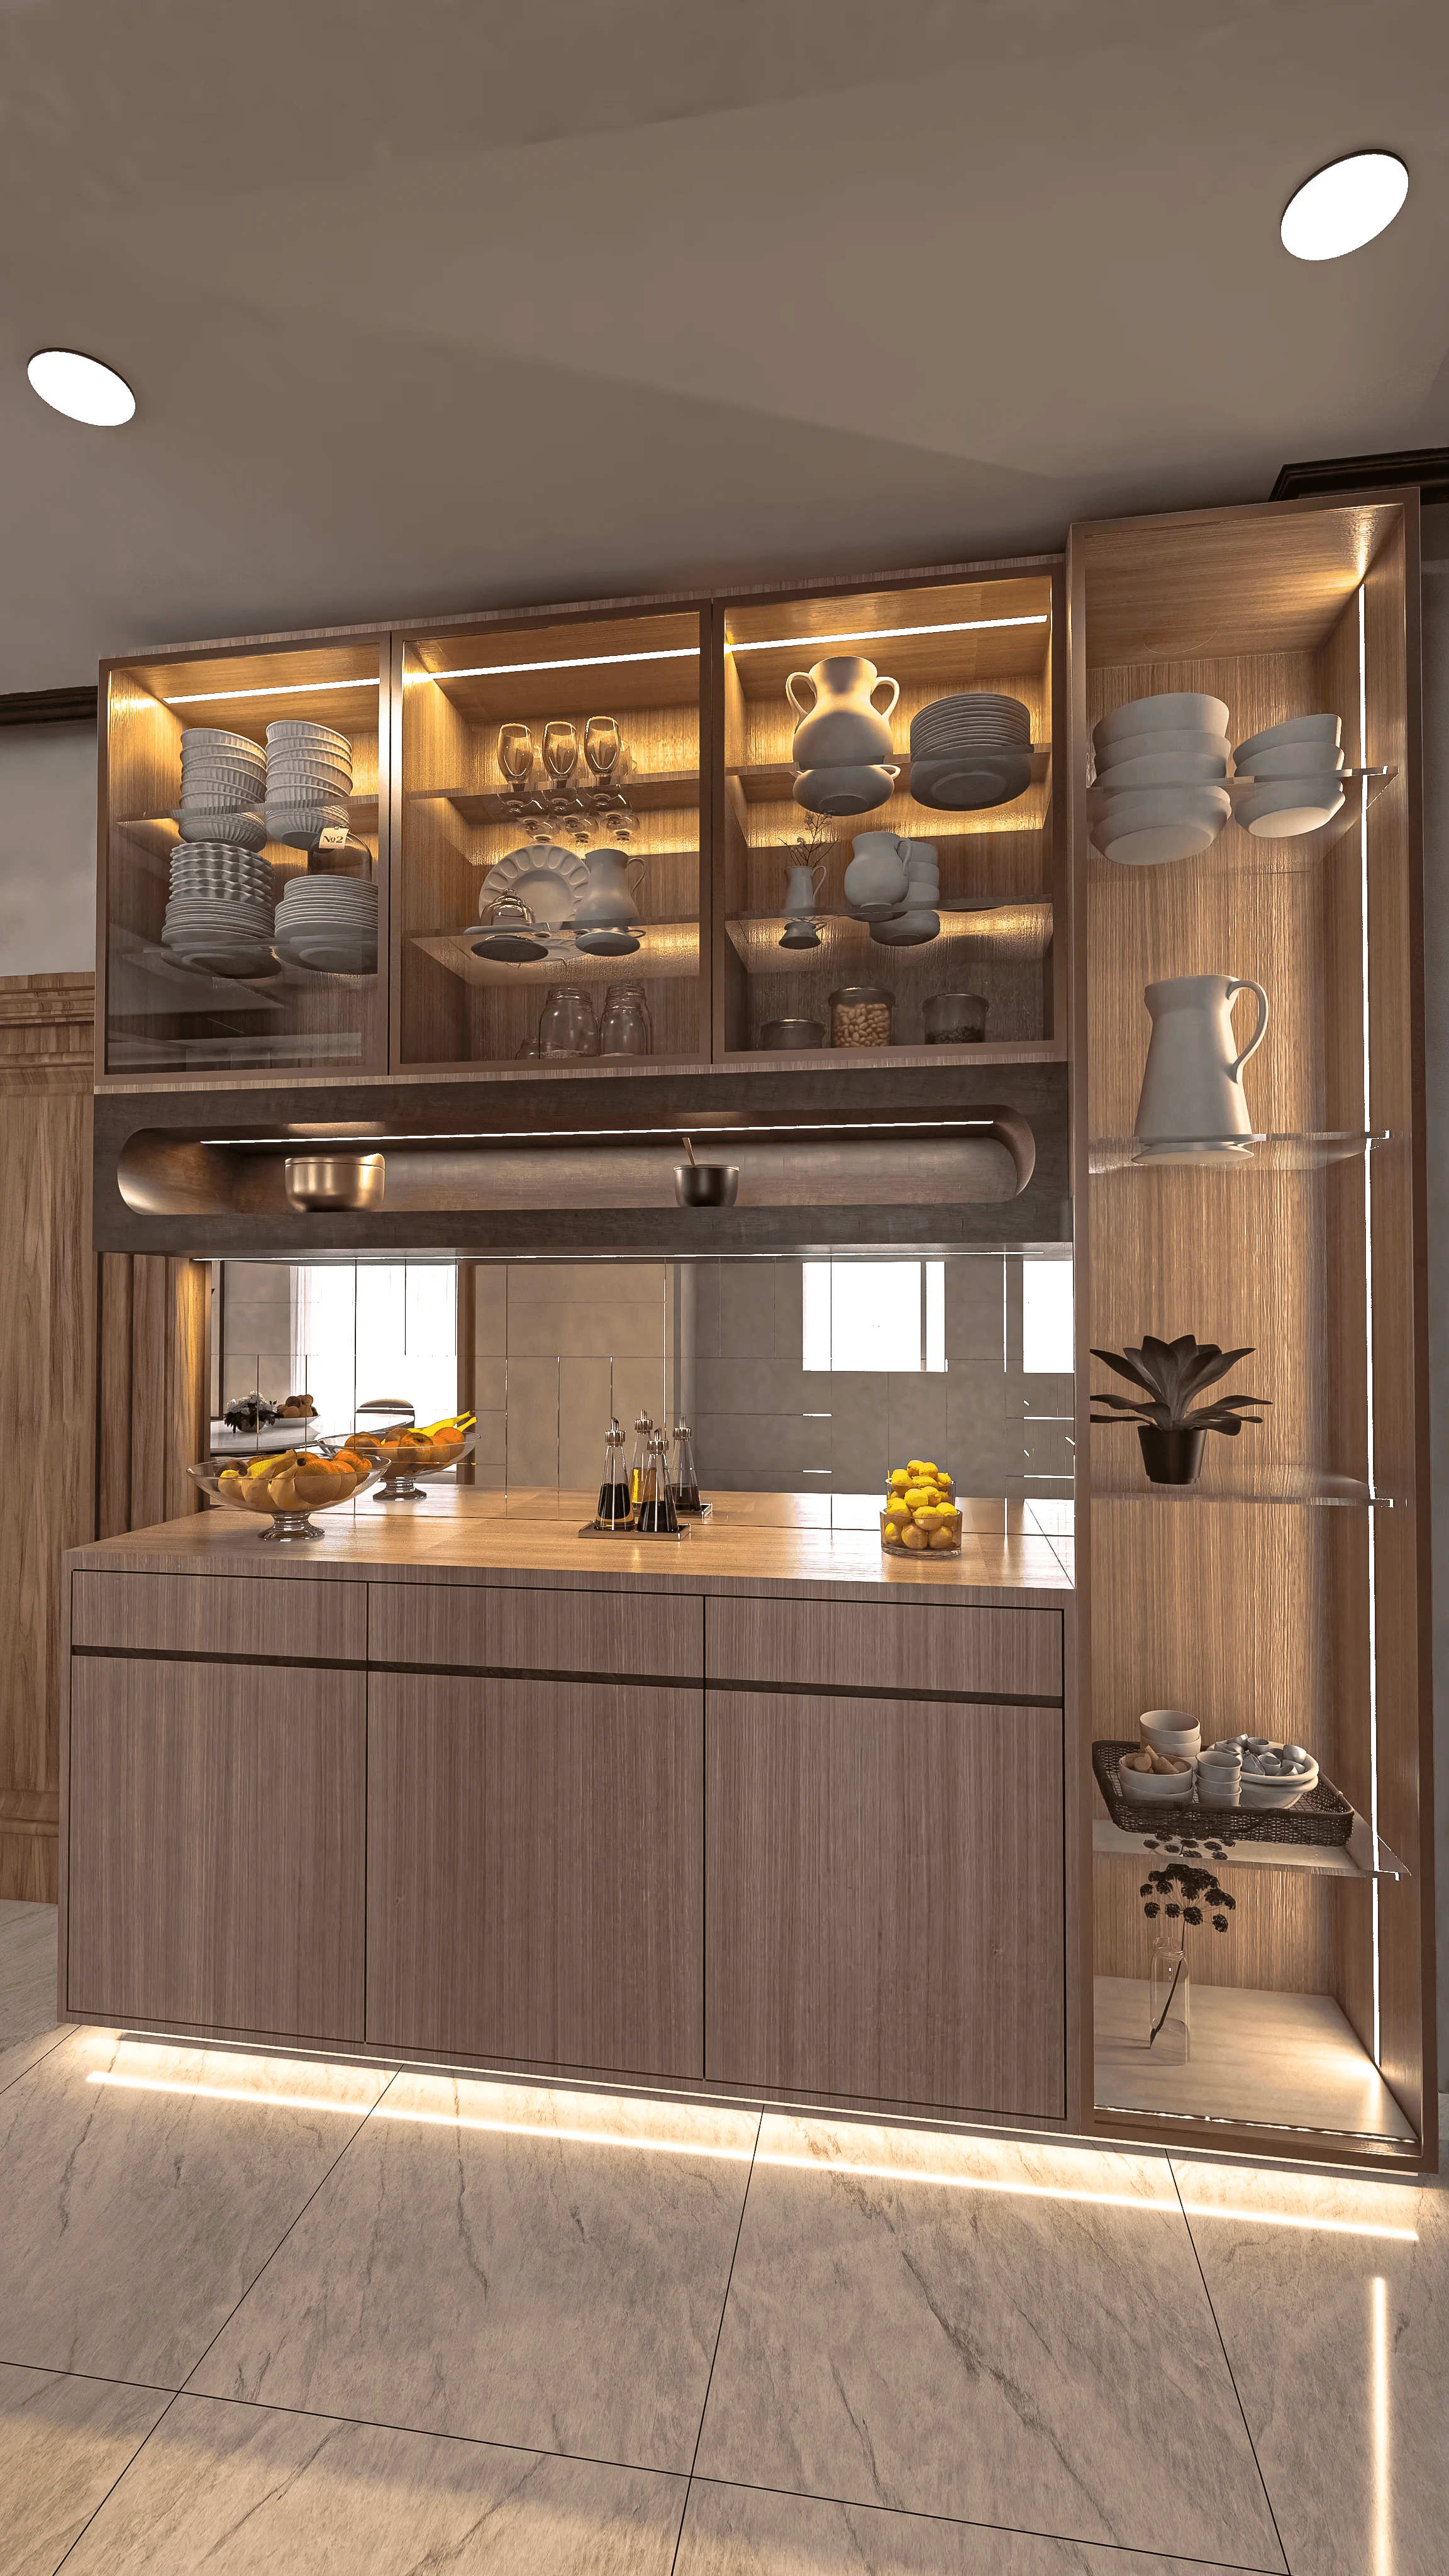
If you have moved into a G+3 residence or a high-rise flat in New Town over the last few years, chances are your living room came with a plain white wall facing the sofa and absolutely nothing else, because builders hand over shell flats and leave the television wall as an afterthought. We see this constantly across Action Area I, II and III, and it is usually the first thing clients want solved when they call us, because a bare wall with a wall-mounted TV and a tangle of wires hanging below it makes an otherwise well-built flat look unfinished.
This piece is specifically about TV unit design for New Town apartments, which is a slightly different brief than a TV unit in an independent bungalow or a Salt Lake cooperative flat, mainly because New Town living rooms tend to be compact, humidity here is genuinely harder on materials than most people assume, and a large share of our clients are first-time flat owners who want the unit to double as storage since apartment storage is almost always in short supply. We have designed and installed TV units in enough New Town homes now, out of the 330+ buildings we have delivered since 2014, that a few patterns hold up again and again, and this is basically our field notes on what actually works.
We will get into layout logic for small and mid-size living rooms, which materials genuinely survive Kolkata's monsoon and summer humidity versus which ones look good in the showroom and swell within two years, how to think about lighting and false ceiling coordination so the unit does not look like a slab stuck on a wall, where Vastu comes in if that matters to your family, and how to sequence this work if you are furnishing a flat from scratch.
Reading the Room Before You Design the Wall
The first mistake we see in New Town flats is a TV unit designed as if it exists in isolation, when the reality is most living-dining spaces here run somewhere between 140 and 220 square feet, and the TV wall sits directly across from a sofa that is often pushed against the opposite wall with barely 8 to 10 feet of viewing distance. At that distance a unit that is too tall or too deep visually swallows the room, so we typically keep the panel depth under 400mm for the storage sections and let the display area itself sit flush or nearly flush against the wall on a slim mount, rather than building out a deep entertainment console the way older independent houses used to.
The other thing that is specific to New Town is that most flats here are cross-ventilated with a balcony directly behind or adjacent to the living room, which means the TV wall is frequently an internal partition wall rather than an external one, and that changes what you can safely chase for cabling and what load the wall can actually take for a wall-mounted unit. We always check this on site before finalising a layout, because a plasterboard partition behaves very differently from a load-bearing RCC wall when it comes to bolting a floating console into it.
Materials That Actually Survive Kolkata's Humidity
This is the section where we get the most questions, because Kolkata's monsoon humidity plus the sealed, less-ventilated interiors that many high-rise flats have here is genuinely tougher on furniture than what the same design would face in a drier city. We have opened up client units that were done cheaply three years prior and seen the particleboard core swelling at the edges, the laminate lifting at the joints, and the back panel warping enough that the TV mount had shifted. So material choice for a TV unit in New Town is not a cosmetic decision, it is a durability decision.
Our default recommendation is BWP or BWR grade plywood for the core structure, particularly for any panel that sits near a window, an AC unit, or gets direct monsoon-season humidity through the balcony door, because plywood's layered cross-grain construction resists moisture-driven warping far better than particleboard or MDF ever will in this climate. For the front finish, we mix laminate for the bulk of the panel with a section of engineered stone or a stone-look panel as a feature backdrop, since engineered stone brings texture and a premium feel without the maintenance headache of natural stone, and it does not absorb moisture the way some porous natural stones do.
| Budget-Friendly Approach | Long-Term Durable Approach |
|---|---|
| Particleboard core, laminate finish | BWP plywood core, laminate + veneer finish |
| Lower upfront cost, edges swell within 2-3 years in humid rooms | Higher upfront cost, holds shape through multiple monsoons |
| Wall-mounted with no ply backing | Ply backing panel with proper cable chase |
| Wires visible, wall filler cracks over time | Clean finish, easy to service later |
| Generic hardware, no soft-close | Branded hinges and soft-close channels|Hinges sag and squeak within a year |
Hardware is the other place we see corners cut, and it shows up fastest, since soft-close hinges and drawer channels on a TV unit's storage sections take repeated daily use, and cheap hardware from unbranded suppliers tends to sag or squeak within a year in this humidity. For clients doing a full furnishing package with us through custom furniture design, we spec hardware the same way across the flat so a client is not fighting a sticky drawer six months after handover.
Lighting and the False Ceiling Have to Work Together
A TV unit rarely looks finished on its own, it looks finished when the wall lighting and the false ceiling above it are designed as one composition rather than as two separate contractor scopes, which is unfortunately how a lot of New Town flats end up being furnished when the ceiling work and the furniture work are handled by different vendors with no coordination between them. We plan a cove or a recessed channel light behind the panel at the design stage, before the false ceiling gutter is finalised, because retrofitting a backlight after the ceiling is closed almost always means visible conduit or a compromise on placement.
Warm white light in the 2700K to 3000K range behind the panel reads as cosy for evening television viewing, while a cooler colour temperature closer to 4000K works better if the same wall also needs to double as a study or work-from-home backdrop during video calls, which is a real consideration for a lot of our New Town clients given how many of them work remotely at least part of the week. We handle this coordination directly through our false ceiling and lighting design scope so the electrician, the ceiling contractor, and the furniture team are all working off the same layout from day one, rather than the client discovering a mismatch after everything is installed.
- Confirm wall type (RCC vs partition) before finalising a wall-mounted design
- Plan backlight wiring before the false ceiling gutter closes
- Choose BWP plywood core for any panel near a window or balcony door
- Pick colour temperature based on how the wall will actually be used
- Leave a serviceable cable chase, not a sealed one, for future TV upgrades
Storage Is the Real Job, Not Just Looks
Most New Town flats, whether it is a compact 2BHK in Action Area I or a larger apartment near Eco Park, are short on general storage, and the living room TV wall is one of the few large wall surfaces in the flat that can absorb this problem without eating into bedroom or kitchen space. We routinely design the unit with a mix of open display shelving for a few decorative pieces, closed cabinets at the base for set-top boxes, router, and files that families do not want visible, and at least one taller storage column that can take overflow from elsewhere in the flat, things like board games, extra linen, or documents that would otherwise clutter a bedroom wardrobe.
If you are furnishing an entire flat rather than just the living room, this is usually where we start the conversation, because the TV unit's storage capacity affects how much you actually need elsewhere in the home. Clients working with us on a full residential interior design engagement typically see us map storage across the whole flat first, then design the TV wall to carry its fair share of that load rather than treating it as a standalone display piece. For families who prefer to align major furniture placement and room layout with Vastu Shastra principles, we also factor that into which wall the unit sits on and how the seating faces it, which is a conversation worth having early since a Vastu-aligned layout is much easier to plan before construction than to retrofit after. If Vastu compliance matters for your build more broadly and not just the living room, our guide on Vastu and NKDA-compliant home design in New Town walks through how the two considerations intersect.
A related question we get constantly from New Town homeowners is whether to bring in an architect or an interior designer first when a flat is still being planned out, and honestly the answer depends on how much of the shell you are changing versus finishing, which we have laid out in detail in our piece on who to hire first for a New Town project. For clients who are still deciding on the room layout itself before any furniture conversation happens, that sequencing matters more than people expect.
Seeing It Before You Build It
One thing that has genuinely changed how clients approve TV unit designs over the last couple of years is walkthrough visualisation, because a flat 2D elevation drawing does not tell a client how the backlight will actually read at night or how the stone-finish panel will look against their existing sofa fabric. We run every TV unit design through 3D visualisation and rendering before fabrication starts, and for larger full-flat projects we increasingly pair that with a short AI-assisted walkthrough, a workflow we cover in more depth in our note on AI 3D walkthroughs for Kolkata clients. At the end of the day this step saves rework, because a client catching a scale issue on screen costs nothing, while catching it after the panel is cut costs both time and material.
For a sense of how this comes together in an actual New Town home, our recent work on a G4 apartment building in New Town shows the same principles at play across multiple units, adapted for each family's room proportions and storage needs rather than a single repeated template.
Getting the Sequencing Right
- 01Site measurement and wall assessment
- 02Layout and material selection with 3D rendering
- 03Cable and lighting coordination with ceiling work
- 04Fabrication and on-site installation
- 05Final styling and handover
The one piece of advice we would give any New Town homeowner before they call a local carpenter for a TV unit is this, get the wall type, the electrical routing, and the false ceiling plan settled before a single panel gets cut, because the biggest rework costs we see are almost always the result of a unit built before the ceiling and wiring scope was finalised. Interior work of this kind, from a single TV wall to a full flat, typically runs 8 to 12 weeks with us depending on scope, and that window is far more predictable when the sequencing above is followed rather than improvised room by room.
If you are in New Town, Salt Lake, or the wider Rajarhat corridor and thinking through a TV unit, a full living room, or a complete flat interior, we would rather look at your actual space than talk in generalities, so get in touch with our team and we can walk you through what a design would look like for your specific wall, budget, and timeline.