








Custom Wardrobe Designers in New Town Action Area II
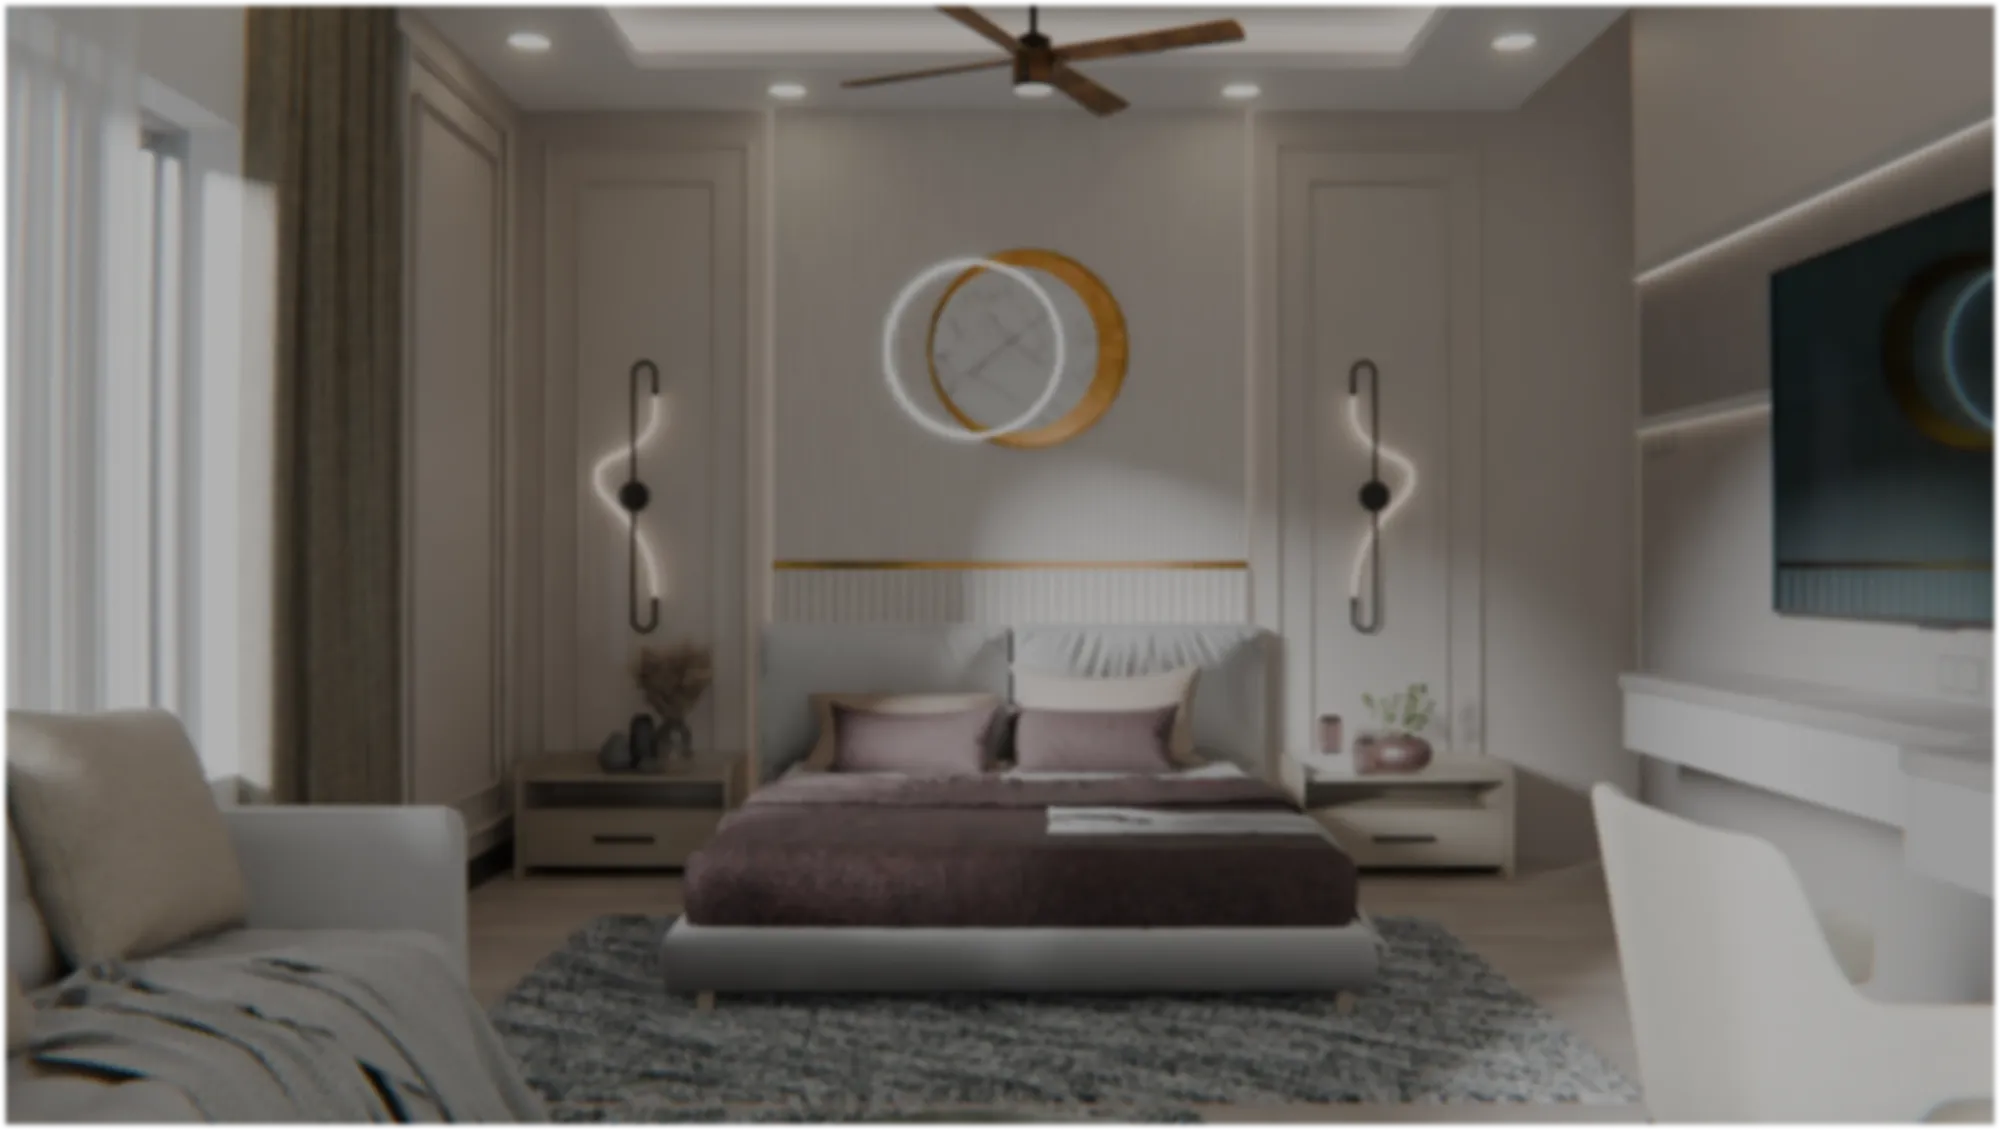
If you've walked through an Action Area II apartment during a humid August afternoon, right after the monsoon has properly set in, you already know the thing that surprises most first-time buyers here: wardrobes bought off a catalogue or built by a generic local carpenter start showing their age within a couple of years, doors swelling at the edges, shutters that don't sit flush anymore, that faint damp-plywood smell in the mornings. Action Area II sits on reclaimed low-lying land, the humidity runs higher here than in older parts of Kolkata for a good chunk of the year, and a wardrobe that isn't built with that in mind is basically a slow-motion problem.
This piece is about what actually goes into a wardrobe that holds up in this specific pocket of New Town, from Eco Park-facing towers to the mid-rise residential clusters closer to Akankha More, and why the design decisions (material grade, hardware, layout against the room's own quirks) matter more here than the finish colour everyone gets excited about first. We've been designing and building interiors across New Town and Salt Lake since 2014, delivered work across 330+ buildings in this belt, and wardrobes are one of those categories where we've genuinely seen more go wrong from rushed decisions than almost any other piece of furniture in a home.
So we'll walk through the climate factor, the process a proper custom wardrobe project should follow, the material choices that actually matter, and how to think about layout when your flat's bedroom proportions don't quite match what the wardrobe catalogue assumed.
Why Action Area II apartments need a different approach to wardrobes
Most of Action Area II was developed on land that was reclaimed and filled relatively recently compared to central Kolkata, and a lot of the residential stock here is high-rise with bedrooms that get less cross-ventilation than the older, breezier houses in south Kolkata. Combine that with Bengal's monsoon, which isn't a two-week event but a months-long stretch of ambient moisture in the air, and you get a wardrobe interior that's essentially living in a mild sauna for a third of the year. Ordinary commercial-grade plywood, the kind that gets pushed hard by carpenters working on volume, absorbs that moisture at the edges first, and edge-swelling is what makes shutters stop closing properly, hinges strain, and laminate start peeling at the corners.
The fix isn't complicated, it's just a decision that has to be made upfront rather than after the wardrobe is already installed and failing. We specify BWR or marine-grade plywood for anything going into a New Town or Salt Lake bedroom, we edge-band every exposed surface (including the internal shelves most people never think to ask about), and we keep a small ventilation gap built into the carcass design so trapped moisture has somewhere to go instead of sitting against the back panel. It costs a bit more upfront than the cheapest option a local contractor will quote, and it's the difference between a wardrobe that looks the same in year five and one that needs shutter replacement by year two.
What a proper custom wardrobe process actually looks like
A wardrobe isn't just a box with doors, it's cabinetry that has to work with your actual clothes, your actual storage habits, and the actual dimensions of your actual bedroom, which in a lot of Action Area II flats are tighter and more oddly proportioned than showroom mockups suggest. The projects that go smoothly follow roughly the same sequence, and the ones that go sideways usually skipped a step to save a week or two.
- 01Site measurement and storage audit
- 02Layout and material selection
- 033D visualization sign-off
- 04Fabrication and hardware sourcing
- 05On-site installation and finishing
The storage audit matters more than people expect going in. We ask what you actually own, whether you fold or hang most of your clothing, whether you need locker space for documents or jewellery, whether there's a child's wardrobe that needs to grow with them over the next five years. A lot of this gets skipped in a rushed carpentry job and it shows up later as drawers that are too shallow or hanging rods positioned at the wrong height for a shorter member of the household.
We also push every client through a 3D visualization sign-off before a single sheet of plywood gets cut, because a wardrobe that looks fine on paper can feel completely different once you're standing in front of it, especially in narrower Action Area II bedrooms where the wardrobe wall is also the wall you walk past every single day.
Materials and finishes worth paying for
Once the plywood grade is settled, the next decision that actually affects longevity is the shutter finish and the hardware, and this is where budgets tend to get squeezed in the wrong place. Laminate is durable and cost-effective for most bedrooms, acrylic gives a high-gloss look that shows fingerprints faster in a household with kids, and for wardrobes doubling as a dressing area feature wall, we sometimes bring in an engineered stone inlay for a vanity counter built into the unit. None of these are wrong choices on their own, the mistake is picking a finish before the humidity and usage question is settled.
| Finish type | Best for | Maintenance | |
|---|---|---|---|
| Laminate | High-traffic bedrooms and kids' rooms | Low | wipe clean |
| Acrylic gloss | Feature walls and dressing areas | Moderate | shows fingerprints |
| Veneer | Master bedrooms wanting a warmer look | Needs periodic conditioning |
Hardware is the other place we see corners cut. Soft-close hinges and telescopic channels cost more per unit than the basic hardware most local vendors default to, but they're also the parts that get used hundreds of times a month, and cheap hardware is usually the first thing to fail in a humid climate, well before the plywood itself shows any strain. We source hardware rated for the load and the environment rather than whatever's cheapest at the local fitting shop, because a wardrobe that gets used every single day for a decade needs mechanisms built for that, not for a showroom demo.
Sliding, hinged, or walk-in: matching the wardrobe to your unit type
This is where Action Area II's mix of unit sizes actually matters. Compact 2BHK flats near the mixed-use plots benefit from sliding shutters because they don't need swing clearance, which matters a lot when the bed is positioned close to the wardrobe wall. Larger duplex and independent-plot homes further into the Action Area II residential pockets often have room for a proper walk-in closet, which changes the whole conversation from "which finish" to "how do we zone hanging space, drawer units, and a full-length mirror without the room feeling like a corridor."
| Hinged wardrobe | Sliding wardrobe |
|---|---|
| Needs swing clearance in front | No swing clearance needed, good for tight layouts |
| Slightly lower cost per shutter | Track and roller hardware adds cost but saves floor space |
| Full visual access to interior when open | Interior partially visible per panel opened |
We approach this the same way we approach any residential interior design brief, by starting from how the room is actually used rather than defaulting to whatever configuration is fastest to quote. A wardrobe wall in a smaller Action Area II bedroom, done right with sliding shutters and a mirrored panel, can visually open up a room that would otherwise feel boxed in, and that's a layout call, not a material call.
- Confirm plywood grade in writing, not verbally
- Get a 3D visualization before fabrication starts
- Ask about hinge and channel hardware ratings specifically
- Check hanging rod height against your tallest garments
- Plan for at least one dedicated locker or document drawer
For anyone building or renovating in this belt, it's also worth thinking about Vastu Shastra placement early rather than after the wardrobe carcass is already fixed to the wall, since door orientation and mirror placement inside a wardrobe are both things clients ask us to revisit once and then wish they'd asked about on day one. Our Vastu-compliant design approach folds this into the layout stage rather than treating it as an afterthought.
It's also worth checking whether your building falls under the specific plan approval considerations that apply to Action Area II, since a lot of newer construction in this pocket mixes residential and commercial-adjacent plots, and that can quietly affect things like balcony-facing storage walls or window placement that a wardrobe design needs to work around. If you're still deciding whether to bring in an architect or an interior designer first for a fuller renovation, we've laid out how that decision usually plays out in this piece on who to hire first in New Town, and for anyone weighing storage layout software against a human eye for the room, this look at furniture layout tools is a useful sanity check before trusting an app's suggestion over an actual site visit.
Getting it right the first time
At the end of the day, a custom wardrobe is one of the few pieces of furniture in a New Town home that you interact with every single morning and every single night, so the gap between a rushed job and a properly specified one compounds fast, both in how it looks in five years and in how much you end up spending redoing it. We've built this exact judgment, on plywood grades, hardware, layout against real Action Area II floor plans, and finish selection, across 330+ buildings delivered since we started here in 2014, and interior projects like wardrobe and full-room fit-outs typically run 8 to 12 weeks from measurement to handover once the design is locked. You can see how this thinking plays out on an actual Action Area II project in our residence build in the area, and if you're working through similar decisions for a home in Action Area II or anywhere else in New Town, our team is glad to walk through your specific layout and storage needs. If you'd like to start that conversation, get in touch with us and we'll take it from there.