








New Town Action Area I, II and III: A Plot Owner's Design Guide
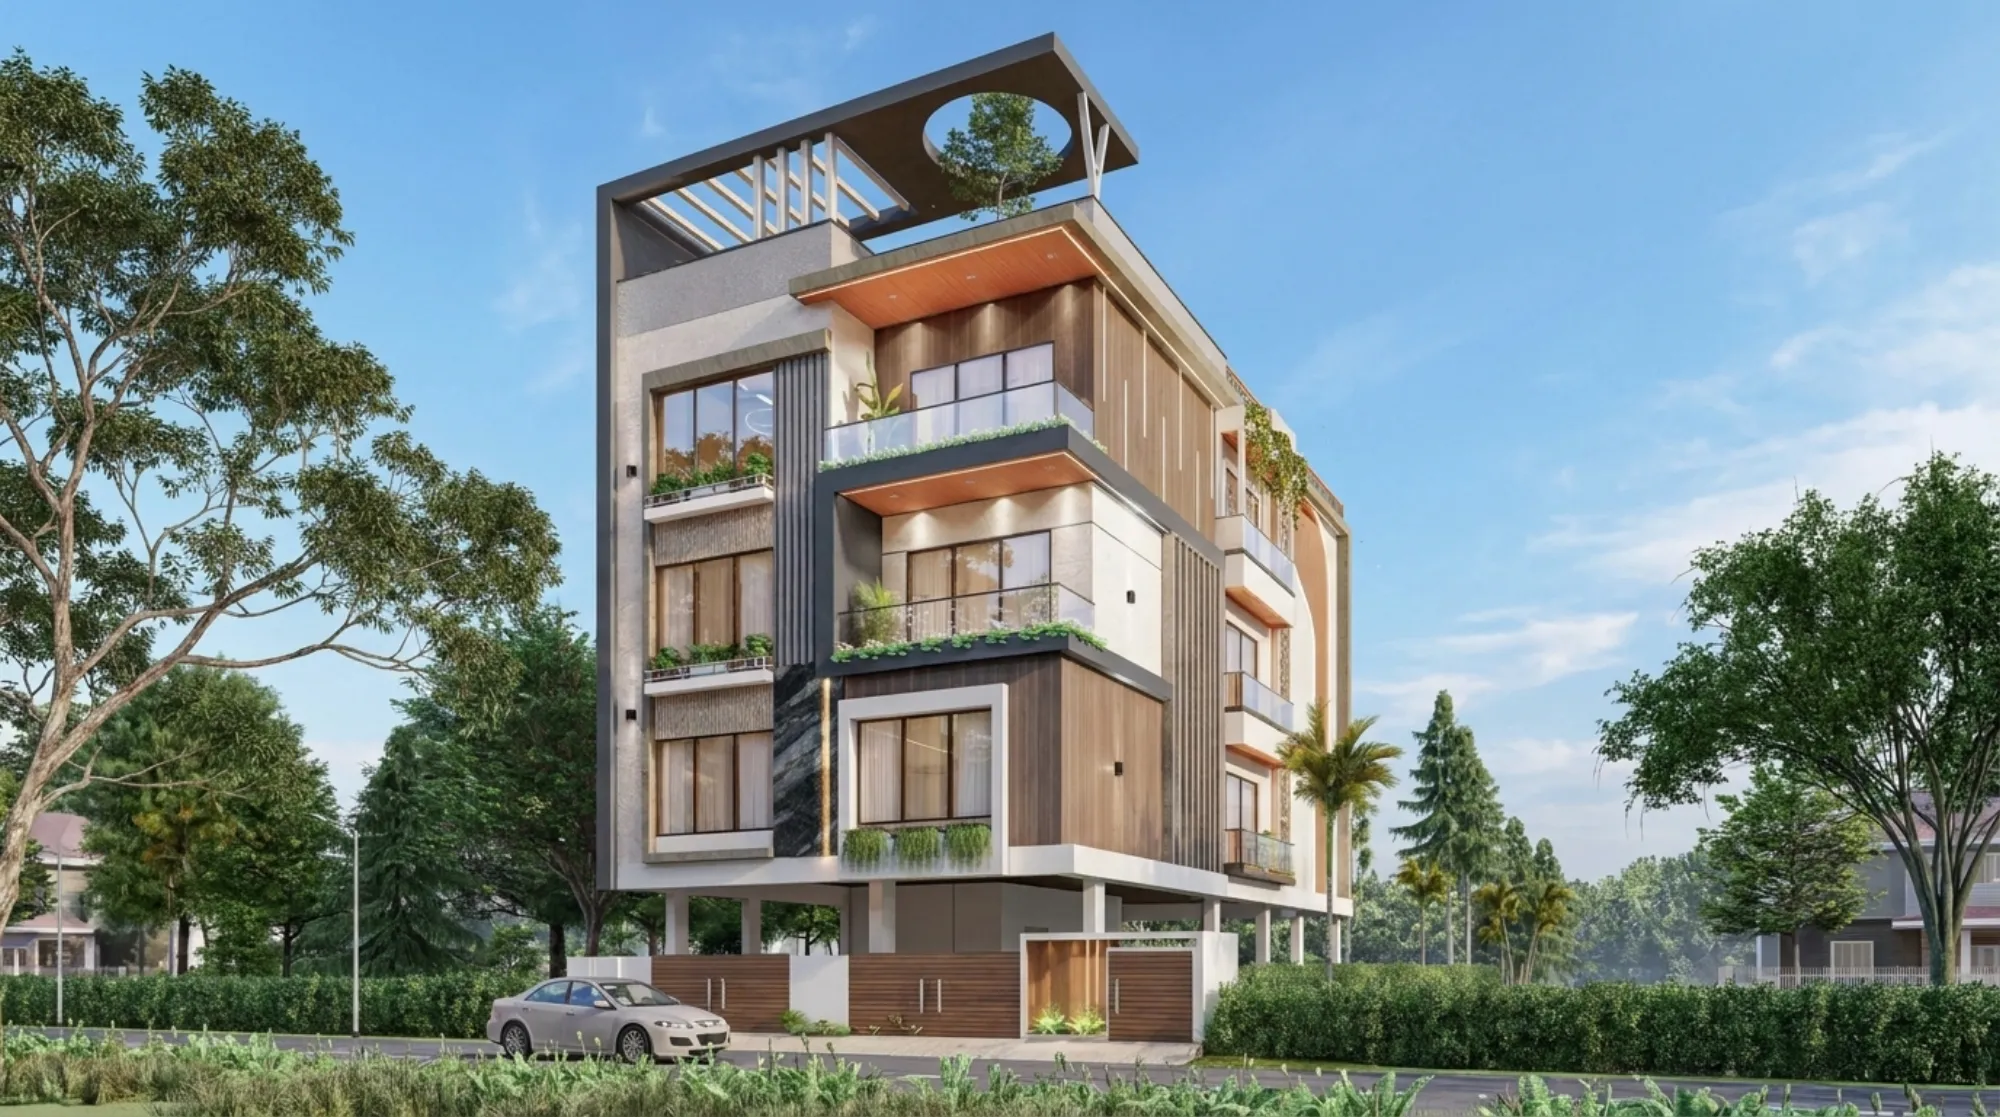
If you have just picked up a plot in New Town and you are still getting your head around the difference between Action Area I, Action Area II and Action Area III, you are not alone, because most first-time plot owners here assume it is just a zoning label on a map and nothing that actually touches their design brief. It does. The action area your plot sits in changes what you can build, how tall you can go, how much of the plot you can cover, and in some cases even what kind of building typology makes sense on that particular road, so treating them as interchangeable is how plans get sent back for revision.
We have been designing and building in New Town, Kolkata since 2014, and across 330+ buildings delivered here and in Salt Lake, the single most common question we get in a first consultation is some version of "my neighbour built a G+3 two roads away, why can't I do the same on my plot in Action Area III." The honest answer is usually that the neighbour is in a different action area, or a different block classification within the same action area, and the rules genuinely diverge. This piece walks through what actually differs between the three, what it means for your design brief from the shell down to the interiors, and where our studio typically steps in to keep a plot owner from losing months to a rejected plan.
Action Area I, II and III Are Not the Same Plot, Even When They Look Similar
Action Area I is the oldest and most built-out of the three, running along the stretch closer to Salt Lake and the Kolkata airport corridor, and because it developed first, its plots tend to have more established road infrastructure, more precedent for what NKDA will and won't approve, and in several pockets, the airport funnel zone height restriction that caps how tall you can build regardless of what your floor area ratio math suggests. Action Area II sits further out toward Newtown's institutional and commercial belt, and a good number of plots here carry mixed-use potential, meaning ground-floor commercial with residential above is often a live option worth exploring before you commit to a purely residential brief. Action Area III is the newest of the three, still filling in, with wider roads in places and fewer built precedents around it, which sounds like more freedom but in practice means fewer neighbouring reference points and a design team that actually has to read the rulebook rather than copy what got sanctioned next door.
The catch here is that these differences are not cosmetic. A basement that clears easily in one part of Action Area I can run into water table issues in a low-lying Action Area III pocket, and a ground-floor shop-cum-residence that is unremarkable in Action Area II can require a different sanction category in Action Area I. We have written more on how these three compare block by block in Action Area I vs II vs III: building rules, and if your plot leans toward a mixed residential-commercial use, Action Area II mixed-use plot rules is worth a read before you finalise a brief with any architect, us included.
| What tends to hold | What tends to differ |
|---|---|
| Action Area I | More built precedent, funnel zone height caps in places |
| Action Area II | Mixed-use potential on many plots, institutional neighbours |
| Action Area III | Wider newer plots, fewer sanctioned precedents nearby |
The Sanction Math Changes Depending on Where You Are
Every plot owner eventually runs into the same handful of numbers, ground coverage, floor area ratio, setback from the road and side boundaries, and maximum permissible height, and the honest thing to say here is that we are not going to quote you exact figures in an article like this, because NKDA revises these from time to time and the figure that was correct last year can be wrong today. What we will say is that the underlying logic is consistent across all three action areas but the specific caps are not, and a plan drawn against Action Area I norms and simply relabelled for an Action Area III plot is one of the more common reasons we see rejected drawings land on our desk for a second opinion. If you want the current process laid out properly for an Action Area I plot specifically, our guide on building sanction in Action Area 1 walks through it, and for Action Area II and III together, building rules for Action Area 2 and 3 covers where those two diverge from Action Area I and from each other.
For anyone building in the low-lying pockets that show up more often as you move toward Action Area III, the water table matters more than most first-time owners expect, and a basement or even a semi-sunk parking level that would be routine in a drier part of town needs its waterproofing and drainage detailing worked out at the structural stage, not patched in after handover. We cover this in more depth in basement construction and the water table in New Town, and it is genuinely one of the areas where an experienced local team earns its fee, because the fix after the fact costs a great deal more than the plan done right the first time.
What This Means Once You Move From Shell to Interiors
Here is where a lot of plot owners underestimate how much the action area still matters once construction is underway and the conversation shifts to interiors. A plot with a tighter setback envelope, which shows up more in the older Action Area I blocks, usually means narrower rooms and lower natural light penetration, so the interior brief has to lean harder on daylighting strategy, reflective finishes and a false ceiling plan that hides services without eating into an already tight floor-to-ceiling height. Our false ceiling and lighting design work on these older-plot homes tends to focus on layered lighting at a warmer colour temperature precisely because the room proportions don't forgive a flat, cool-toned wash the way a bigger Action Area III plot might.
On the newer, wider Action Area II and III plots, we get more room to actually design around orientation and natural ventilation, which is where a genuinely full residential architecture brief, rather than a shell handed off to interiors later, pays for itself, because the window placements and the room layout can be decided together instead of one constraining the other after the fact. A fair number of our New Town clients also want the home checked against Vastu Shastra principles alongside the sanctioned drawing, and our Vastu-compliant design work sits inside the same architectural process rather than as an afterthought bolted onto a finished plan, which is the only way it actually holds up once furniture and services go in. For a sense of how this plays out on an actual Action Area I plot, our Salasar residence project is a decent reference point for the kind of shell-to-interior continuity we mean.
- Confirm action area and block classification before finalising the brief
- Check ground coverage, FAR and setback against current NKDA norms
- Flag any funnel zone height restriction for your plot's location
- Assess water table risk if a basement or sunk level is planned
- Align interior lighting and layout brief with the shell design early
How the Process Actually Runs, Start to Handover
Plot owners who come to us early, meaning before the sanction drawing is even finalised, save themselves a genuine amount of back-and-forth later, because we can align the structural and interior thinking from day one instead of retrofitting an interior brief onto a shell that was designed in isolation. A typical architecture project here runs several months from concept through sanction and construction drawings, largely dictated by NKDA's own processing timelines and the scale of the build, and once the shell is ready or near-ready, interiors on a full home typically run 8 to 12 weeks depending on scope, which is the range you should hold anyone quoting you to, roughly.
- 01Plot and action area assessment
- 02Concept design and sanction drawings
- 03NKDA approval process
- 04Construction and site supervision
- 05Interior design and execution (8-12 weeks)
- 06Handover
Along the way, the two most common things plot owners underinvest in are the kitchen layout and the bathrooms, because both get treated as "we'll figure it out on site" items when they are actually the two spaces with the most fixed, unmovable constraints once plumbing is cast. A well-planned kitchen work triangle and durable cabinetry or engineered stone countertop choice, the kind of thing our modular kitchen design team works through with clients, is far cheaper to get right in the drawing than to rework after tiling is done, and the same logic holds for bathroom design where waterproofing and ventilation decisions made at the shell stage determine how the room performs for the next fifteen years, not just how it photographs on handover day.
Getting the Brief Right From the Start
At the end of the day, the plot you own in Action Area I, II or III is not just a location on a map, it is a set of specific, checkable rules that shape everything from your maximum buildable height down to how your kitchen counter gets specified, and the plot owners who get the smoothest outcomes are the ones who bring an experienced local team in before the concept drawing is locked rather than after a rejection letter arrives. We have been through this exact process across 330+ buildings in and around New Town and Salt Lake since 2014, we know which action area quirks actually bite and which ones are non-issues, and we would rather have that conversation with you at the plot-visit stage than at the revision stage. If you have a plot in hand, or even just a shortlist, get in touch with us and we will walk through what your specific action area and block mean for your brief before you spend a rupee on drawings that might need redoing.