








TV Unit Design and Installation for New Town Flats
If you have flat-hunted in New Town over the last few years, you already know the shape of the problem. The builder hands over a living-dining space with one loop of ceiling wiring, a blank wall where the television is supposed to go, and a set of assumptions about seating and sightlines that rarely match how your family actually sits in the evening. The TV unit ends up being the first big furniture decision a new owner makes, and also the one most people get wrong, because it looks like a simple carpentry job when it is really a small piece of architecture involving wall load, wiring routes, acoustics, ventilation for the AV equipment, and how the light from your west-facing windows hits the screen at 7pm.
We have designed and installed TV units in a very large share of the 330+ buildings we have delivered since 2014, across Action Area I, II and III, Eco Park-facing flats, and the older Salt Lake blocks, and the brief is almost never really "design me a TV unit." It is closer to "make this wall work, hide the mess, and don't let it feel like every other unit in the tower." This piece walks through what actually goes into a good TV unit for a New Town flat, the mistakes we see repeated across nearly identical floor plans, and what a realistic installation timeline and process looks like when you hire a studio to do it properly rather than picking something off a catalogue.
Why New Town flats need a different approach than a generic TV unit catalogue
Most New Town apartments, whether in a G+3 residence in Action Area II or a high-rise tower closer to Eco Park, share a few structural habits that shape what we can and can't do with a TV wall. RCC columns often sit closer to the living room's external wall than owners expect, which limits how deep a wall-mounted unit can run without hitting a beam drop. Ceiling heights in most 2BHK and 3BHK New Town flats hover in a band that makes a floor-to-ceiling unit look either cramped or oddly proportioned if the module heights aren't planned against the actual slab-to-slab measurement, not a generic 10 feet assumption. And because a large number of these flats face west or southwest to catch the breeze off the wetlands, afternoon glare on the screen is a real complaint we hear on site visits, not a theoretical one.
The other New Town-specific factor is humidity. Kolkata's monsoon pushes moisture into wall cavities for months at a stretch, and a TV unit built with the wrong grade of core material will show delamination at the edges within two years, especially on units that back onto an external wall. We spec differently for a unit against an internal partition versus one against an external wall for exactly this reason, and it is the kind of detail that never shows up in a catalogue photo but shows up very clearly in your unit's joinery five monsoons later.
What actually goes into the design before a single panel gets cut
A TV unit that works starts with measuring the room the way you actually use it, not the way the floor plan suggests you should. We look at seating distance to get the screen size and mounting height right, because a screen mounted too high forces a neck angle that gets uncomfortable within twenty minutes, and this is a straightforward ergonomics calculation most catalogue installers skip entirely. We look at where your router, set-top box, and any gaming console will sit, because concealed wiring only stays concealed if there is a real cable management channel built into the carcass, not just a hole drilled through the back panel after the fact.
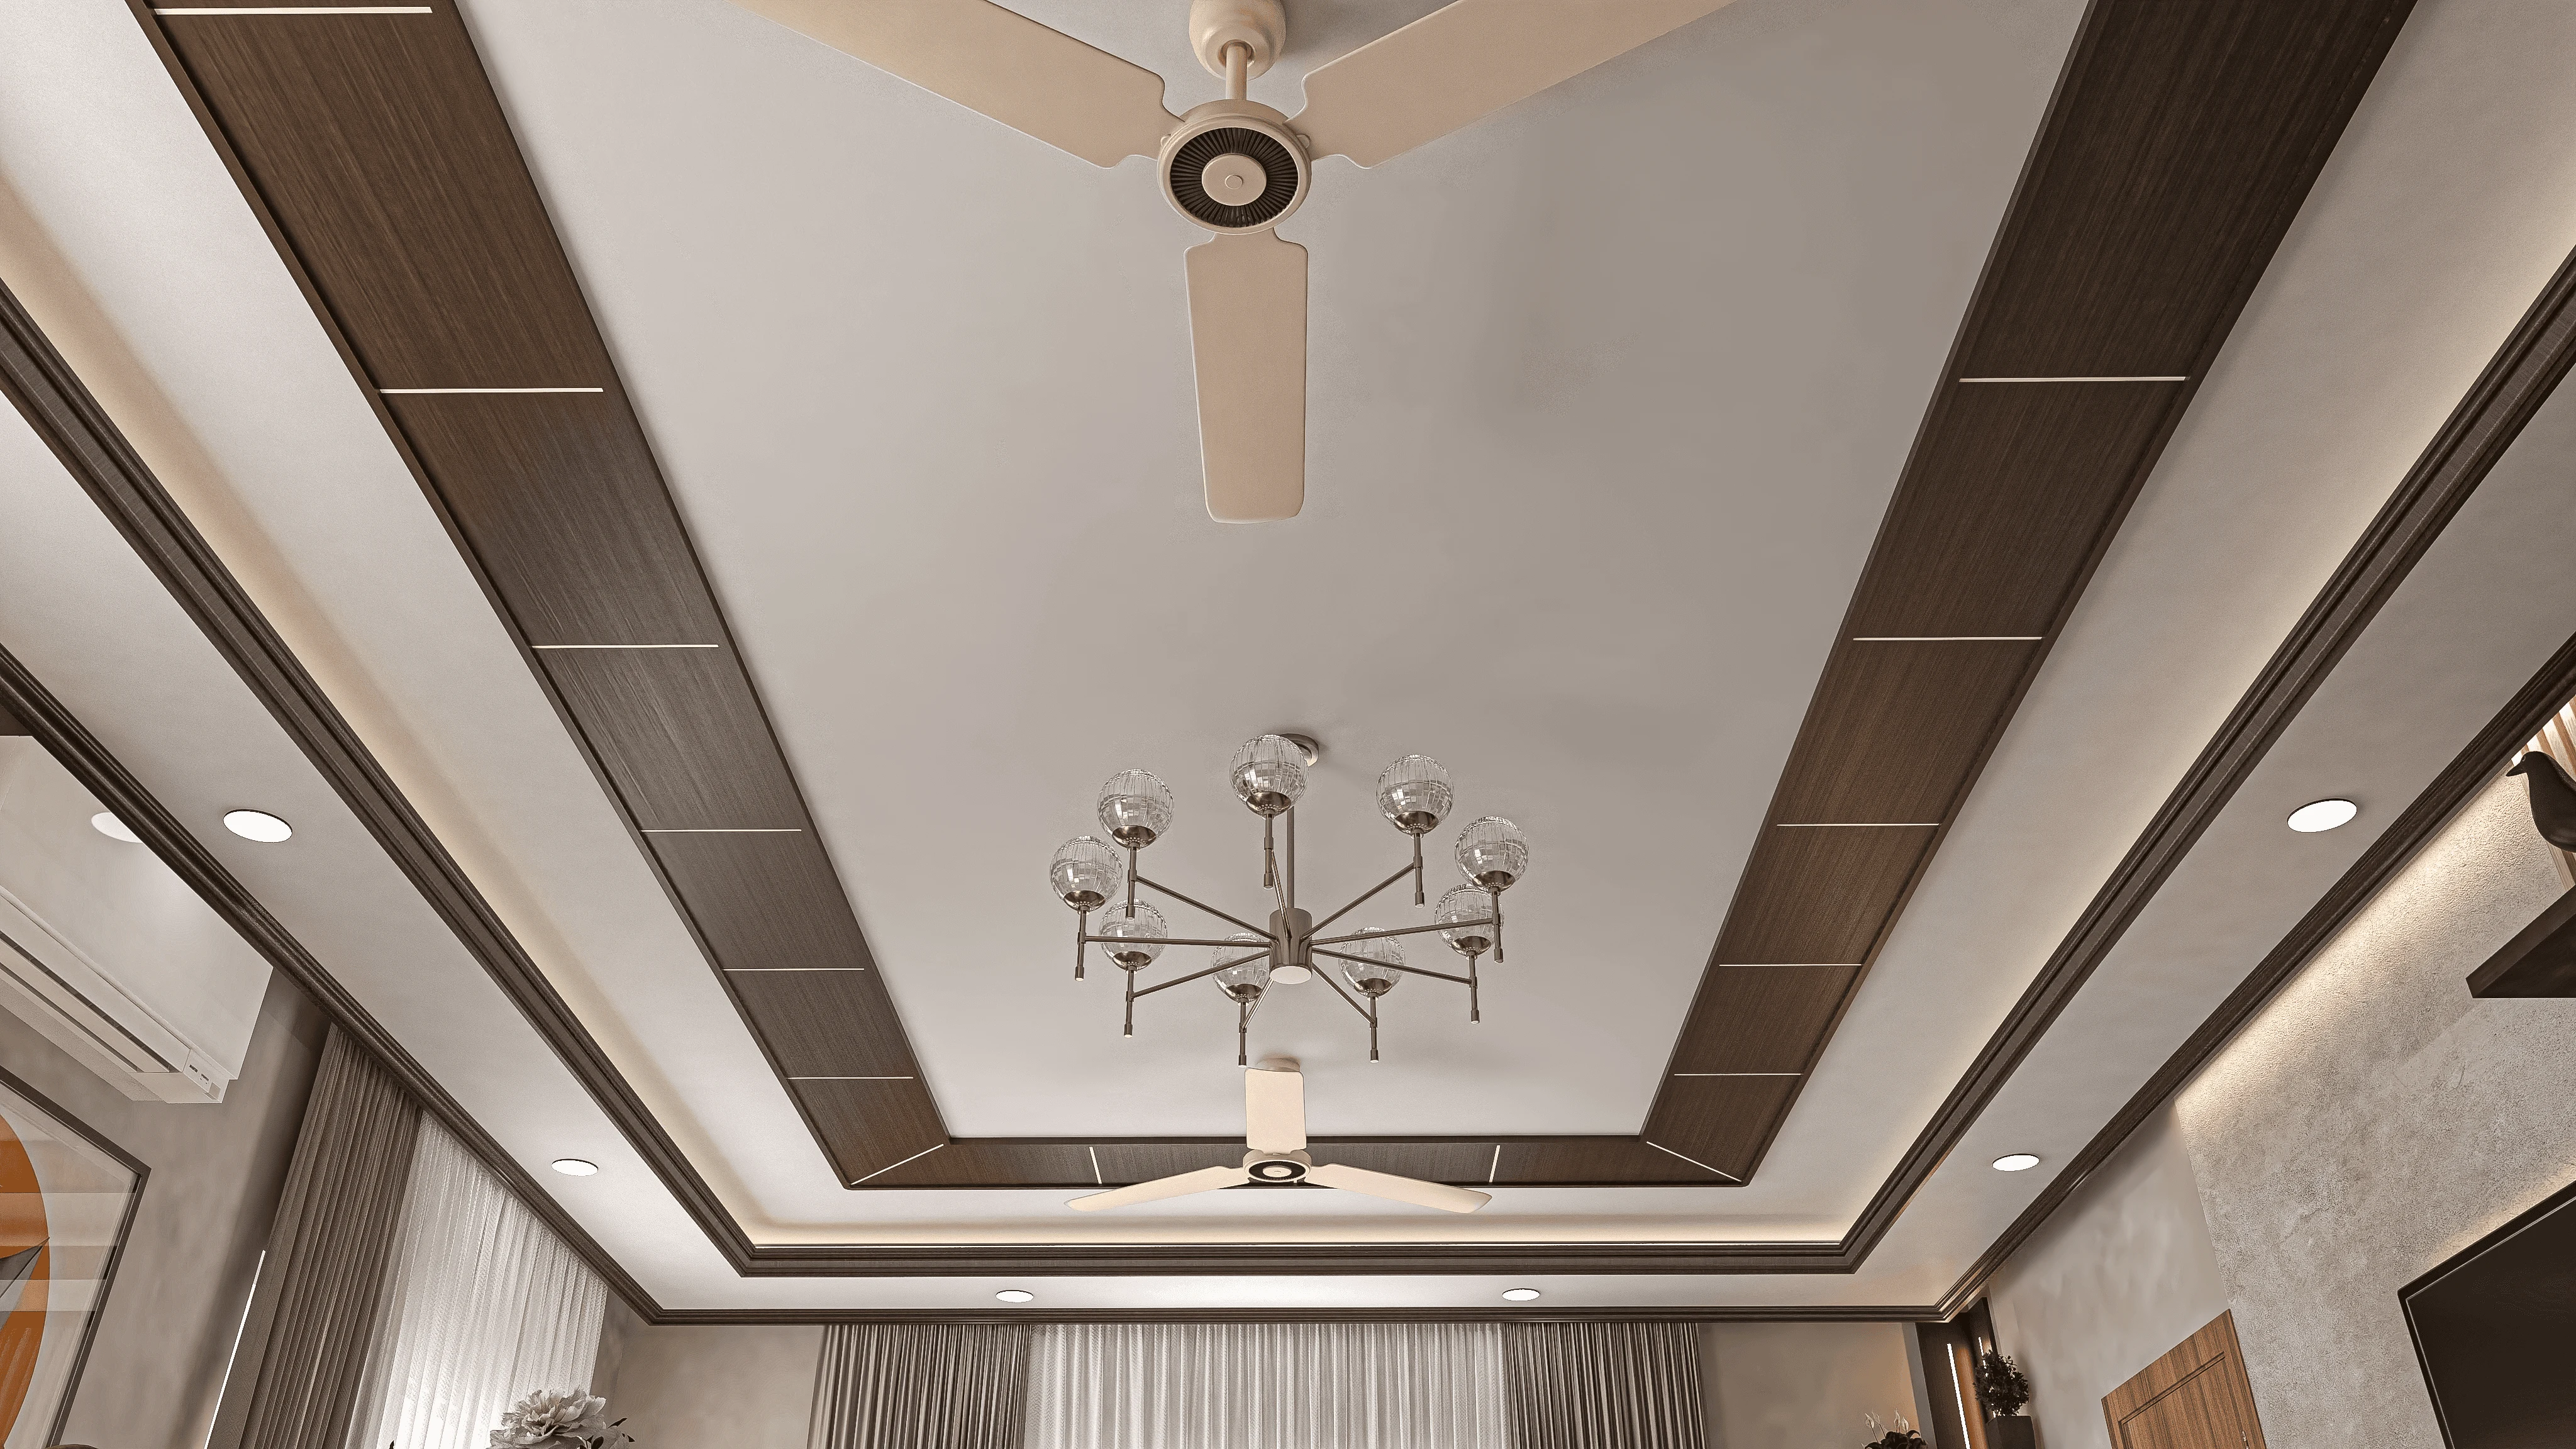
Lighting matters more than most owners expect going in. A cove of warm-white LED behind the unit, tuned to a colour temperature around 2700-3000K, does two things at once: it reduces eye strain from staring at a bright screen in a dark room, and it makes the unit read as a designed feature rather than a slab of storage. We usually coordinate this with the room's false ceiling plan so the cove light and the ceiling cove aren't fighting each other for attention, which is why we treat the TV wall and the ceiling design as one conversation rather than two separate vendor calls.
| Catalogue TV unit | Studio-designed TV unit |
|---|---|
| Fixed module sizes, cut to fit your wall as best they can | Measured against your actual slab height, column position and wiring |
| Laminate over unspecified core board | Board grade specified per wall type, external vs internal |
| Generic warm or cool LED strip | Colour temperature and cove depth matched to room use and screen glare |
| One-size cable routing, often an afterthought | Cable channel designed into the carcass before installation begins |
Materials that hold up to a Kolkata monsoon, not just a showroom demo
For the carcass, we default to BWR or marine-grade plywood on any TV unit backing an external wall, and standard commercial ply only where the wall is a fully internal partition with no moisture exposure. This isn't us upselling, it's the difference between a unit that survives eight monsoons and one that starts swelling at the joints in three. For the visible surface, laminate remains the most cost-efficient and durable choice for a New Town flat's humidity, while veneer gives a warmer, more textured look at a higher maintenance cost since it needs periodic polishing to stay resistant to moisture.
Where owners want a heavier, more premium feel, we sometimes bring in engineered stone as a cladding panel or backdrop strip behind the unit rather than as the primary carcass material, since it pairs well with a fluted or textured panel treatment and doesn't carry the same moisture risk as timber veneer. The hardware underneath, the hinges, the soft-close channels, the shutter mechanisms, is where budget TV units usually cut corners in ways owners only discover a year in when a shutter starts sagging. Good cabinetry hardware is not glamorous to spec, but it is the single biggest predictor of whether your unit still closes smoothly in year four.
- Confirm the core board grade for your specific wall type before finalising the quote
- Ask for the exact LED colour temperature spec, not just "warm white"
- Get cable routing shown in the drawing, not described verbally
- Check hinge and channel brand and warranty terms in writing
- Ask how glare from your window orientation was accounted for
Layout, glare and the small decisions that separate a good unit from a forgettable one
The layout question we get most often in New Town homes is whether to go with a floating wall-mounted unit or a floor-standing console with storage. Floating units read lighter and make a smaller living room feel less boxed in, which matters in a lot of New Town 2BHK layouts where the living-dining is one continuous space rather than two separate rooms. Floor-standing consoles earn their keep when a family genuinely needs the storage, for crockery overflow, files, or a child's toys, and in that case we design the storage to be proportioned against what actually needs to live there rather than defaulting to a full-width console because that's what the catalogue offered.
Glare deserves its own line item because it gets ignored so often. On a west-facing New Town flat, afternoon sun bouncing off a glossy TV unit finish or the screen itself can make evening viewing genuinely uncomfortable for a few months of the year. We address this with matte or low-sheen finishes on units that share a wall with a large window, and where the room allows it, we angle the seating slightly rather than fighting the sun with curtains alone. It is a small adjustment on paper that changes how the room actually feels to live in, and it's the kind of thing a 3D render catches before installation, not after, which is one reason we walk every TV wall design through 3D visualization and rendering before anything gets fabricated.
- 01Site measurement and wiring check
- 02Layout and material finalisation with 3D render sign-off
- 03Fabrication in our workshop, roughly 2-3 weeks
- 04On-site installation and wall mounting
- 05Final fit, lighting calibration and handover
How the install actually happens, and what a realistic timeline looks like
A TV unit rarely gets installed in isolation, and treating it as one is where a lot of DIY and catalogue-vendor projects go wrong, because the electrical routing, the false ceiling and lighting design, and the wall finish all need to be sequenced together. Our typical process starts with a site visit to confirm the exact wall dimensions, the wiring points, and whether the wall can structurally take a wall-mounted bracket load, since not every partition wall in a New Town flat is built the same. From there we move to layout and material finalisation, usually with a render so you can see the finish, the lighting, and the proportions before anything is cut.
Fabrication happens off-site in a controlled workshop environment, which matters for finish quality and for keeping site dust out of the joinery, and this typically runs two to three weeks depending on complexity and any custom furniture design elements being built alongside the unit. Installation itself, including wall mounting, cable concealment and lighting calibration, is usually a one to two day on-site job once fabrication is complete. If the TV unit is part of a broader living room or full-flat interior scope, we fold it into the same residential interior design timeline, which for a full New Town flat typically runs 8-12 weeks start to finish, a figure that has held steady across most of the flats we've delivered because the sequencing rarely changes even when the finishes do.
| Stage | Typical duration | What happens | ||
|---|---|---|---|---|
| Design and render | 1-2 weeks | Measurement | layout | material and lighting finalised with sign-off |
| Fabrication | 2-3 weeks | Workshop-built carcass | panels and lighting assembly | |
| Installation | 1-2 days | Wall mounting | wiring concealment | final lighting calibration |
Getting the room right beyond just the wall
A TV unit doesn't exist in isolation from the rest of the living room, and we usually find that owners who plan the TV wall in isolation end up needing to redo the seating layout, the rug, or the lighting a year later because nothing was coordinated up front. If you're weighing whether to bring in an architect or an interior designer first for a flat that still needs structural changes, our guide on who to hire first in New Town walks through that sequencing question in more detail. And if you're furnishing an apartment or flat interior from scratch rather than retrofitting one room, it's worth planning the TV wall as part of that full brief rather than as an isolated purchase, since the Vastu Shastra orientation preferences some New Town families ask us to respect also tend to influence where the television and seating naturally sit.
We've also started using AI-assisted layout tools during the concept stage on some projects, mainly to test multiple furniture arrangements against a room's actual dimensions faster than manual iteration allows, and if that interests you as a homeowner planning a full room, our piece on AI furniture layout optimization covers where that tooling genuinely helps and where it still needs a designer's judgment layered on top. One recent example of this full-room coordination is a project we completed in a residence in Action Area II, where the TV wall, the false ceiling cove, and the seating layout were all designed as a single scheme rather than three separate decisions.
At the end of the day, a TV unit is a small enough project that it's tempting to treat it as a quick furniture purchase, and specific enough to your building, your wall, and your window orientation that getting it wrong is easy to do without local knowledge. We've built enough of these across New Town and Salt Lake to know which wall types need marine-grade core board, which orientations need matte finishes over glossy ones, and how to sequence the wiring so the install day doesn't turn into a mess of exposed cable. If you're planning a TV unit on its own or as part of a fuller room redo, get in touch with us and we'll start with a site visit, not a catalogue.