








3D Interior Visualisation Services in New Town Kolkata
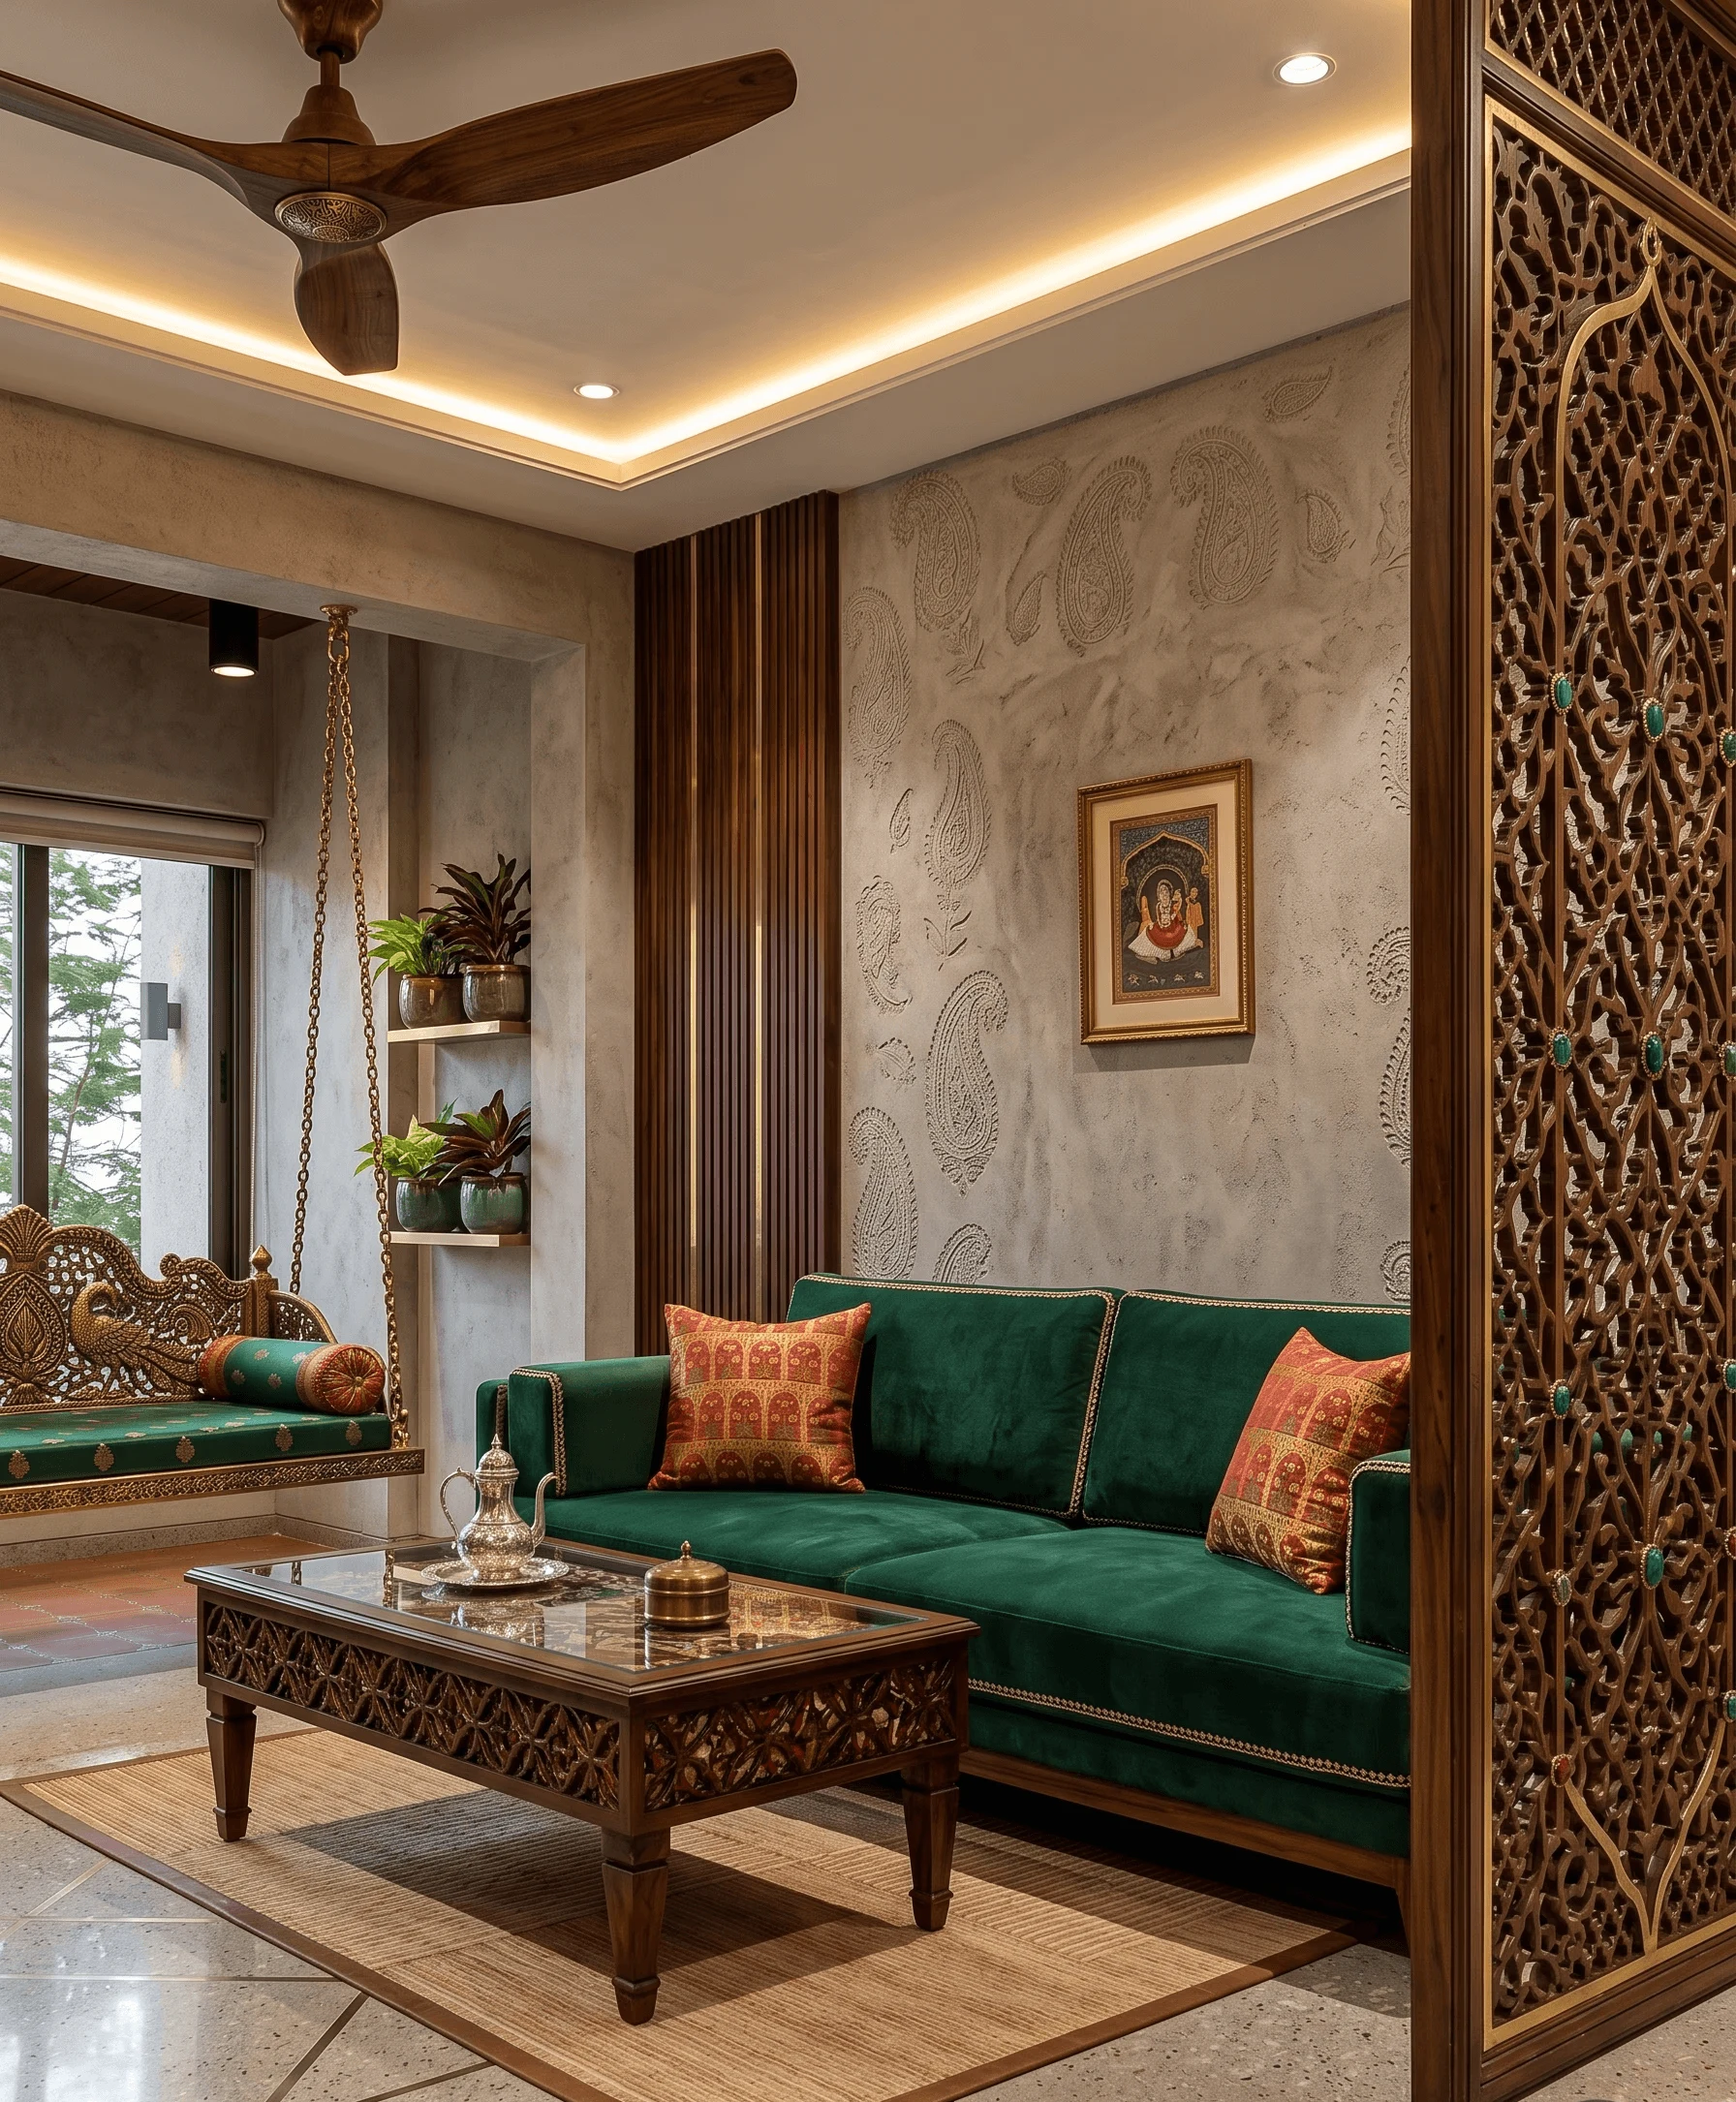
If you have ever stood in an empty flat in Action Area I with a floor plan in one hand and a paint chart in the other, trying to imagine whether the living room will feel cramped once the sofa, the console, and the false ceiling drops are all in, you already know the problem 3D visualisation solves. New Town is still a young city in construction terms, so a lot of what gets built here is being decided on paper, in WhatsApp threads with contractors, and in showroom visits where every tile looks better under showroom lighting than it will under your own. That gap between the plan and the lived reality is exactly where projects go wrong, and it is exactly where we spend most of our time at Studio Contour.
We have been designing and delivering buildings and interiors out of New Town since 2014, and across 330+ projects we have learned that clients rarely regret spending time on visualisation before construction starts, but they very often regret skipping it. This piece is about what 3D interior visualisation actually involves for a New Town home or office, how it fits into the broader design and construction timeline, what it genuinely catches before you spend money on tiles and carpentry, and why the specifics of this city, its light, its humidity, its plot geometry, matter more than generic renders would suggest.
Why New Town homes need visualisation that understands the city, not just the room
A render made in a generic studio elsewhere can show you a kitchen. It cannot show you how the afternoon sun coming off a wide Action Area II road will hit your west-facing balcony glazing, or how a G+3 residence on a narrower plot in Action Area III handles cross-ventilation once the neighbouring block goes up. New Town's plots, road widths, and orientation patterns are distinct from older Kolkata neighbourhoods, and a visualisation exercise that ignores this basically produces a pretty picture that has nothing to do with your actual site. When we build a 3D model of your interior, we are working from your real floor plan, your real window positions, and where relevant your real floor area ratio and setback constraints, so what you see on screen is what gets built, not a mood-board approximation.
This matters even more once you start thinking about daylighting, because New Town's wide roads and comparatively open plots mean more homes here get real daylight than in denser parts of the city, and a visualisation that models your actual window sizes and orientations lets you decide on curtain sheerness, false ceiling cove lighting, and furniture placement with that daylight in mind rather than fighting it later with extra fixtures.
How the visualisation process actually runs, start to finish
For an interior project, the sequence we follow is fairly consistent regardless of whether it is a Salt Lake cooperative flat being renovated or a fresh G+3 residence being handed over by the builder. We start with a measured survey and a briefing conversation about how you actually live, because a family that cooks daily and entertains rarely needs a very different residential interior design approach than one that eats out often and wants the kitchen closed off. From there we build a base 3D model, block in furniture and services, and only then move to materials, finishes, and lighting, because getting the massing and layout approved first saves you from re-doing expensive detail work later.
- 01Site survey and client briefing
- 02Base 3D model and layout blocking
- 03Material, finish, and lighting pass
- 04Client review and revision rounds
- 05Final walkthrough and handover to execution
A typical interior project at our scale runs 8-12 weeks from kickoff to execution-ready drawings, and visualisation sits inside that window rather than extending it, because catching a layout problem on screen in week two is far faster than catching it on site in week six. Architecture projects, where we are working with the building shell itself rather than just the interior fit-out, run over several months, and here residential architecture visualisation typically includes exterior massing, facade material studies, and how the building reads from the street, which matters a lot on New Town's wide boulevards where street presence is far more visible than in older, narrower lanes.
What a good 3D pass actually catches before you build
The honest answer to why visualisation is worth the time is that it surfaces problems that a 2D plan simply cannot show you. We have caught kitchen islands that looked fine on paper but blocked the door swing once modelled in 3D, TV walls positioned against the exact wall where a beam drop would have clipped the screen, and wardrobe shutters that would have collided with a door on opening. None of these show up on a flat floor plan, and all of them are expensive to fix once carpentry is underway.
- Furniture clearances and door swings against real dimensions, not assumed ones
- Beam and duct drops checked against planned false ceiling heights
- Sightlines from the main seating area to the kitchen, entrance, and TV wall
- Lighting colour temperature consistency across cove, task, and accent fixtures
- Material and finish combinations viewed together, not in isolation swatches
Lighting deserves its own mention, because it is the single biggest gap between a render and a badly lit finished room. We model colour temperature across every fixture type in a space, so a client can see whether their warm-white cove lighting will clash with cooler task lighting over the kitchen counter before either gets installed, rather than discovering the mismatch after the electrician has already run the wiring. This is also where a proper modular kitchen design visualisation earns its keep, because kitchen lighting has to serve both task work and ambience, and getting that balance wrong is one of the more common regrets we hear about from clients who skipped this step with a previous contractor.
| Skipping 3D visualisation | Visualising before execution |
|---|---|
| Layout issues found during carpentry, costly rework | Layout issues found on screen, free to fix |
| Lighting decided on-site by the electrician's judgement | Lighting colour temperature and placement pre-approved |
| Material combinations judged from small swatches | Materials seen together at room scale, in context |
| Client sees the finished result for the first time at handover | Client walks through and approves before a single tile is laid |
Interiors, architecture, and where visualisation fits for each
It is worth being clear that visualisation means slightly different things depending on the scope. For a pure interior fit-out, we are visualising within an existing shell, which is the more common brief for flats in Sector I through V and cooperative buildings across Salt Lake. For a ground-up build, visualisation covers the building envelope too, tying into decisions the 3D visualization rendering work does jointly with structural and facade planning. Either way, we increasingly use AI-assisted rendering to speed up the iteration cycle without cutting corners on accuracy, which is a shift we wrote about in more detail in our piece on AI-generated 3D walkthroughs for Kolkata clients.
| Project type | |||||
|---|---|---|---|---|---|
| Typical visualisation scope | |||||
| Typical timeline | |||||
| Interior fit-out (flat or cooperative unit) | Furniture | lighting | finishes | and walkthrough | 8-12 weeks |
| Full residence build | Exterior massing plus full interior | Several months | |||
| Commercial or office fit-out | Layout | branding zones | lighting | and materials | Varies by scale |
One question we get often from first-time clients, especially those weighing whether to bring in an architect or an interior designer first for a New Town project, is whether they even need a full visualisation pass for a smaller renovation. Our answer is usually yes, scaled to the job, because the cost of a wrong material call or a lighting mismatch is proportionally just as painful in a smaller flat as in a larger house. We covered this decision in more depth in who to hire first for a New Town project, and it is a conversation worth having early rather than after the first quote comes in.
We also lean on structured mood-boarding before we ever open a 3D file, because a client who has already sorted their material and colour preferences into a clear board gives us a much faster, more accurate first visualisation pass than one who is deciding tile colours in the same meeting as furniture layout. Our approach to that briefing stage is detailed in AI-assisted mood boards for client briefing, and it consistently shortens the number of revision rounds a project needs.
What happens after the client sign-off, when the render becomes a vendor brief
Most conversations about 3D visualisation stop at the point where the client says yes, the layout looks right, the lighting looks right, let's build it, and honestly that is where most articles on this topic stop too. But the render is not the end product for us, it is the starting document for every vendor who touches the project after that meeting, and the gap between a pretty picture and a usable brief is exactly where a lot of New Town projects lose weeks they did not budget for. A carpenter working off a floor plan alone has to guess at panel dimensions, edge finishes, and hardware placement, and when three different vendors are each guessing slightly differently, for instance the modular kitchen fabricator, the false ceiling contractor, and the electrician, you end up with mismatches that only surface once everyone is on site at the same time, which is the worst possible moment to discover them.
So once a visualisation is approved, we do not just hand over renders, we extract a material and dimension schedule from the same 3D model, which means the wardrobe shutter widths quoted to your carpenter, the tile counts given to your mason, and the fixture list handed to your electrician all trace back to one consistent source rather than three separate interpretations of the same floor plan. This is basically the same discipline architects call a bill of quantities, just built off a 3D model instead of a flat drawing, and the catch here is that clients rarely ask for it upfront because they assume the render itself is enough to hand a contractor. It is not, a render tells a vendor what the finished room should look like, it does not tell them the exact laminate code, the exact hinge type, or the exact linear footage of skirting they need to quote against, and without that specificity every vendor quote you collect ends up built on slightly different assumptions, which is precisely why two contractors can walk the same flat and come back with numbers that differ by twenty or thirty percent.
- Material and finish codes traced to a single approved 3D model, not verbal descriptions
- Dimension schedule for carpentry, extracted directly from the model, not re-measured on site
- Fixture and fitting list matched to the lighting and electrical plan shown in the render
- One shared reference document across carpenter, electrician, and mason, so quotes are comparable
This matters more in New Town specifically because a large share of projects here are being handled by clients coordinating multiple independent vendors themselves rather than going through a single turnkey contractor, and in that setup the 3D model is often the only shared reference point everyone is actually working from. We have sat in enough site meetings where a contractor points at a WhatsApp screenshot of a render and asks what shade of grey that actually is in a paint code, to know that a visualisation which cannot be translated into vendor-usable specifications is only doing half its job. So when we hand over a completed 3D pass, the package includes the walkthrough for approval purposes and a separate specification sheet built for procurement, material codes, quantities, and fixture references that a vendor can quote against without a follow-up call to us for clarification.
At the end of the day, this is the difference between visualisation as a sales tool and visualisation as a working document, and it is worth asking any studio you are evaluating which one they are actually giving you. A render that only exists to get your sign-off and then gets set aside once construction starts has done maybe half the work it could have, whereas one that carries through into your carpenter's cutting list and your electrician's fixture order is still saving you money and arguments months after the initial walkthrough, right up until the day the last skirting board goes in.
Seeing it before you build it, in a city still being built
There is something specific to New Town about all this. Because so much of the city is being built out in real time, right now, you are rarely renovating a fifty-year-old house with fixed constraints, you are usually deciding what a fresh space becomes from a largely blank shell, whether that is a new residence in Action Area II or a cooperative unit in Salt Lake getting a full interior overhaul. That freedom is an advantage, but it also means the decisions carry more weight, because there is less precedent on the ground to fall back on and more that rides on getting the layout, the lighting, and the material palette right the first time. A recent project of ours, a G4 residence in Action Area II, is a fair example of how a full visualisation pass across both the shell and the interior lets a client sign off with confidence before a single wall goes up.
At the end of the day, the point of 3D visualisation is not the render itself, it is the confidence it gives you to commit real money to tiles, carpentry, and finishes knowing what you are getting. If you are planning an interior fit-out, a renovation, or a ground-up build anywhere in New Town or Salt Lake and want to see your space before it exists, get in touch with us and we will walk you through how a visualisation-first process would look for your specific plot and brief.