








CCTV and Intercom Planning for an Independent House in Kolkata
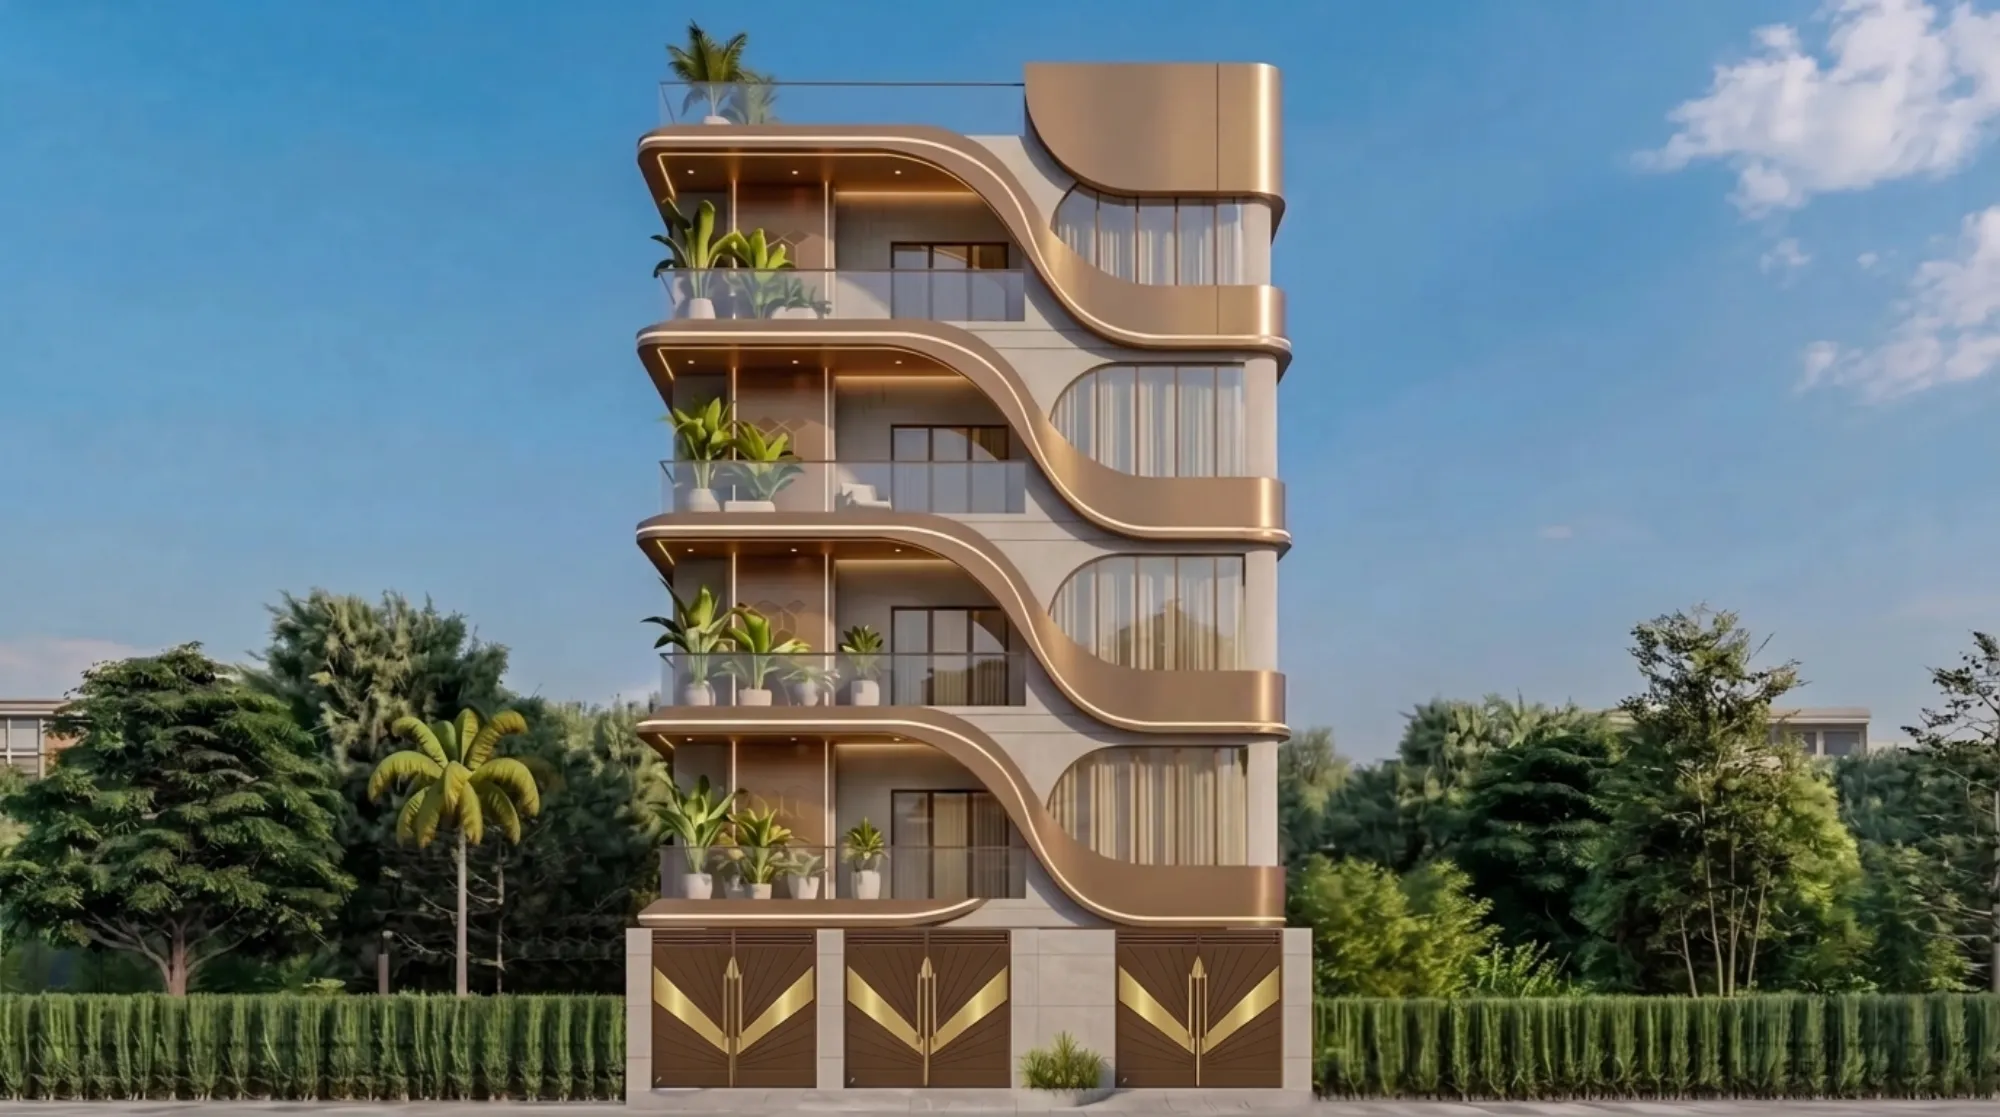
Most people in Kolkata think about CCTV and intercom at the very end, usually somewhere between the second coat of paint and the housewarming date, and by then the electrician is being asked to run cables through a house that has already been plastered, tiled and painted. What follows is predictable, you get surface conduits crawling up a freshly finished wall, a DVR sitting in a shoe cupboard with no ventilation, a camera bolted to a parapet where nobody thought about the afternoon glare, and an intercom handset that rings in the drawing room while the person who actually opens the gate is upstairs in the kitchen. None of that is a product failure, it is a planning failure, and it happens because security was treated as an appliance you buy rather than as a layer of the building that has to be drawn.
We are Studio Contour, an architecture and interior design practice based in New Town, Kolkata, working since 2014, and across 330 plus buildings delivered in New Town, Salt Lake, Rajarhat and greater Kolkata we have watched this same sequence repeat on independent houses in particular. An independent house is a harder security problem than a flat, because you own the boundary, the gate, the driveway, the terrace, the back setback strip and every window at ground level, and there is no building committee, no common security desk and no shared guard to absorb any of it. Everything is yours to design.
So this piece is the practical version, what to decide at which stage of the project, where the cables actually go, what the Kolkata climate and Kolkata power supply do to this equipment over five years, and how the intercom question is really a question about how your household moves rather than a question about which brand of panel to buy.
Why CCTV And Intercom Are Architecture Decisions, Not Purchase Decisions
The single most useful reframe here is that cameras and intercoms are not gadgets you attach to a finished house, they are a low voltage service running through the building exactly the way plumbing and power do, and they need the same treatment at drawing stage. When we work on a plot as part of residential architecture, the electrical and low voltage layout is a drawing set of its own, and the camera positions sit on that drawing alongside light points and socket points, because a camera position is really three coordinated decisions at once, where the device sits, where its cable terminates, and what the wall or ceiling behind it is made of.
The consequence of skipping this is not just aesthetic. A camera drilled into a chajja after the fact usually gets its cable through a hole that then becomes a water path, and in a city with the rainfall Kolkata gets, that hole will show up as a damp patch on the inside face of the wall in the second monsoon. We have opened up more than one bedroom wall to find the source of a stubborn damp band and traced it back to a camera cable entry drilled two years earlier with no sleeve and no sealant. Getting the conduit cast in or chased before plaster costs almost nothing, fixing the consequence costs a wall.
The second consequence is coverage. Once a house is built, your camera positions are constrained to whatever surfaces exist, and you end up with three cameras all looking at the same driveway from slightly different angles while the rear setback strip and the terrace door stay dark. Coverage is a plan problem, you solve it on the site plan when you can still move a wall lamp, a downtake pipe or a niche by two feet.
Mapping The Real Threat Picture For A Kolkata Plot
Before you count cameras, count entries. On a typical independent house plot the actual points where a person can get in are the main gate, the pedestrian gate if you have one separate, the main door, the kitchen or utility door at the rear, ground floor windows facing a side setback, the terrace door, and in many older neighbourhoods the shared or low compound wall along a rear boundary where an adjacent building is close enough to climb across. That last one gets missed constantly, because owners plan security looking outward from the front and forget that the vulnerable face is often the side or rear where the setback strip is narrow, unlit, and screened from the street by the house itself.
The threat picture in most of the neighbourhoods we build in is also not dramatic. It is opportunistic, and it is mostly about the times the house is transitional, so the delivery hours, the period when domestic staff and drivers are coming and going, the school pickup window, the two weeks of Durga Puja when half the para is travelling, and the construction and renovation phase itself when your own site has strangers and material lying in it. Design for those and you have covered the realistic ninety percent.
There is a second function people underrate, which is dispute and evidence. On tight plots with shared boundaries, a camera covering your own boundary wall and your own driveway has settled more parking arguments, water seepage arguments and damaged wall arguments for our clients than it has ever caught an intruder. That alone changes where you aim, because a camera pointed usefully at your own boundary line is worth more than one pointed vaguely at the sky above the gate.
- Main gate and pedestrian gate
- Main entrance door and porch
- Rear or utility door near the kitchen
- Ground floor windows facing narrow side setbacks
- Terrace door and stair head
- Driveway and parking bay
- Boundary wall stretches adjacent to neighbouring buildings
- Meter, pump and generator area
Camera Placement That Actually Works On Site
Once you have the entry list, placement follows a few rules that come straight from things going wrong on real sites. First, mount height, and the usual instinct is to go as high as possible so nobody can reach the camera, which is exactly how you end up with excellent footage of the tops of people's heads and no usable face. For anything meant to identify a person, roughly chest to head height at the point of entry is what you want, so a gate camera at a level where a face crossing the gate line fills a meaningful part of the frame, and you protect it with a small hood or by recessing it rather than by putting it out of reach.
Second, backlight, and this is the one Kolkata specific detail people miss. A camera aimed at a gate that faces west will spend every afternoon staring into the sun and every evening staring into a low glare that washes the frame out completely, and a camera pointing at a doorway from inside a dark porch will silhouette everyone who stands in it. So we work the camera angles against the sun path we already have for the daylighting study on the house, because that study exists anyway, and it costs nothing to check camera orientation against it. Basically, aim across the light, not into it.
Third, rain and shade. Under a chajja, under the porch soffit, under the balcony overhang, those are the mounting positions that survive, and a camera sitting exposed on an open parapet in Kolkata will collect water on the dome, spider webs on the lens, and a slow film of dust that fogs every night shot within one season. If you have no overhang at a position you genuinely need, build a small purpose designed hood into the elevation rather than screwing on a plastic shroud later, and this is exactly the sort of thing we resolve while doing 3D visualisation and rendering because you can see on the render whether a device reads as part of the facade or as an afterthought stuck onto it.
Fourth, the night question. Most cameras rely on infrared at night, and infrared bounces badly off glass, off polished granite, off a white painted wall right in front of the lens, and off falling rain. So a camera mounted six inches from a wall face will light that wall up and blind itself. Give it clearance, and where you can, give it a real light instead, because a warm wall washer at the gate and at the rear door does more for usable night footage than any amount of infrared, and it also does the job of making the approach feel safe. We fold those into the false ceiling and lighting design layer rather than treating them as a separate security spend.
| Position | What it is for | Practical note | |
|---|---|---|---|
| Main gate | Face and vehicle identification | Mount at head height across the light | never into the afternoon sun |
| Porch and main door | Who actually reached the door | Needs shade from the overhang and clearance from the wall face | |
| Driveway | Vehicle movement and boundary disputes | Wide angle | cover your own boundary line in frame |
| Rear utility door | The most used unmonitored entry | Pair with a light | this area is usually dark |
| Side setback strip | Window level access | Long narrow view | one camera can cover the run |
| Terrace and stair head | Access from adjacent roofs | Needs a weather protected mount | not an open parapet |
The Intercom Question Is Really A Household Movement Question
Intercom planning goes wrong for a reason that has nothing to do with technology. People specify a gate panel and one indoor handset, and then discover that the person who is home during the day is on the first floor or in the kitchen and cannot hear it, so within a month everybody is back to phone calls and shouting from the balcony, and the panel becomes a very expensive doorbell.
So start from movement, not from hardware. Where do people actually sit during the day, who answers the gate on a weekday afternoon, who answers it at ten at night, is there a parent on the ground floor who should not have to climb stairs, is there a separate access for domestic staff, and does anybody work from home behind a closed door. Answer those and the number and location of indoor points falls out by itself, which for most independent houses we design lands at a gate panel, a main door panel, and indoor points at the ground floor living area, the kitchen or its adjacent passage, and the master bedroom on the upper floor, with the kitchen one being the point that actually gets used most and is skipped most often.
The two big architectural choices are audio only versus video, and wired versus app based. Video at the gate is genuinely useful in an independent house because the gate is often not visible from where you are sitting, and being able to see who is there before you walk out into the rain changes behaviour. On wired versus wireless, our position after a lot of sites is that the backbone should be wired even if the interface is an app, because Kolkata houses have thick brick and reinforced concrete walls and slabs that eat wireless signal, and a wireless doorbell that works in a showroom will drop calls through a nine inch wall and a slab. Wire it, then layer the app conveniences on top, which is also how the rest of a sensible home automation setup should be built.
There is also the electric gate lock question, which is where intercom stops being communication and becomes access control. If you want to release the gate from inside the house, the gate needs a lock designed for it, a power supply near it, and a decision about what happens when power fails, because a lock that fails locked with no manual override will strand you outside your own gate at some point. Decide the failure mode deliberately.
| Wired backbone | Wireless or app only |
|---|---|
| Survives thick brick and RCC walls | Signal drops through slabs and nine inch walls |
| Needs conduits planned before plaster | Nothing to plan, which is the trap |
| Stable over five to seven years | Depends on router, firmware and vendor staying alive |
| Higher upfront, lower ongoing pain | Cheaper day one, replaced sooner |
Cabling, The DVR Cupboard And The Power Reality
This is the unglamorous section that decides whether the system still works in year four. Every camera run and every intercom run should be in conduit, laid during the electrical rough in, terminating at one place, and that one place is a decision worth taking seriously. The recorder needs a spot that is ventilated, dry, reachable without a ladder, not inside a sealed loft, not in the meter cupboard next to a hot distribution board, and not in a bedroom where a fan hum will annoy someone every night. A ventilated niche in a utility area, a passage cupboard with louvres, or a dedicated shelf in the store works, and we usually draw it in as part of the residential interior design package so it is a designed cupboard rather than a box sitting on the floor.
Put a dedicated circuit on it, and put it on the backup, because a recorder that dies with every power cut records nothing during exactly the window when you would want it recording. Small UPS backup for the recorder, the router and the gate panel is the standard we recommend, and it is a modest line item against the cost of the rest of the system.
Leave spare capacity, and this is the cheapest insurance in the whole exercise. Pull one or two extra conduits to the terrace and to the rear boundary even if you are not putting cameras there today, and leave a draw wire in them, because in three years when you want an extra camera or a gate motor or an outdoor access point, the conduit is already there and the job is an afternoon rather than a chase through a finished wall.
On the outdoor runs, treat every cable entry point into the wall as a waterproofing detail with a sleeve and a downward drip loop, so water running down the cable drips off before it reaches the wall rather than following the cable inward. That single detail prevents most of the damp problems we see traced back to security installations.
Where This Fits In The Project Timeline
The sequencing matters more than the shopping. In practice the low voltage decisions have to land at three specific moments, and if you hit those three you never pay twice. The first is at working drawing stage, alongside the electrical layout, when camera and intercom points get marked, sleeve positions get fixed for anything crossing a beam or slab, and the recorder location is chosen. The second is during the electrical rough in on site, when conduits actually go in, and this is the last cheap moment. The third is at finishing, when the devices are installed, aimed and commissioned, which is genuinely the last step and not the first.
- 01Working drawings, mark points and recorder location
- 02Structure, sleeve any slab or beam crossings
- 03Electrical rough in, lay all conduits and draw wires
- 04Plaster and finishing, boxes flush and protected
- 05Final fit out, install, aim and commission
- 06Handover, walk the footage with the owner
Sanction and statutory work runs on a parallel track and does not usually touch camera positions, though anything that changes the built envelope, such as adding a covered enclosure or a guard cubicle at the gate, is a design change and needs to be handled properly within the approval you are seeking, so it belongs in your drawings and not in a site decision. If you are still upstream of all this, the sequence and the document set are covered in our guide to the NKDA building plan sanction process in New Town, and the boundary and gate side of it sits in the boundary wall and compound rules guide, which is worth reading before you finalise gate height, gate motorisation and where a camera pole could stand. Anything involving the compound edge, gate leaf swing and driveway also interacts with parking norms, so settle those together rather than one at a time. Rules and figures do vary by plot, zone and revision, so confirm the current position for your own plot with the relevant authority before you commit, and treat anything you read online, here included, as the concept and the process rather than the final number.
For an existing house, all of the above still applies, it just costs more, and the honest answer is that a security retrofit is best bundled into a wider renovation and remodeling scope where walls are already open for rewiring, because doing it standalone means either surface conduits or chasing finished surfaces. On the DE Block residence in New Town the low voltage layer was drawn with the electrical set from the start, and the entire camera and intercom install at the end was a two day job with nothing visible on the elevation, which is the outcome you are aiming for.
Budget, Brands And What We Tell Clients To Ignore
On money, we only ever give ranges and only as indicative figures as of writing, because pricing on this category moves fast and depends heavily on camera resolution, recorder storage, cable quality and how much of it is labour on a difficult site. As a rough planning band we see complete CCTV and intercom packages on independent houses land somewhere in the range of about eighty thousand to three lakh rupees, with the spread driven mostly by camera count, whether you went video intercom, and whether the cabling was planned in or chased in later. Treat that as a planning placeholder, get an itemised quote against your actual drawing, and never accept a lump sum with no schedule of devices.
What we tell clients to ignore is resolution marketing. Beyond a sensible resolution, the returns fall off fast, and a well placed camera at a lower spec beats a badly placed camera at a higher one every single time, because the failure mode is almost never pixels, it is angle, light and a lens covered in monsoon grime. Spend on placement, on lighting at the entries, on conduit, on backup power, and on a recorder with enough storage to hold a useful number of days, which for most households means comfortably more than a week so that something noticed on a Monday can still be reviewed the following weekend.
The other thing worth ignoring is the pressure to buy the whole ecosystem from one vendor on day one. Cameras get replaced on a shorter cycle than buildings do, so what you are really building is the infrastructure, the conduits, the power, the recorder location and the network, and those should outlive three generations of camera. Get the infrastructure right and the devices become a replaceable, upgradeable layer.
If you are earlier in the process and still assembling your team, our guide to choosing an architect in New Town Kolkata covers how the scope should be defined so services like this do not fall through the gap between the architect and the electrician, and the piece on architect fees in Kolkata explains what is and is not typically inside a design fee. Households that want the layout to also respect Vastu Shastra principles should raise it early, because entry positions and gate orientation are settled at plan stage and that is when our Vastu compliant design input has room to actually change something rather than just react to it.
At the end of the day, CCTV and intercom on an independent house are not a security product you install, they are a small system you design into the building alongside the wiring, the lighting and the drainage, and the households that are happy with theirs five years later are almost always the ones who marked the points on a drawing before the plaster went on. If you are building or renovating in New Town, Salt Lake, Rajarhat or anywhere in greater Kolkata and want this layer drawn into the project properly, our principal architect Sumana Kumar and the team take these decisions through the same working drawing set as everything else, and you can get in touch with us with your plot details and we will tell you exactly which of these decisions is still cheap and which one is about to get expensive.