








New Town Design & Architecture
Elevation Design for Homes with Rooftop Solar Panels
A practical guide to planning buildable area, room layouts and elevation style for homes designed around a working rooftop solar array in Kolkata and New Town.
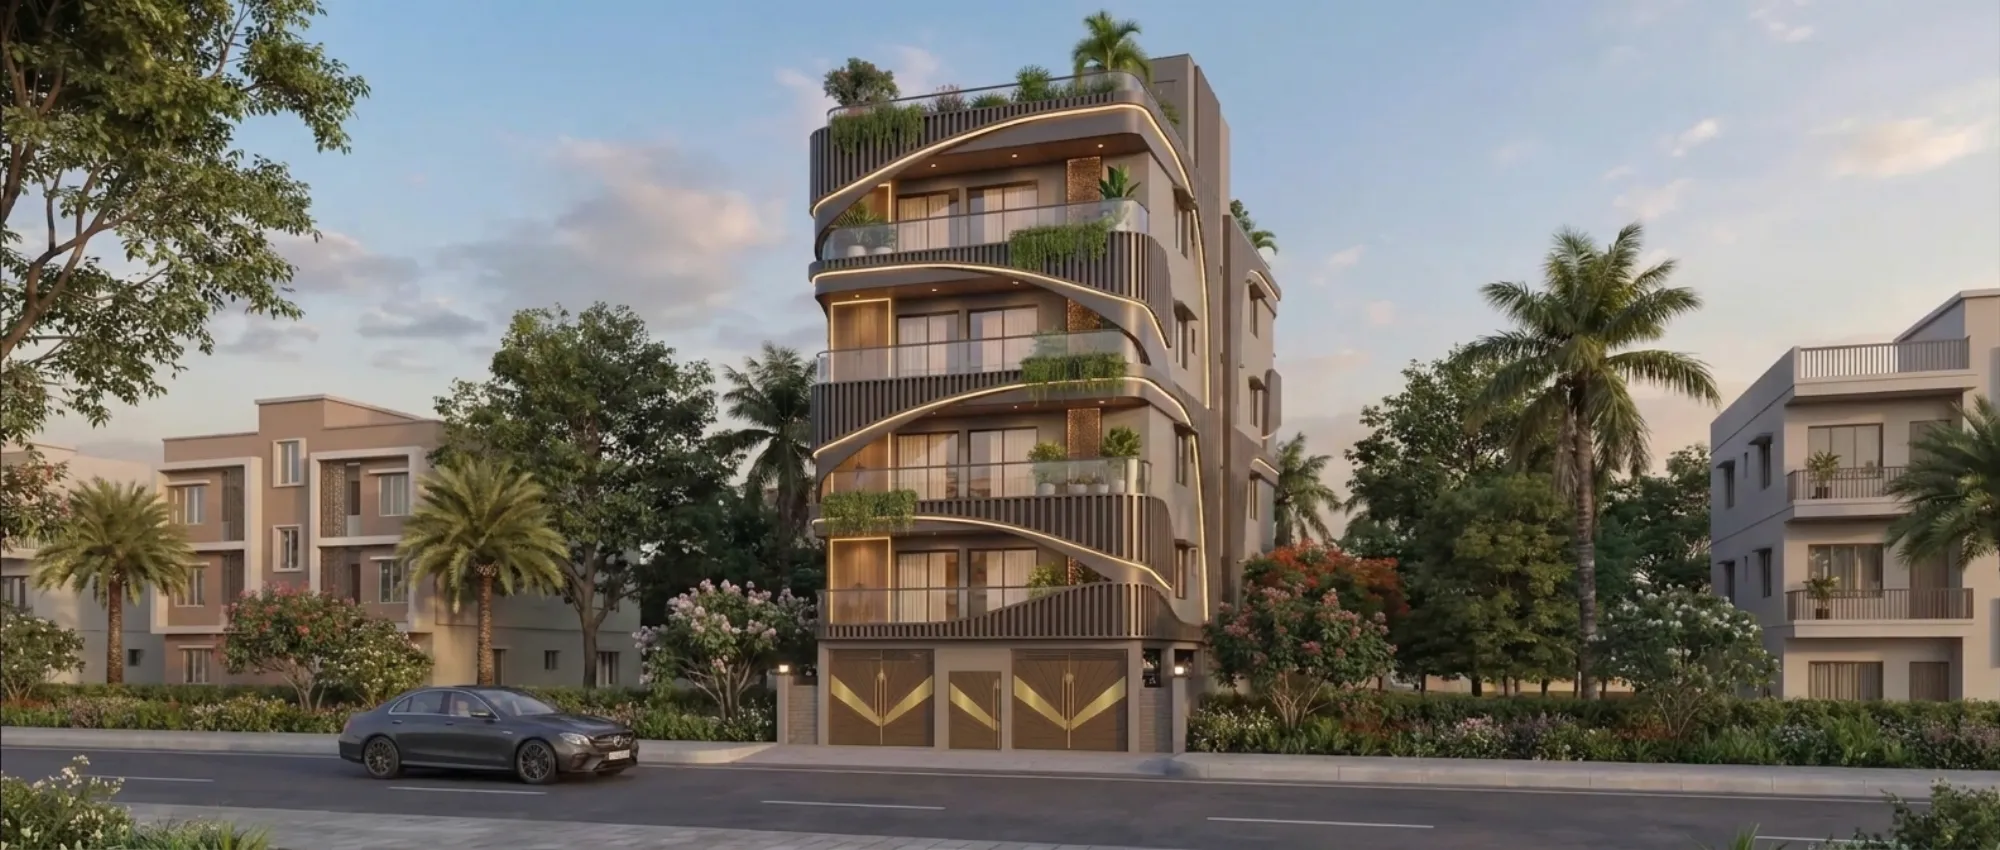
When a client comes to us asking specifically about solar panels on the roof, the conversation almost always starts a step earlier than the panels themselves, because the elevation has to be designed around a flat, unobstructed, structurally reinforced roof plate from day one, and retrofitting that logic onto a design that was never meant to carry an array is where most of the awkward compromises we see on other people's projects actually come from.
We work across New Town, Rajarhat, Salt Lake and the wider Kolkata metro, and the plot that comes up most often for this exact brief is somewhere in the 30x40 ft to 40x60 ft range, typically a G+2 or G+3 home for a joint family that wants the roof kept genuinely usable rather than eaten up by a water tank, a jaali screen and whatever's left over. That's a fair ask, and it's very buildable, but it changes four or five decisions that a normal elevation brief wouldn't touch, from where the staircase head-room sits to how the parapet is detailed to hide conduit runs.
This guide walks through what buildable area and floor count actually look like for a plot this size, what room layouts work once you've reserved real roof area for panels, which elevation styles read well with a working solar roof instead of fighting it, and how we approach these briefs at Studio Contour, where we've delivered 330-plus buildings since 2014, a good number of them with rooftop solar as a stated requirement from the first meeting.
Buildable Area and Floor Potential: What a Solar-Ready Roof Actually Costs You
Before anything else, get comfortable with two terms because they decide how much house you can actually build. Floor area ratio, or FAR, is the ratio of your total built-up area across all floors to your plot area, and it's set by the sanctioning authority, not by us or by you. Ground coverage is the separate rule that caps how much of the plot footprint your building can occupy on any single floor, which matters because it decides how deep your rooftop terrace ends up once the top floor steps back.
Here's a worked example purely to show how the arithmetic behaves, and not as a number to build against. Say you're on a 30x40 ft plot, which is 1,200 sq ft. If ground coverage allows roughly 65-70% of that on the ground floor, you're looking at a built footprint of around 780-840 sq ft, and if the sanctioned FAR works out to somewhere near 2.5 for a plot this size, your total buildable area across all floors lands in the 2,900-3,100 sq ft range, spread across a ground floor plus two upper floors with some room to spare on the top floor for a genuinely open terrace. The catch here is that FAR and ground coverage figures vary by authority, by plot width, by road-facing width, and they get revised, so treat every number above as illustrative only and confirm the exact current figures for your specific plot with NKDA, KMC or Bidhannagar depending on your jurisdiction before you commit to a design. Our own FAR and ground coverage guide for New Town and our building height and floor limits guide walk through how these rules typically get applied, and they're a good starting point before your first meeting with an architect.
The part that trips people up on solar-ready homes specifically is that you can't just plan the top floor and then bolt panels onto whatever roof area is left, because setback rules, the water tank, the staircase headroom cabin and any green building provisions for rainwater harvesting all compete for the same rooftop real estate. So we work backward from the panel array's actual footprint and orientation requirement first, and only then finalize how much of the top floor gets built up versus left as open terrace.
Room Layout Options That Leave the Roof Genuinely Usable
For a 30x40 to 40x60 plot carrying this brief, the layouts that work best are the ones that push circulation to one edge of the plan and keep the staircase compact, because every square foot you save on the stair enclosure below is a square foot of clearer roof structure above it. A fairly standard arrangement we land on often looks like a living and dining zone opening toward the front, a kitchen with a utility yard tucked to the rear, and two to three bedrooms split across the ground and first floor, with the second floor kept lighter, sometimes a single bedroom plus a family lounge, so the roof slab above doesn't need to carry unnecessary structural load right where the panel mounting brackets are going.
| Floor | Typical Use | Notes for Solar Readiness | |
|---|---|---|---|
| Ground Floor | Living/dining/kitchen/1 bedroom | Standard load | no roof impact |
| First Floor | 2-3 bedrooms + balcony | Keep stair core compact | |
| Second Floor | 1 bedroom + lounge/terrace | Reserve rear/south bay for array | |
| Roof | Solar array + water tank + terrace | Structural reinforcement planned upfront |
A detail we push clients toward, and one that pays off later, is deciding the panel zone's orientation and tilt requirement before the roof slab is cast, so the reinforced concrete beams sit exactly where the mounting frame needs support rather than where it's convenient to add them afterward. If you're planning a compact family layout on a smaller plot, our breakdown on 1,800 sq ft villa design on a similar plot size is worth a look, since a lot of the room-stacking logic carries over even when the elevation style ends up different. And if Vastu Shastra alignment matters to your family, that's a separate constraint we layer in early rather than adjusting for at the end, which our Vastu-compliant design service covers in more depth.
Elevation Style and Materials That Suit a Working Solar Roof
The elevation question here isn't really about picking a style off a mood board, it's about picking a style that doesn't visually fight with a flat, exposed panel array sitting on top of it, because a heavily sloped Mediterranean roof or a fussy cornice-heavy facade tends to look like the solar array was an afterthought even when it wasn't. What reads well instead is a contemporary flat-roof or minimal-parapet elevation, clean horizontal bands, a restrained material palette, and the parapet detailed a little taller than usual specifically to screen the array from street level without blocking sun access.
For material choices, we lean toward a mix of textured exterior paint or exposed engineered stone cladding on the lower floors for visual weight, paired with larger window openings that bring in daylighting and support natural ventilation, so the home leans on passive cooling strategies and doesn't lean entirely on the electricity the panels are generating just to cool itself. A glass balustrade or a light curtain wall treatment at the staircase landing works well too, since it keeps the facade from feeling heavy while the roof above stays purpose-built and uncluttered.
| Traditional Sloped Roof | Solar-Ready Flat/Low-Slope Roof |
|---|---|
| Limited usable panel area | Full roof plate available for array |
| Ornamental parapet detailing | Functional parapet sized to screen equipment |
| Water tank often visible | Tank integrated into roof plan from start |
| Retrofitting panels is awkward | Structure planned for panel loads upfront |
We also recommend pairing the array with solar water heating and, where the plot allows it, a basic rainwater harvesting setup feeding the same utility zone, since the plumbing and structural coordination for all three systems is far cheaper to do together during construction than to add one at a time later. This is basically the difference between a house that happens to have solar panels and a house that was designed as a small piece of sustainable architecture from the ground up, and clients tend to notice the difference in how the roof actually feels to stand on.
- Confirm current FAR and ground coverage with NKDA/KMC/Bidhannagar
- Fix panel orientation and tilt before the roof slab is cast
- Size the staircase and tank enclosure to protect usable roof area
- Plan parapet height to screen equipment without shading panels
- Coordinate solar water heating and rainwater harvesting in the same utility run
How We Approach This Kind of Project at Studio Contour
At the end of the day, a solar-ready elevation is a structural and planning decision disguised as an aesthetic one, so our process starts with a site and roof-load conversation before a single facade sketch gets drawn. We map the panel array's real footprint against the sanctioned floor plan first, confirm the load path down through the columns with our structural consultants, and only then move into elevation development, so the client isn't shown a beautiful render that later needs the roof redesigned to actually support it.
- 01Site visit + roof-load and FAR discussion
- 02Floor plan + panel zone layout
- 03Elevation design around the reserved roof plate
- 04Structural detailing + [residential architecture](/service-pages/residential-architecture) drawings
- 053D visualization for client sign-off
- 06Sanction filing + construction support
Our 3D visualization and rendering work is particularly useful here, because it's the fastest way to actually see how the panel array will sit against the parapet and the surrounding streetscape before anything is built, and clients almost always ask for at least one adjustment to parapet height or bay placement once they see it rendered rather than drawn flat. If you're comparing plot sizes or trying to figure out roughly what a build like this costs in the current New Town market, our cost to build guide for New Town is a reasonable starting reference, again with the caveat that you should get a project-specific estimate rather than treating any published range as final.
A completed example that shows this kind of roof-first planning in practice is our G4 residence in Action Area 2, New Town, where the top floor and roof were both designed around a reserved utility and equipment zone from the earliest sketches, which is exactly the sequencing we'd recommend for a solar-panel brief on a plot of this size.
If you're sitting on a 30x40, 40x60, or similarly sized plot in New Town, Rajarhat or Salt Lake and want the roof designed to actually carry solar from the start rather than fought with after the fact, get in touch with us and we'll walk through your plot's specific FAR, roof-load and layout questions before you commit to a design.